

Grow pumpkins at home? Absolutely! Imagine the satisfaction of carving a jack-o’-lantern from a pumpkin you nurtured from a tiny seed. It’s easier than you think, and this DIY guide is your secret weapon to pumpkin-growing success, even if you’re a beginner gardener like I once was!
Pumpkins have a rich history, dating back thousands of years in North America, where they were a vital food source for indigenous peoples. They weren’t always the bright orange gourds we associate with Halloween; their colors and uses have evolved over time. Today, pumpkins are more than just a festive decoration; they’re a symbol of autumn, a delicious ingredient in pies and soups, and a fun gardening project for the whole family.
But why should you bother to grow pumpkins at home? Well, store-bought pumpkins can be expensive, and let’s be honest, they often lack that personal touch. Plus, growing your own allows you to choose unique varieties, control the growing process (no nasty pesticides!), and enjoy the immense pride of harvesting your very own homegrown pumpkins. This DIY guide will provide you with simple, effective tricks and hacks to maximize your pumpkin yield, even in small spaces. I’ll share my personal experiences and proven techniques to help you avoid common pitfalls and cultivate a thriving pumpkin patch right in your backyard. Let’s get growing!
Growing Pumpkins: From Seed to Spooky (or Delicious!) Harvest
Okay, pumpkin lovers, let’s get down to business! I’m going to walk you through everything you need to know to grow your own pumpkins right in your backyard. It’s easier than you might think, and the satisfaction of carving a pumpkin you nurtured from a tiny seed is unbeatable. Plus, fresh pumpkin pie? Yes, please!
Choosing Your Pumpkin Variety
Before we even think about dirt, we need to decide what kind of pumpkin we want. There are so many options!
* Jack-o’-Lantern Pumpkins: These are your classic carving pumpkins. Think ‘Connecticut Field’ or ‘Howden’. They’re generally large and have a good shape for spooky faces.
* Pie Pumpkins (Sugar Pumpkins): Smaller and sweeter than carving pumpkins, these are perfect for baking. ‘Baby Pam’ and ‘Sugar Pie’ are popular choices.
* Ornamental Pumpkins: If you’re looking for something decorative, consider varieties like ‘Gourds’ or ‘Mini Pumpkins’. They come in all sorts of shapes, sizes, and colors.
* Giant Pumpkins: Feeling ambitious? Varieties like ‘Atlantic Giant’ can grow to enormous sizes, but they require a lot of space and attention.
My tip: Consider your space and what you want to do with your pumpkins before choosing a variety. If you only have a small garden, a mini pumpkin variety might be the best bet.
Preparing Your Pumpkin Patch
Pumpkins are hungry plants, so soil preparation is key!
* Sunlight: Pumpkins need at least 6 hours of direct sunlight per day. Choose a spot in your yard that gets plenty of sunshine.
* Soil: Pumpkins thrive in well-drained, fertile soil. Amend your soil with plenty of compost or aged manure. This will provide the nutrients your pumpkins need to grow big and strong.
* Space: Pumpkins need a lot of space to spread out. Give each plant at least 4-6 feet of space. Giant pumpkins need even more!
* pH: Pumpkins prefer a soil pH between 6.0 and 6.8. You can test your soil pH with a home testing kit or send a sample to your local extension office.
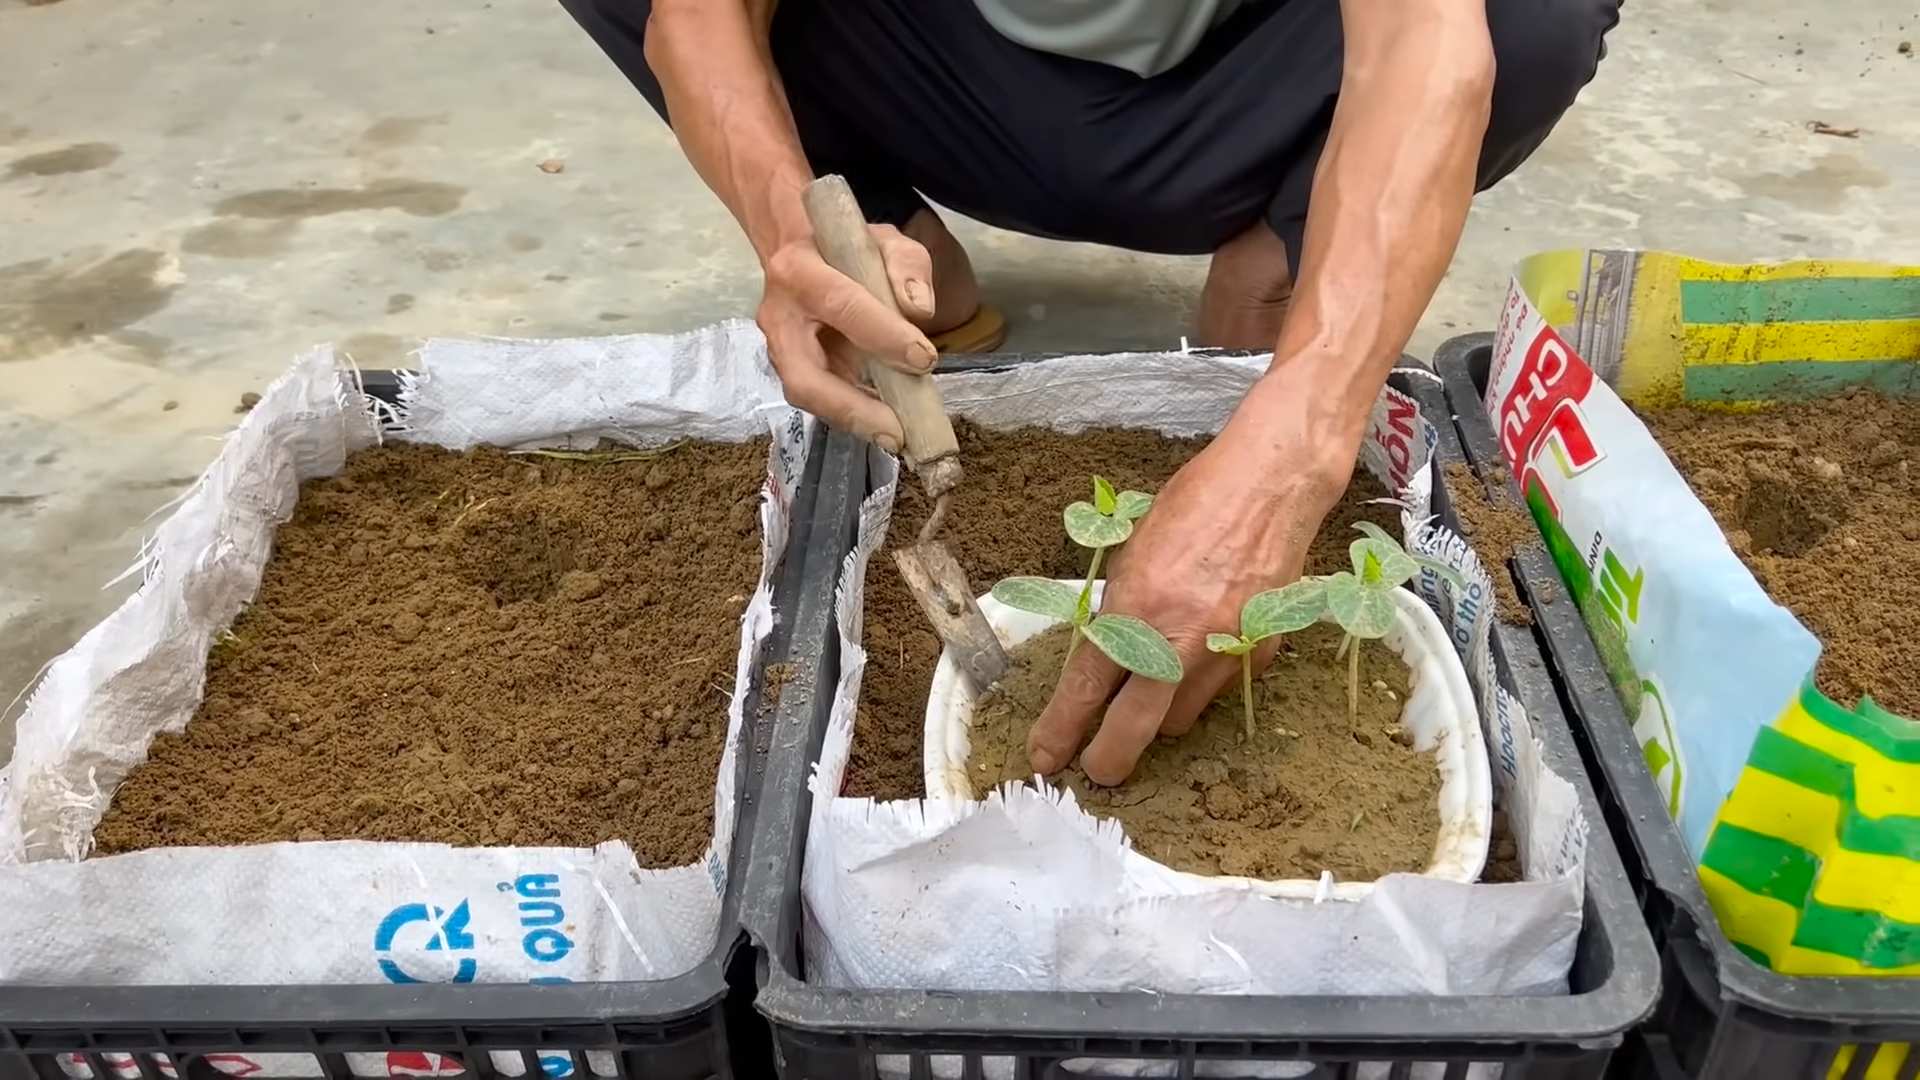
Starting Your Pumpkin Seeds
You have two options here: starting seeds indoors or direct sowing them in the garden.
* Starting Seeds Indoors: This gives you a head start, especially in cooler climates. Start seeds about 2-3 weeks before the last expected frost.
* Use peat pots or biodegradable pots to avoid disturbing the roots when transplanting.
* Plant 2-3 seeds per pot, about 1 inch deep.
* Keep the soil moist but not soggy.
* Provide plenty of light, either with a grow light or a sunny windowsill.
* Once the seedlings have a few true leaves, thin them to one plant per pot.
* Direct Sowing: This is the easiest method, but it requires warmer soil temperatures. Wait until the soil temperature is consistently above 60°F (16°C).
* Create small mounds of soil, about 1 foot in diameter and 6 inches high.
* Plant 4-5 seeds per mound, about 1 inch deep.
* Water gently.
* Once the seedlings emerge, thin them to the strongest 2-3 plants per mound.
Transplanting Pumpkin Seedlings (If Starting Indoors)
If you started your seeds indoors, it’s time to transplant them to the garden!
1. Harden off the seedlings: Gradually acclimate the seedlings to outdoor conditions by exposing them to increasing amounts of sunlight and wind over a period of 7-10 days.
2. Choose a cloudy day: Transplanting on a cloudy day will help prevent the seedlings from getting stressed.
3. Dig a hole: Dig a hole that is slightly larger than the pot the seedling is in.
4. Gently remove the seedling from the pot: Be careful not to damage the roots. If you used a peat pot, you can plant the entire pot.
5. Place the seedling in the hole: Make sure the top of the root ball is level with the surrounding soil.
6. Fill the hole with soil: Gently pat the soil around the seedling.
7. Water thoroughly: Water the seedling well to help it establish.
Caring for Your Pumpkin Plants
Now comes the fun part – watching your pumpkins grow!
1. Watering: Pumpkins need consistent moisture, especially during hot, dry weather. Water deeply at the base of the plant, avoiding getting the leaves wet. Aim for about 1 inch of water per week.
2. Fertilizing: Pumpkins are heavy feeders, so fertilize them regularly. Use a balanced fertilizer (e.g., 10-10-10) every 2-3 weeks. You can also side-dress with compost or aged manure.
3. Weeding: Keep the area around your pumpkin plants free of weeds. Weeds compete with pumpkins for water and nutrients.
4. Pest Control: Keep an eye out for common pumpkin pests like squash bugs, squash vine borers, and cucumber beetles. You can handpick pests, use insecticidal soap, or apply other organic pest control methods.
5. Pollination: Pumpkins have separate male and female flowers. Bees are essential for pollination. If you’re not seeing many bees, you can hand-pollinate the flowers.
* Identify the male and female flowers. Female flowers have a small, immature pumpkin at the base.
* In the morning, use a small paintbrush to collect pollen from the male flower.
* Transfer the pollen to the stigma of the female flower.
6. Pruning (Optional): If your pumpkin plants are getting too crowded, you can prune some of the leaves and vines. This will improve air circulation and reduce the risk of disease.
7. Protecting Developing Pumpkins: As your pumpkins grow, you may want to protect them from pests and diseases.
* Place a piece of cardboard or straw under each pumpkin to prevent it from rotting.
* Cover the pumpkins with a blanket or tarp during cold snaps.
Dealing with Common Pumpkin Problems
Even with the best care, you might encounter some problems. Here are a few common ones and how to deal with them:
* Powdery Mildew: This fungal disease causes a white, powdery coating on the leaves. Improve air circulation, avoid overhead watering, and apply a fungicide if necessary.
* Squash Vine Borers: These pests bore into the stems of pumpkin plants, causing them to wilt and die. Wrap the base of the stems with aluminum foil or netting to prevent borers from entering. You can also inject Bacillus thuringiensis (Bt) into the stems to kill the borers.
* Squash Bugs: These pests suck the sap from pumpkin leaves, causing them to turn yellow and brown. Handpick the bugs and their eggs, or use insecticidal soap.
* Blossom End Rot: This condition causes the blossom end of the pumpkin to rot. It’s usually caused by calcium deficiency or inconsistent watering. Amend the soil with calcium and water regularly.
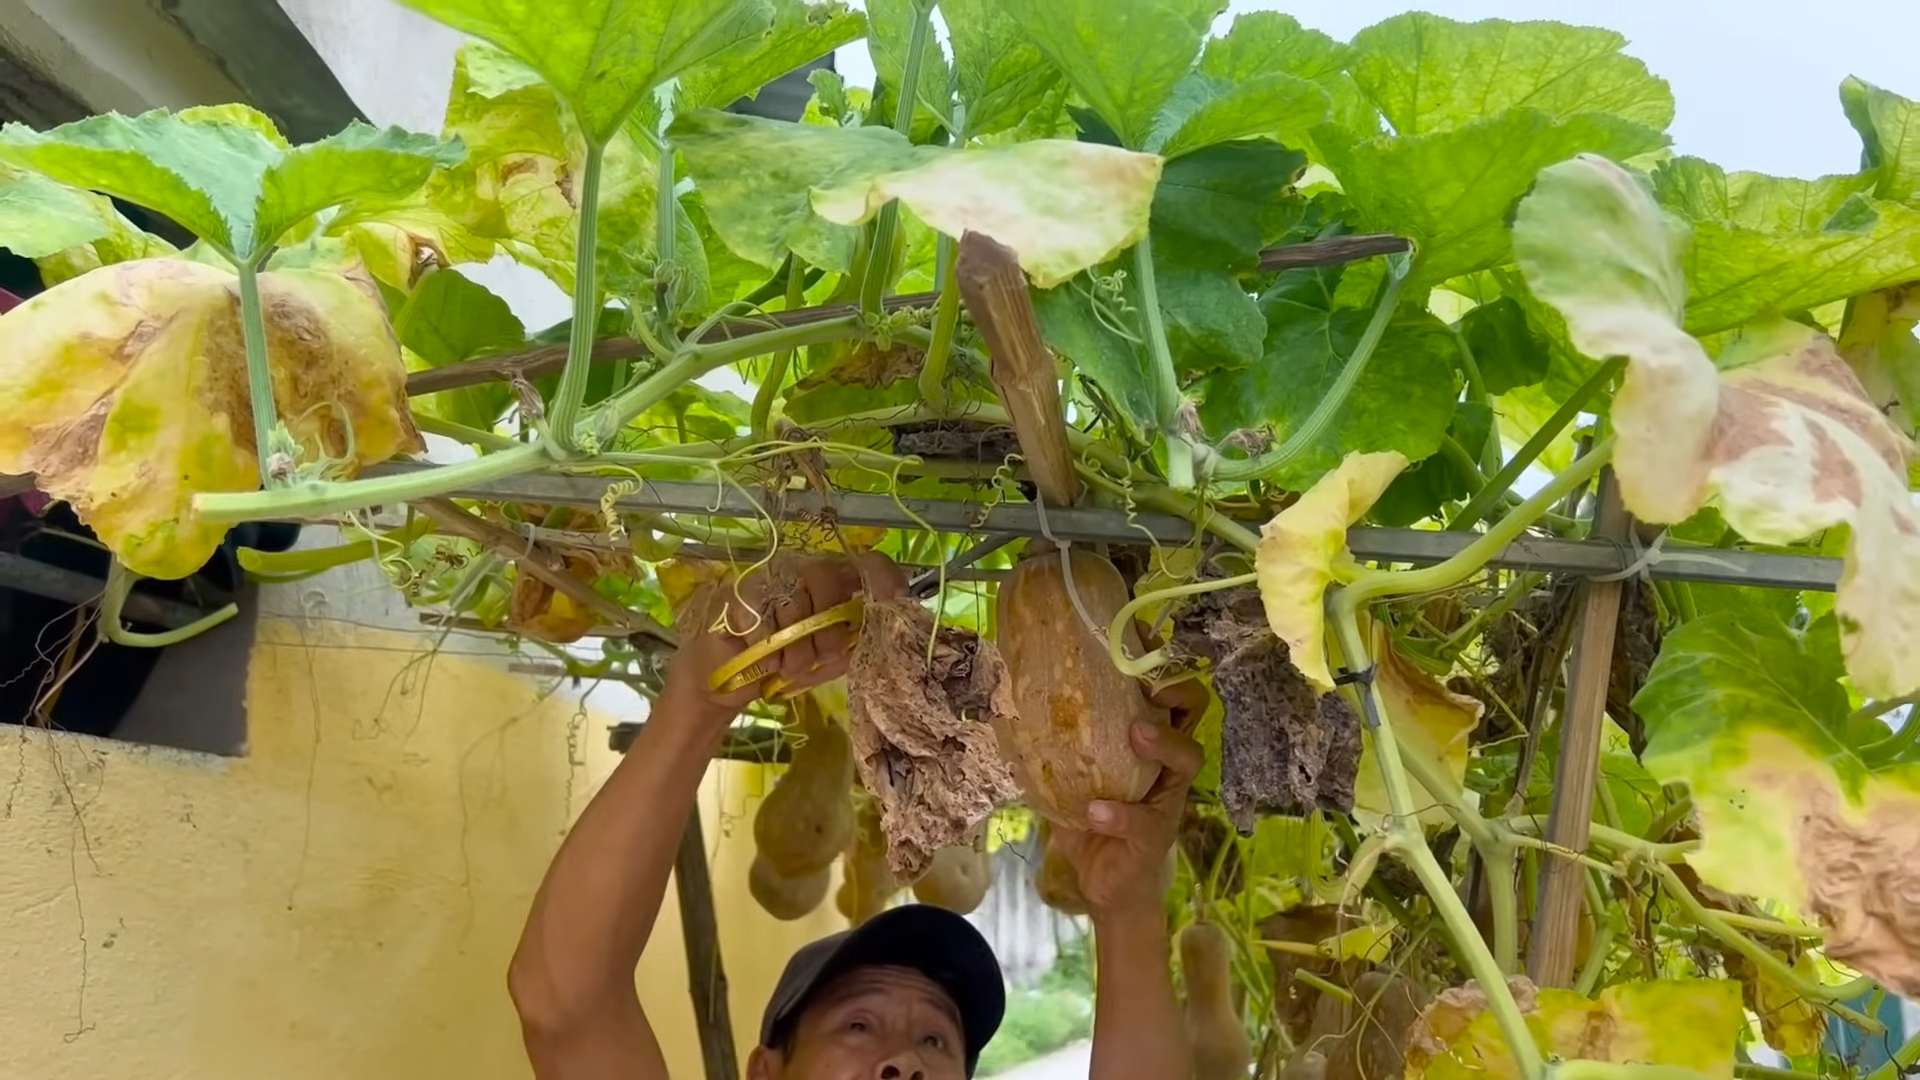
Harvesting Your Pumpkins
The moment you’ve been waiting for!
1. Check for ripeness: Pumpkins are typically ready to harvest in the fall, about 90-120 days after planting. The skin should be hard and resistant to scratching. The stem should be dry and brown.
2. Cut the stem: Use a sharp knife or pruning shears to cut the stem, leaving about 3-4 inches of stem attached to the pumpkin.
3. Handle with care: Avoid dropping or bruising the pumpkins.
4. Cure the pumpkins: Cure the pumpkins in a warm, dry place for 1-2 weeks. This will help them last longer.
Storing Your Pumpkins
Proper storage is essential for keeping your pumpkins fresh.
* Clean the pumpkins: Wipe the pumpkins with a damp cloth to remove any dirt or debris.
* Store in a cool, dry place: Store the pumpkins in a cool, dry place with good air circulation. A basement or garage is ideal.
* Avoid stacking: Avoid stacking the pumpkins on top of each other, as this can cause them to rot.
* Check regularly: Check the pumpkins regularly for signs of rot or spoilage.
Pumpkin Recipes and Uses
Now that you have your homegrown pumpkins, it’s time to enjoy them!
* Pumpkin Pie: A classic! Use your sugar pumpkins for the best flavor.
* Pumpkin Soup: A warm and comforting soup for a chilly day.
* Roasted Pumpkin Seeds: A healthy and delicious snack.
* Pumpkin Bread: A moist and flavorful bread that’s
Conclusion
So, there you have it! Growing pumpkins at home isn’t just a fun fall activity; it’s a rewarding experience that connects you with nature and provides you with delicious, homegrown produce. From selecting the right seeds to nurturing your plants and finally harvesting your own vibrant orange globes, every step of the process is filled with anticipation and satisfaction.
This DIY trick, focusing on maximizing sunlight exposure and providing nutrient-rich soil, is a must-try for anyone serious about achieving a bountiful pumpkin harvest. It’s the secret weapon that will transform your garden from a simple patch of land into a pumpkin paradise. Imagine the pride you’ll feel when you display your own homegrown pumpkins on your porch, knowing that you nurtured them from tiny seeds to impressive gourds.
But the fun doesn’t stop there! Feel free to experiment with different pumpkin varieties. Try growing miniature pumpkins for adorable decorations, or giant pumpkins for a real showstopper. You can also explore companion planting to deter pests and improve soil health. Consider planting marigolds around your pumpkin patch to ward off nematodes, or nasturtiums to attract beneficial insects.
Don’t be afraid to get your hands dirty and embrace the challenges that come with gardening. Remember, even experienced gardeners face setbacks, but the key is to learn from your mistakes and keep trying. The reward of harvesting your own pumpkins is well worth the effort.
We encourage you to try this DIY trick for growing pumpkins at home and share your experience with us! Post pictures of your pumpkin patch on social media using #HomegrownPumpkins and tag us so we can see your amazing results. Let’s create a community of pumpkin enthusiasts who are passionate about growing their own food and sharing their knowledge with others. Whether you’re a seasoned gardener or a complete beginner, we believe that you can successfully grow pumpkins at home with a little bit of effort and the right guidance. So, grab your seeds, prepare your soil, and get ready to embark on a pumpkin-growing adventure! You’ll be amazed at what you can achieve.
Variations and Further Exploration
Consider exploring vertical gardening techniques for pumpkins if you have limited space. Training the vines to grow up a trellis or fence can save valuable ground space and create a visually stunning display. Also, experiment with different types of fertilizers to see which ones work best for your soil and pumpkin variety. Organic fertilizers, such as compost tea and fish emulsion, are excellent choices for promoting healthy growth and producing flavorful pumpkins.
Remember to monitor your plants regularly for signs of pests or diseases. Early detection is crucial for preventing serious problems. If you notice any issues, take action immediately by using organic pest control methods or consulting with a local gardening expert.
Growing pumpkins at home is a journey of discovery and learning. Embrace the challenges, celebrate the successes, and most importantly, have fun! We can’t wait to see your amazing pumpkin creations.
Frequently Asked Questions (FAQ)
What is the best time to start growing pumpkins?
The ideal time to start growing pumpkins depends on your climate and the specific variety you’re planting. Generally, pumpkins require a long growing season of 90-120 days. In most regions, you should start seeds indoors about 3-4 weeks before the last expected frost. If you live in a warmer climate with a longer growing season, you can direct sow the seeds in your garden after the last frost. Check the seed packet for specific recommendations for your chosen pumpkin variety. Starting too early can lead to overgrown seedlings that are difficult to transplant, while starting too late may result in pumpkins that don’t fully mature before the first frost.
What kind of soil is best for growing pumpkins?
Pumpkins thrive in well-drained, fertile soil that is rich in organic matter. The ideal soil pH is between 6.0 and 7.0. Before planting, amend your soil with compost, aged manure, or other organic materials to improve its fertility and drainage. Avoid heavy clay soils that retain too much water, as this can lead to root rot. If you have clay soil, consider adding sand or other drainage materials to improve its texture. A soil test can help you determine the specific nutrient deficiencies in your soil and guide you in choosing the right amendments.
How much sunlight do pumpkins need?
Pumpkins require at least 6-8 hours of direct sunlight per day to thrive. Choose a planting location that receives full sun throughout the growing season. Insufficient sunlight can result in weak plants, poor fruit development, and increased susceptibility to diseases. If you live in a particularly hot climate, some afternoon shade may be beneficial to prevent the plants from overheating.
How often should I water my pumpkin plants?
Pumpkins need consistent moisture, especially during fruit development. Water deeply and regularly, aiming to keep the soil consistently moist but not waterlogged. Water at the base of the plants to avoid wetting the foliage, which can increase the risk of fungal diseases. The frequency of watering will depend on your climate, soil type, and the size of your plants. Check the soil moisture regularly and water when the top inch feels dry to the touch. During hot, dry weather, you may need to water daily.
What are some common pests and diseases that affect pumpkins?
Pumpkins are susceptible to a variety of pests and diseases, including squash bugs, squash vine borers, powdery mildew, and downy mildew. Regularly inspect your plants for signs of infestation or disease. Use organic pest control methods, such as insecticidal soap or neem oil, to control pests. To prevent fungal diseases, ensure good air circulation around your plants, avoid overhead watering, and apply a fungicide if necessary. Crop rotation can also help to reduce the risk of soilborne diseases.
How do I know when my pumpkins are ripe?
Pumpkins are typically ready to harvest when they have reached their mature color, the rind is hard and resistant to scratching, and the stem is dry and brown. The color will vary depending on the variety, but most pumpkins will turn a deep orange color when ripe. To test the rind, gently press your fingernail into it. If it’s difficult to puncture, the pumpkin is likely ripe. Leave about 3-4 inches of stem attached when harvesting to prevent rot.
Can I grow pumpkins in containers?
Yes, you can grow pumpkins in containers, but you’ll need to choose a large container (at least 20 gallons) and select a compact or bush variety of pumpkin. Ensure that the container has good drainage and use a high-quality potting mix. Container-grown pumpkins will require more frequent watering and fertilization than those grown in the ground.
How can I get bigger pumpkins?
To grow bigger pumpkins, focus on providing optimal growing conditions, including plenty of sunlight, fertile soil, and consistent moisture. Prune the vines to encourage the plant to focus its energy on developing fewer, larger fruits. Remove any secondary pumpkins that develop after the first few. You can also try using a pumpkin-specific fertilizer to boost growth.
What can I do with my homegrown pumpkins?
The possibilities are endless! You can use your homegrown pumpkins for carving, decorating, baking, and cooking. Pumpkin pie, pumpkin soup, pumpkin bread, and roasted pumpkin seeds are just a few of the delicious treats you can make. You can also use pumpkin puree as an ingredient in smoothies, oatmeal, and other recipes. Don’t forget to save the seeds for planting next year!

Leave a Comment