

DIY Furniture Polish Tricks: Are you tired of dull, lifeless furniture that’s lost its shine? Do you cringe at the thought of spending a fortune on commercial polishes filled with harsh chemicals? Well, you’re in the right place! I’m excited to share some amazing DIY furniture polish tricks that will breathe new life into your beloved pieces, all while saving you money and protecting your home from harmful toxins.
For centuries, people have sought ways to preserve and beautify their furniture. From ancient Egyptians using beeswax to protect their wooden treasures to Victorian-era households concocting their own polishes, the desire to care for our furnishings is deeply rooted in our history. These time-honored traditions often relied on simple, natural ingredients – a far cry from the complex formulas we see today.
In today’s world, many of us are becoming increasingly aware of the environmental impact and potential health risks associated with commercial cleaning products. That’s where these DIY furniture polish tricks come in! Not only are they incredibly effective at restoring shine and protecting your furniture, but they also allow you to control exactly what goes into your home. Plus, who doesn’t love a good DIY project? Let’s get started and transform your furniture from drab to fab!
DIY Furniture Polish: Revive Your Wood with Natural Ingredients
Hey there, fellow DIY enthusiasts! Tired of those expensive, chemical-laden furniture polishes? I’ve got some fantastic, all-natural recipes that will bring your wooden furniture back to life, leaving it gleaming and protected. Plus, you probably already have most of the ingredients in your pantry! Let’s dive in!
Understanding Your Wood
Before we get started, it’s important to understand the type of wood you’re working with. Is it finished or unfinished? Is it antique or modern? This will influence the type of polish you choose.
* Finished Wood: This wood has a protective coating like varnish, lacquer, or polyurethane. Most commercially available furniture is finished.
* Unfinished Wood: This wood is bare and porous. It requires a different approach to polishing and protection.
* Antique Wood: Antique furniture often has delicate finishes that require gentle care. Avoid harsh chemicals or abrasive cleaners.
Choosing the Right Polish
I’m going to share a few different recipes, each with its own benefits. Choose the one that best suits your needs and the type of wood you’re polishing.
* Olive Oil and Lemon Juice Polish: This is a classic, all-purpose polish that’s great for finished wood. The olive oil moisturizes the wood, while the lemon juice helps to cut through grime and add shine.
* Beeswax and Olive Oil Polish: This polish provides a deeper level of protection and is ideal for furniture that needs extra care. The beeswax creates a protective barrier against moisture and scratches.
* Vinegar and Olive Oil Polish: Similar to the lemon juice recipe, vinegar helps to clean and shine, but it’s a bit milder.
* Coconut Oil Polish: A simple and effective option for moisturizing and adding a subtle sheen to wood.
Recipe 1: Olive Oil and Lemon Juice Polish
This is my go-to for everyday polishing! It’s easy to make and leaves my furniture looking fantastic.
Ingredients:
* 1/2 cup olive oil
* 1/4 cup lemon juice
* Soft cloth
* Spray bottle (optional)
Instructions:
1. Mix the Ingredients: In a bowl, combine the olive oil and lemon juice. Whisk them together until they are well blended. If you prefer, you can pour the mixture into a spray bottle for easier application.
2. Test in an Inconspicuous Area: Before applying the polish to the entire piece of furniture, test it in a small, hidden area to ensure it doesn’t damage the finish. Apply a small amount of the polish to the area and let it sit for a few minutes. Then, wipe it off with a clean cloth. If there are no adverse effects, you can proceed with polishing the rest of the furniture.
3. Apply the Polish: Dip a soft cloth into the polish mixture or spray it directly onto the furniture. Don’t over-saturate the wood.
4. Wipe and Buff: Use the cloth to gently wipe the polish onto the furniture, following the grain of the wood. Then, use a clean, dry cloth to buff the surface until it shines. This step is crucial for removing any excess polish and achieving a beautiful, glossy finish.
5. Repeat as Needed: For heavily soiled or neglected furniture, you may need to repeat the process.
Recipe 2: Beeswax and Olive Oil Polish
This polish is a bit more involved, but the results are worth it! It’s perfect for protecting and restoring older furniture.
Ingredients:
* 1/4 cup beeswax (grated or pellets)
* 1 cup olive oil
* Double boiler or heat-safe bowl and saucepan
* Soft cloth
* Clean jar or container for storage
Instructions:
1. Melt the Beeswax: The first step is to melt the beeswax. The safest way to do this is using a double boiler. If you don’t have a double boiler, you can create one by placing a heat-safe bowl over a saucepan filled with a few inches of water. Make sure the bottom of the bowl doesn’t touch the water. Bring the water to a simmer over medium heat.
2. Add the Olive Oil: Once the beeswax is completely melted, slowly pour in the olive oil. Stir continuously until the mixture is smooth and well combined.
3. Remove from Heat: Carefully remove the bowl from the heat and let the mixture cool slightly. It will thicken as it cools.
4. Pour into a Container: Pour the polish into a clean jar or container with a lid. Let it cool completely and solidify. The consistency should be similar to a soft paste.
5. Apply the Polish: Use a soft cloth to apply a small amount of the beeswax polish to the furniture. Work in small sections, following the grain of the wood.
6. Buff to a Shine: After applying the polish, let it sit for a few minutes to allow the beeswax to penetrate the wood. Then, use a clean, dry cloth to buff the surface until it shines. This step may require some elbow grease, but the results will be worth it!
7. Store Properly: Store the remaining polish in a cool, dry place. It should last for several months.
Recipe 3: Vinegar and Olive Oil Polish
This is a great alternative to the lemon juice polish if you prefer a milder scent.
Ingredients:
* 1/2 cup olive oil
* 1/4 cup white vinegar
* Soft cloth
* Spray bottle (optional)
Instructions:
1. Mix the Ingredients: In a bowl, combine the olive oil and white vinegar. Whisk them together until they are well blended. If you prefer, you can pour the mixture into a spray bottle for easier application.
2. Test in an Inconspicuous Area: Before applying the polish to the entire piece of furniture, test it in a small, hidden area to ensure it doesn’t damage the finish. Apply a small amount of the polish to the area and let it sit for a few minutes. Then, wipe it off with a clean cloth. If there are no adverse effects, you can proceed with polishing the rest of the furniture.
3. Apply the Polish: Dip a soft cloth into the polish mixture or spray it directly onto the furniture. Don’t over-saturate the wood.
4. Wipe and Buff: Use the cloth to gently wipe the polish onto the furniture, following the grain of the wood. Then, use a clean, dry cloth to buff the surface until it shines. This step is crucial for removing any excess polish and achieving a beautiful, glossy finish.
5. Repeat as Needed: For heavily soiled or neglected furniture, you may need to repeat the process.
Recipe 4: Coconut Oil Polish
This is the simplest recipe of them all! It’s great for a quick and easy shine.
Ingredients:
* Coconut oil (solid or melted)
* Soft cloth
Instructions:
1. Prepare the Coconut Oil: If your coconut oil is solid, you can melt it slightly by placing the jar in a bowl of warm water. You don’t need to melt it completely; just soften it enough to make it easy to apply.
2. Apply the Coconut Oil: Dip a soft cloth into the coconut oil. You only need a very small amount.
3. Wipe and Buff: Use the cloth to gently wipe the coconut oil onto the furniture, following the grain of the wood. Then, use a clean, dry cloth to buff the surface until it shines. Be sure to remove any excess oil to prevent a sticky residue.
4. Repeat as Needed: For dry or dull furniture, you may need to repeat the process.
General Tips for Polishing Furniture
No matter which recipe you choose, here are some general tips to keep in mind:
* Always test in an inconspicuous area first! This is crucial to avoid damaging the finish of your furniture.
* Use a soft cloth. Microfiber cloths are ideal for polishing furniture. Avoid using abrasive cloths or sponges, as they can scratch the surface.
* Apply the polish sparingly. A little goes a long way! Over-saturating the wood can leave a sticky residue.
* Follow the grain of the wood. This will help to prevent streaks and ensure an even finish.
* Buff thoroughly. Buffing is essential for removing excess polish and achieving a beautiful shine.
* Dust regularly. Regular dusting will help to prevent dirt and grime from building up on your furniture, making it easier to polish.
* Avoid direct sunlight. Direct sunlight can fade and damage wood furniture.
* Control humidity. Extreme humidity can also damage wood furniture.
* Consider the age and condition of your furniture. Antique or delicate furniture may require special care. If you’re unsure, consult a professional.
Cleaning Before Polishing
Before you start polishing, it
Conclusion
So, there you have it! Ditching the store-bought furniture polish and embracing these DIY furniture polish tricks is more than just a cost-effective alternative; it’s a conscious choice to care for your furniture and the environment. We’ve explored simple yet powerful methods using ingredients you likely already have in your pantry. From the classic olive oil and lemon juice combination that breathes new life into dull wood, to the beeswax and coconut oil blend that offers deep conditioning and protection, these recipes are designed to be both effective and gentle.
Why is this a must-try? Because it’s about more than just shining your furniture. It’s about knowing exactly what you’re putting on your cherished pieces. No harsh chemicals, no mystery ingredients, just pure, natural goodness that enhances the beauty and longevity of your furniture. Plus, it’s incredibly satisfying to create something yourself that yields such impressive results.
But the beauty of DIY lies in its adaptability. Feel free to experiment with variations to find what works best for your specific furniture and preferences. For instance, if you’re dealing with particularly dry wood, you might want to increase the proportion of oil in your polish. Or, if you prefer a stronger scent, add a few drops of your favorite essential oil, like lavender or cedarwood, to the mix. Remember to always test a small, inconspicuous area first to ensure compatibility.
Consider adding a touch of vinegar to your polish for extra cleaning power, especially if you’re dealing with stubborn grime or buildup. For lighter woods, you might want to use a lighter-colored oil, such as almond oil, to avoid any potential discoloration. And for furniture with intricate carvings or details, a soft toothbrush can be invaluable for applying the polish evenly and reaching those hard-to-reach spots.
Ultimately, the best DIY furniture polish is the one that works best for you. Don’t be afraid to tweak the recipes, experiment with different ingredients, and find the perfect formula that leaves your furniture looking its absolute best.
We wholeheartedly encourage you to give these DIY furniture polish tricks a try. You’ll be amazed at how easy and rewarding it is to create your own natural furniture care products. And more importantly, we want to hear about your experience! Share your results, your variations, and your tips in the comments below. Let’s build a community of DIY enthusiasts who are passionate about caring for their furniture in a sustainable and effective way. Your insights could inspire others to ditch the chemicals and embrace the natural power of homemade furniture polish. Let us know which recipe you tried, what kind of furniture you used it on, and any modifications you made. We can’t wait to see your shining results!
FAQ
What are the benefits of using DIY furniture polish compared to store-bought options?
DIY furniture polish offers several advantages. First and foremost, you have complete control over the ingredients, avoiding harsh chemicals, artificial fragrances, and potential allergens found in many commercial products. This is especially important for households with children, pets, or individuals with sensitivities. Secondly, DIY polish is often more cost-effective, utilizing readily available ingredients you likely already have at home. Finally, it’s a more sustainable choice, reducing plastic waste and supporting a more eco-friendly lifestyle. You can tailor the ingredients to your specific needs and preferences, creating a truly personalized furniture care solution.
Can I use DIY furniture polish on all types of wood furniture?
While most DIY furniture polish recipes are safe for a wide range of wood types, it’s always best to test a small, inconspicuous area first. This is particularly important for antique furniture, delicate finishes, or woods with specific care instructions. Avoid using polishes containing vinegar on waxed furniture, as it can strip the wax. For painted or lacquered furniture, a simple dusting or a damp cloth is often sufficient. If you’re unsure, consult with a furniture restoration expert.
How often should I polish my furniture?
The frequency of polishing depends on several factors, including the type of wood, the level of use, and the environment. Generally, polishing every few months is sufficient for most furniture. However, high-traffic areas or furniture exposed to direct sunlight may require more frequent polishing. Look for signs of dryness, dullness, or scratches as indicators that it’s time to polish. Avoid over-polishing, as this can lead to buildup and a sticky residue.
What if my furniture has a lot of buildup from previous polishes?
If your furniture has a significant buildup of old polish, you may need to clean it before applying a new coat. A mixture of warm water and mild dish soap can be used to gently clean the surface. Be sure to wring out the cloth thoroughly to avoid excessive moisture. For stubborn buildup, you can try using a solution of equal parts white vinegar and water. After cleaning, allow the furniture to dry completely before applying your DIY furniture polish.
How do I store my DIY furniture polish?
Store your DIY furniture polish in an airtight container in a cool, dark place. This will help to prevent the oils from going rancid and maintain the polish’s effectiveness. Label the container with the date and ingredients. Most DIY furniture polishes will last for several months when stored properly. If you notice any changes in color, odor, or consistency, discard the polish.
Can I add essential oils to my DIY furniture polish?
Yes, adding essential oils to your DIY furniture polish can provide a pleasant scent and additional benefits. Lavender, cedarwood, lemon, and orange essential oils are popular choices for their cleaning and refreshing properties. However, be sure to use essential oils sparingly, as some can be irritating to the skin or harmful to certain finishes. A few drops per batch of polish is usually sufficient. Always test a small area first to ensure compatibility.
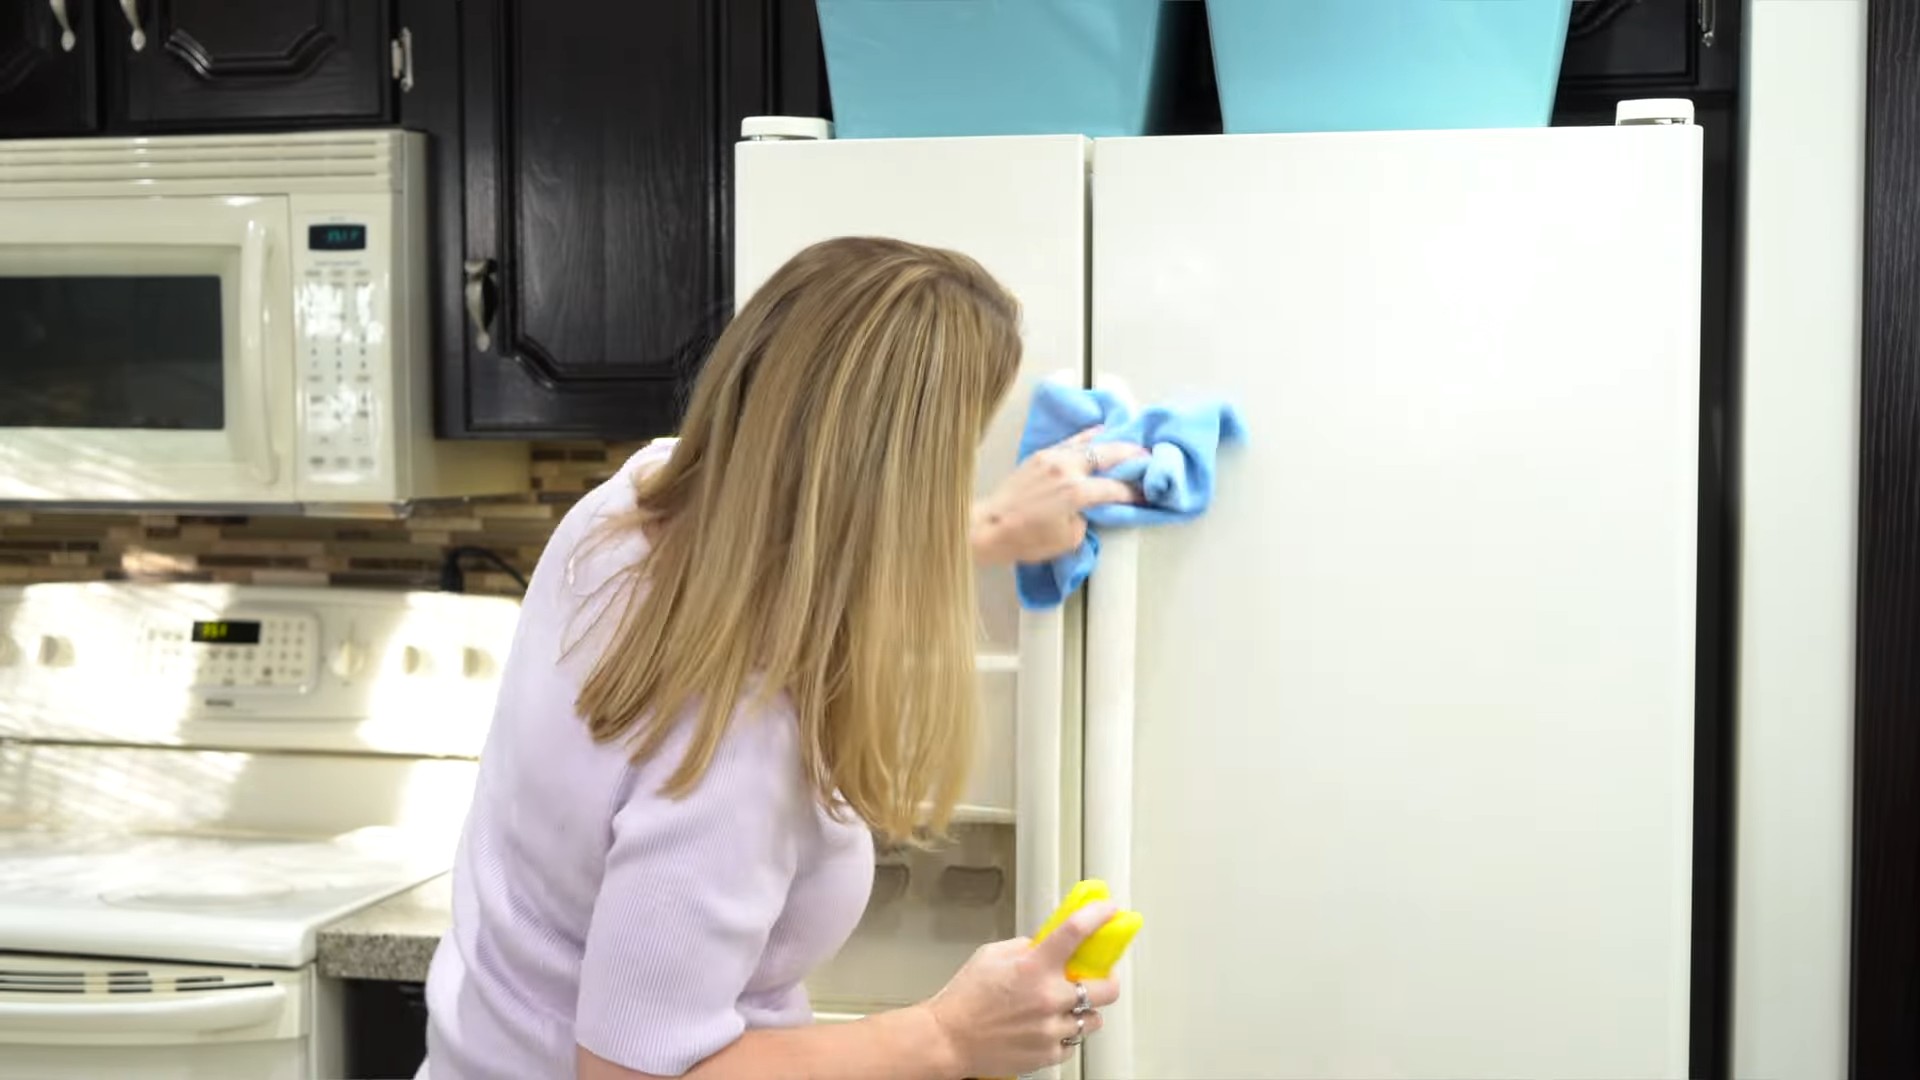
What kind of cloth should I use to apply the polish?
A soft, lint-free cloth is ideal for applying and buffing DIY furniture polish. Microfiber cloths are a great option, as they are gentle on the wood and effectively remove dirt and grime. Avoid using abrasive cloths or paper towels, as these can scratch the surface. You may want to use one cloth to apply the polish and another clean cloth to buff it to a shine.
My furniture has water stains. Will DIY furniture polish remove them?
DIY furniture polish may help to minimize the appearance of minor water stains, but it’s unlikely to completely remove them. For more stubborn water stains, you can try using a hairdryer on a low setting to gently dry the affected area. Be careful not to overheat the wood. You can also try rubbing the stain with a mixture of toothpaste and baking soda. If these methods don’t work, you may need to consult with a furniture restoration expert.
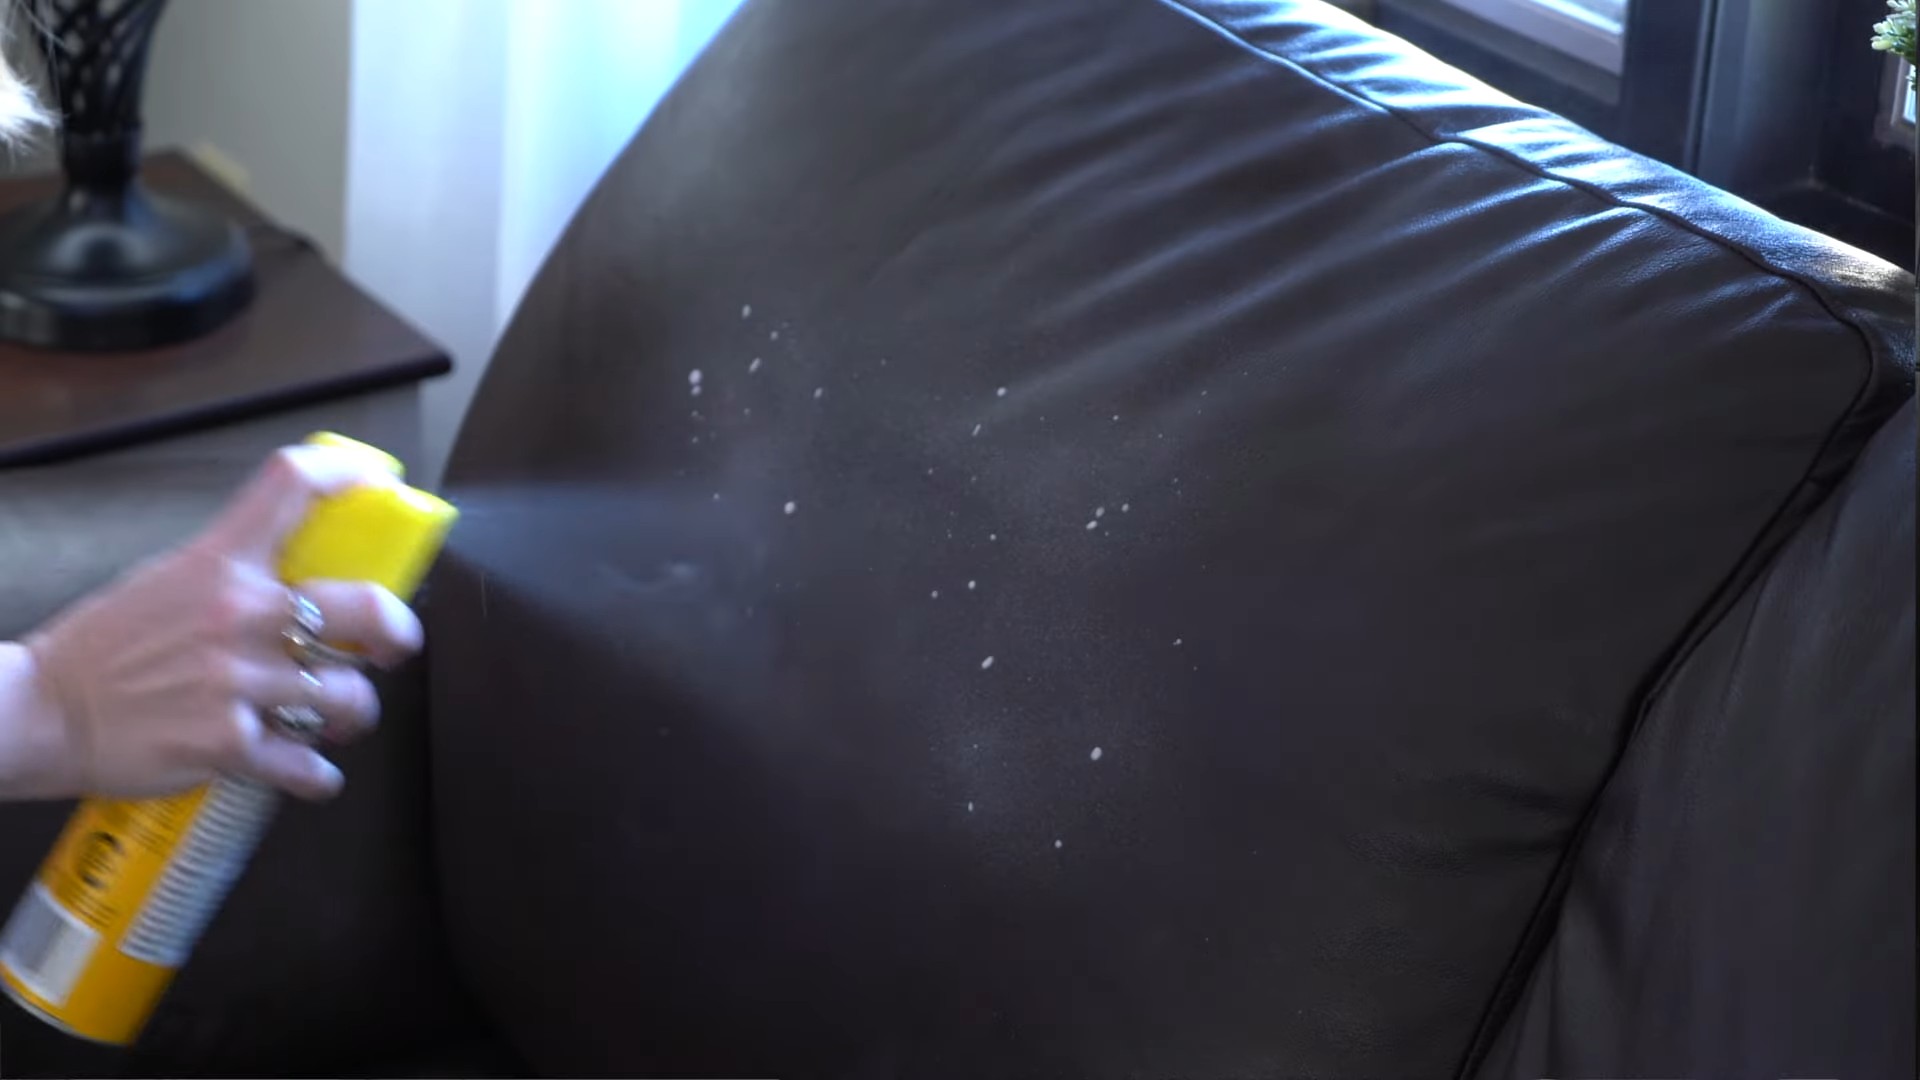
Is it safe to use DIY furniture polish on leather furniture?
No, the DIY furniture polish recipes mentioned above are not suitable for leather furniture. Leather requires specialized care products designed to condition and protect the material. Using oil-based polishes on leather can clog the pores and damage the finish. Look for leather conditioners specifically formulated for your type of leather furniture.
What if I accidentally get DIY furniture polish on fabric?
If you accidentally get DIY furniture polish on fabric, blot the area immediately with a clean cloth. Avoid rubbing, as this can spread the stain. You can try using a mild dish soap and water solution to gently clean the fabric. If the stain persists, you may need to consult with a professional upholstery cleaner.
Leave a Comment