

Growing Garlic at Home can seem intimidating, but trust me, it’s one of the most rewarding and surprisingly simple gardening projects you can undertake! Imagine the satisfaction of harvesting your own pungent, flavorful garlic, knowing exactly where it came from and how it was grown. Forget those bland, imported cloves from the supermarket; homegrown garlic bursts with an intensity you won’t believe.
Garlic has a rich history, dating back thousands of years. Ancient Egyptians revered it, feeding it to the pyramid builders for strength and stamina. The Romans believed it imbued courage, and across cultures, it’s been used for its medicinal properties. Today, we still appreciate garlic for its health benefits and, of course, its incredible flavor.
But why should you try growing garlic at home? Well, for starters, it’s incredibly easy! Plus, you’ll have access to varieties you simply can’t find in stores. More importantly, in a world where we’re increasingly conscious of where our food comes from, growing garlic at home gives you complete control over the process. You’ll avoid harmful pesticides and herbicides, ensuring a healthy and delicious harvest. I’m going to show you some easy DIY tricks and hacks that will make growing garlic at home a breeze, even if you have limited space or gardening experience. Let’s get started and unlock the secrets to a bountiful garlic harvest!
Growing Garlic: Your DIY Guide for a Bountiful Harvest!
Hey everyone! I love using fresh ingredients straight from my garden, and garlic is no exception. It’s super easy to grow garlic at home, and the taste is incomparably better than what you get at the supermarket. In this article, I’ll show you step-by-step how to grow your own garlic – whether you have a large garden or just a small balcony. Let’s get started!
The Basics: What You Need
Before we get started, let’s make sure you have everything you need. Here’s a list of the most important things:
- Garlic cloves: The most important thing! Buy garlic cloves from a trusted source, ideally organic garlic from a farmers’ market or garden center. Avoid garlic from the supermarket, as it has often been treated to prevent sprouting. Make sure the cloves look firm and healthy.
- A suitable location: Garlic needs a lot of sun! Choose a location that gets at least six hours of direct sunlight per day.
- Well-draining soil: Garlic doesn’t like waterlogged soil. The soil should be loose and well-draining. If you have heavy clay soil, you’ll need to improve it with compost or sand.
- Compost or organic fertilizer: Garlic is a heavy feeder and needs a lot of nutrients. Compost or organic fertilizer will help enrich the soil.
- Watering can or hose: For watering your garlic plants.
- Gardening tools: A shovel, a rake, and possibly a dibber.
- Mulch (optional): Straw, leaves, or wood chips help to retain moisture in the soil and suppress weeds.
The Right Time: When to Plant?
The best time to plant garlic is in the fall, about 4-6 weeks before the first frost. This gives the cloves enough time to develop roots before winter comes. In most regions, this is September or October. If you live in a region with mild winters, you can also plant in November or December.
Step-by-Step Guide: Planting Garlic
Now for the exciting part: planting! Follow these steps to ensure your garlic grows well:
- Prepare the soil: Loosen the soil with a shovel or rake. Remove stones and weeds. Work compost or organic fertilizer into the soil. I always use a good amount of compost to make sure the soil is rich in nutrients.
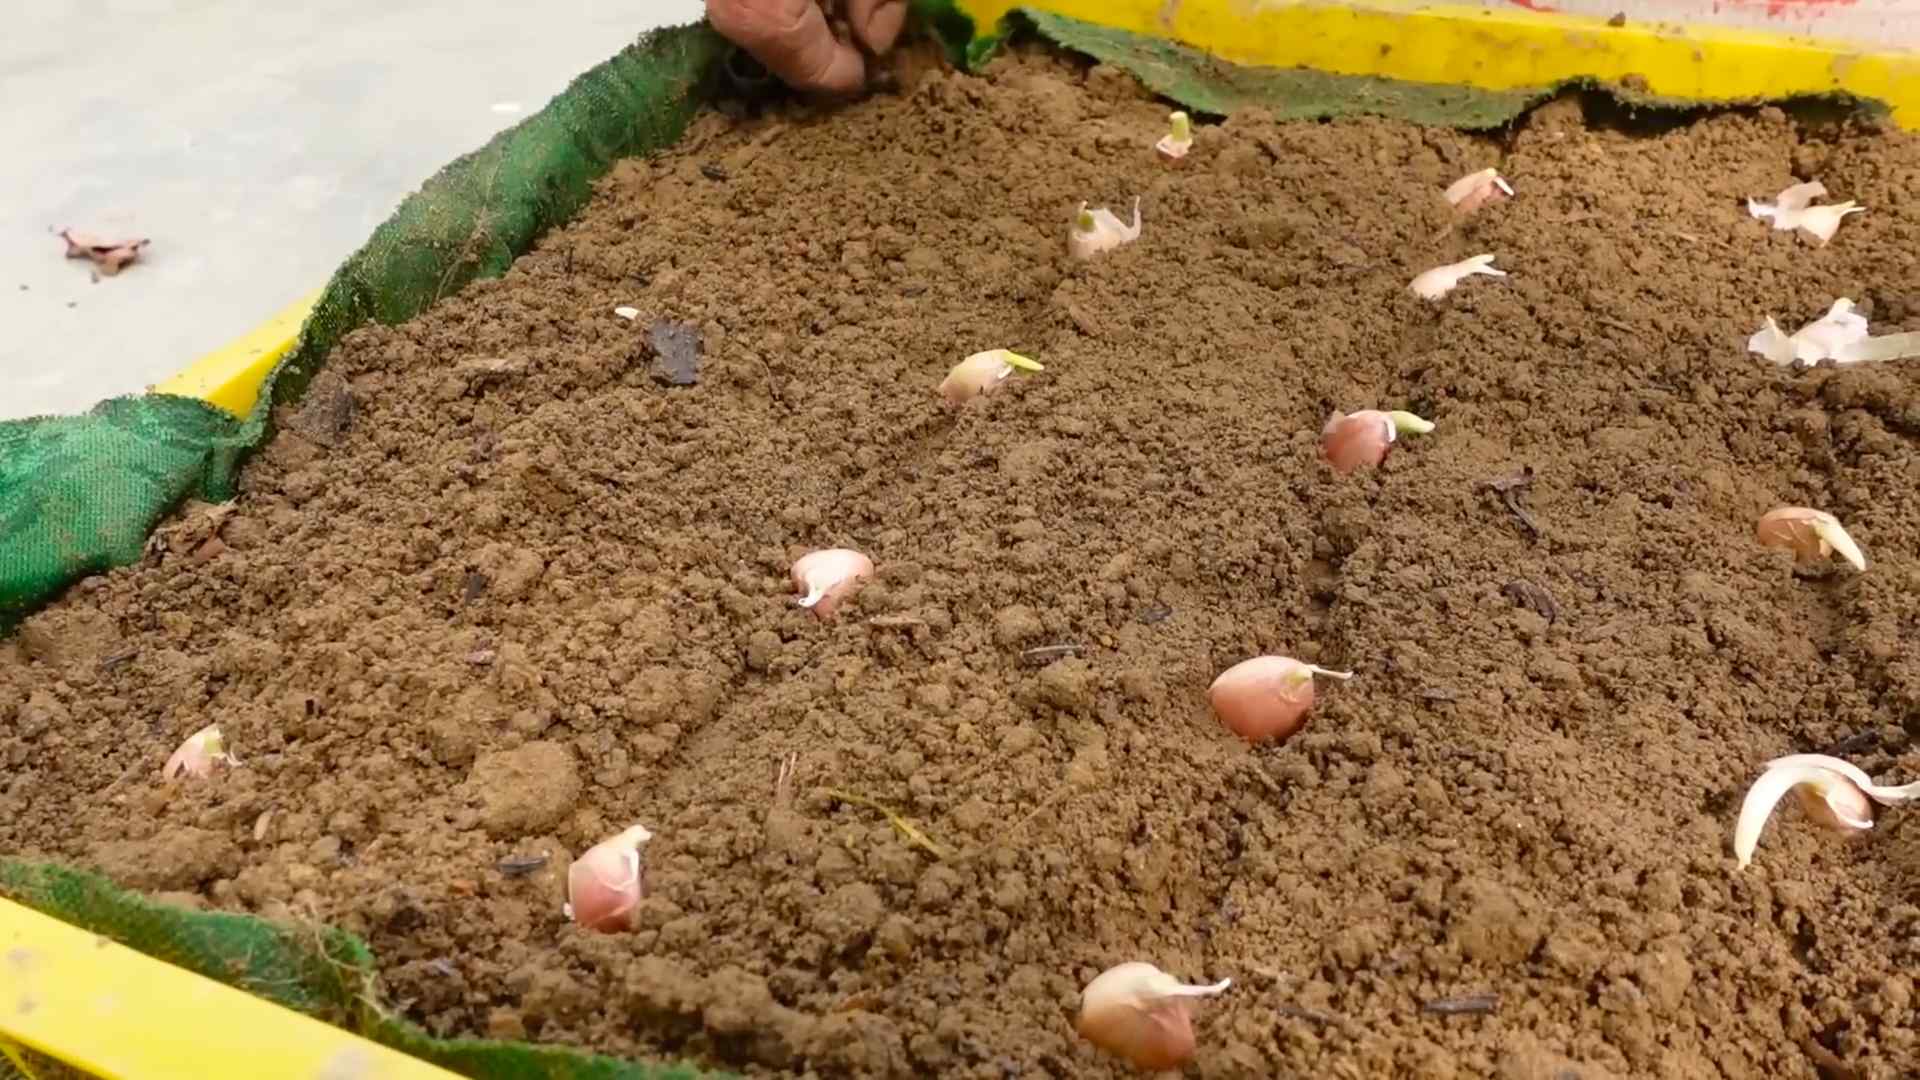
- Separate the cloves: Carefully separate the garlic cloves from the garlic bulb. Be careful not to damage the outer skin of the cloves. Choose the largest and healthiest cloves for planting. You can use the smaller cloves for cooking.
- Plant the cloves: Plant the cloves with the pointed end up about 5-8 cm deep in the soil. The distance between the cloves should be about 10-15 cm. The distance between the rows should be about 20-30 cm. I always do this with a dibber to make sure the cloves are at the right depth.
- Watering: Water the planted cloves thoroughly. This helps to settle the soil and encourage root formation.
- Mulching (optional): Cover the soil with a layer of mulch. This helps to retain moisture in the soil, suppress weeds, and insulate the soil in winter. I like to use straw because it’s readily available and works well.
Care During Growth: What You Need to Do
After planting, it’s important to take good care of your garlic so that it grows well and produces a bountiful harvest. Here are some tips:
- Watering: Water your garlic plants regularly, especially during dry periods. The soil should be moist, but not wet. Avoid waterlogging, as this can lead to rot. I always check the soil with my finger to see if it’s dry.
- Weed control: Keep the area around your garlic plants free of weeds. Weeds compete with the garlic for nutrients and water. Weeding is best done by hand to avoid damaging the garlic roots.
- Fertilizing: Fertilize your garlic plants in the spring with an organic fertilizer or compost tea. This gives them an extra boost for growth. I like to use compost tea because it’s easy to make and contains a lot of nutrients.
- Removing scapes (on hardneck varieties): Some garlic varieties (hardneck varieties) produce flower stalks, called “scapes,” in the spring. These should be removed so that the plant puts its energy into developing the garlic bulb. The scapes are edible, by the way, and taste delicious in salads or as pesto.
Harvest Time: When is the Garlic Ready?
The harvest time for garlic is usually in the summer, about 8-9 months after planting. You can tell that the garlic is ready when the lower leaves turn yellow and die back.
How to harvest your garlic:
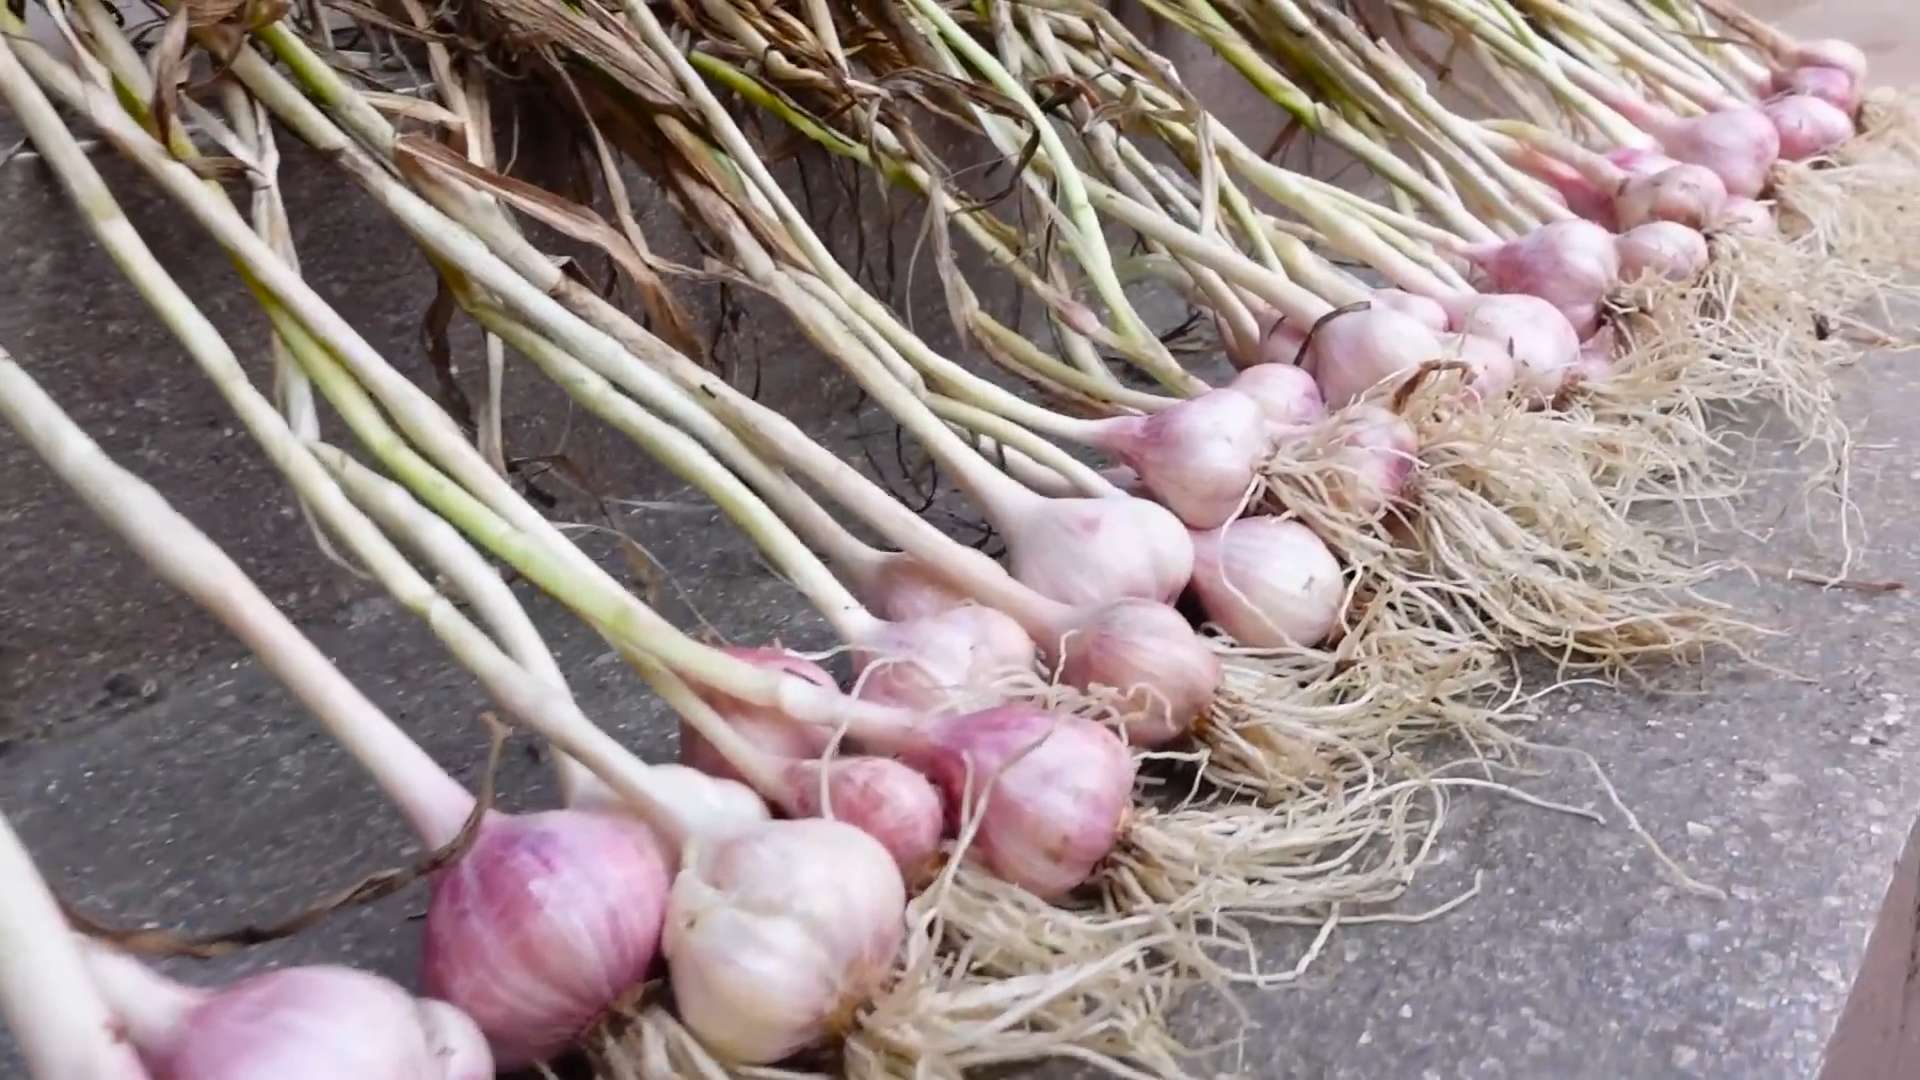
- Dig up carefully: Loosen the soil around the garlic plants with a digging fork or shovel. Carefully pull the plants out of the ground. Be careful not to damage the garlic bulbs.
- Cleaning: Remove the soil from the garlic bulbs. Shake them gently or brush them with a soft brush.
- Drying: Tie the garlic plants into bundles and hang them in a dry, airy place to dry. This can take several weeks. I always hang my garlic bundles in my shed, where it’s dark and well-ventilated.
- Storing: Once the garlic is completely dry, cut off the roots and stems. Store the garlic bulbs in a cool, dry, and dark place. This way, it will keep for several months.
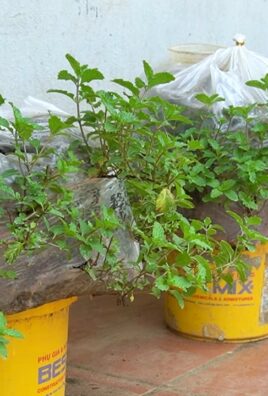
Growing Garlic in a Pot: For Balcony Gardeners
No garden? No problem! You can also easily grow garlic in a pot. Here are a few tips:
- Choose a large pot: The pot should be at least 20 cm in diameter and depth.
- Use high-quality potting soil: Make sure the potting soil is well-draining.
- Plant the cloves as you would in the garden: Plant the cloves about 5-8 cm deep in the soil.
- Water regularly: Water the plants regularly, but avoid waterlogging.
- Fertilize regularly: Fertilize the plants every few weeks with a liquid fertilizer.
- Place the pot in a sunny location: Garlic needs a lot of sun, even in a pot.
Common Problems and Solutions
Problems can also occur when growing garlic. Here are some of the most common problems and how you can solve them:
Diseases: Garlic can also be affected by various diseases, such as rust or white rot.
Rot: Rot occurs when the soil is too wet. Make sure the soil is well-draining and avoid waterlogging.
Pests: Garlic can be infested by various pests, such as onion flies or nematodes. Use natural pesticides or plant companion plants that repel pests.
Conclusion
So, there you have it! Growing garlic at home isn’t just a gardening project; it’s an investment in flavor, freshness, and a deeper connection to your food. We’ve walked you through the simple steps, debunked common myths, and armed you with the knowledge to cultivate your own pungent cloves right in your backyard (or even on your balcony!).
Why is this DIY trick a must-try? Because the garlic you buy in the store simply can’t compare to the vibrant, robust flavor of homegrown garlic. Think about it: commercially grown garlic often travels long distances, sits in storage for extended periods, and may even be treated with chemicals to prolong its shelf life. All of this impacts its taste and nutritional value. When you grow your own, you control every aspect of the process, ensuring you get the freshest, most flavorful garlic possible.
Beyond the superior taste, growing garlic at home is incredibly rewarding. There’s something deeply satisfying about nurturing a plant from a single clove to a full, healthy bulb. It’s a tangible connection to the earth and a reminder of the simple pleasures in life. Plus, you’ll have a steady supply of garlic scapes in the spring – a delicious and versatile ingredient that’s often hard to find in stores.
But the benefits don’t stop there. Growing garlic is also a sustainable choice. By reducing your reliance on commercially grown garlic, you’re minimizing your carbon footprint and supporting a more localized food system. And let’s not forget the added bonus of pest control! Garlic is a natural deterrent to many common garden pests, making it a valuable companion plant for your other vegetables and herbs.
Ready to take your garlic game to the next level? Consider these variations:
* Experiment with different varieties: From the mild and creamy ‘California Early’ to the spicy and pungent ‘Russian Red,’ there’s a garlic variety to suit every palate. Try planting a few different types to discover your favorites.
* Grow garlic in containers: If you don’t have a garden, don’t worry! Garlic thrives in containers, making it a perfect option for apartment dwellers and urban gardeners. Just be sure to choose a pot that’s at least 12 inches deep and wide to allow the bulbs plenty of room to grow.
* Try growing garlic chives: These versatile herbs offer a mild garlic flavor and can be used in a variety of dishes. They’re also incredibly easy to grow and will readily self-seed, providing you with a continuous supply of fresh chives.
* Infuse your own garlic oil: Once you’ve harvested your garlic, use some of the cloves to create your own infused oil. Simply combine peeled garlic cloves with olive oil in a jar, let it sit for a few weeks, and then strain. The resulting oil will be infused with a delicious garlic flavor that’s perfect for drizzling over pasta, salads, and roasted vegetables.
So, what are you waiting for? Grab some garlic cloves, find a sunny spot in your garden (or a spacious container), and get planting! We’re confident that you’ll be amazed by the results.
We encourage you to try this DIY trick and share your experience with us. Post photos of your garlic crop on social media using #HomeGrownGarlic and tell us about your successes (and any challenges you encounter along the way). We can’t wait to see what you create! Remember, the best garlic is the garlic you grow yourself. Happy gardening!
Frequently Asked Questions (FAQ)
When is the best time to plant garlic?
The ideal time to plant garlic is in the fall, typically 4-6 weeks before the ground freezes. This allows the cloves to establish roots before winter sets in. In colder climates, this is usually around October or November. In warmer climates, you can plant as late as December or January. The key is to give the garlic enough time to develop a strong root system before the cold weather arrives. Spring planting is possible, but the bulbs may not be as large. If you plant in the spring, do so as soon as the ground can be worked.
What kind of soil is best for growing garlic?
Garlic prefers well-drained, fertile soil that is rich in organic matter. Amend your soil with compost or aged manure before planting to improve its drainage and fertility. A slightly acidic to neutral pH (around 6.0 to 7.0) is ideal. Avoid heavy clay soils, as they can retain too much moisture and cause the garlic to rot. If you have clay soil, consider growing your garlic in raised beds or containers.
How deep should I plant garlic cloves?
Plant garlic cloves about 2 inches deep, with the pointed end facing up. Space the cloves about 6-8 inches apart in rows that are 12-18 inches apart. This spacing allows the bulbs plenty of room to grow and prevents overcrowding.
How much water does garlic need?
Garlic needs consistent moisture, especially during the spring when the bulbs are actively growing. Water deeply whenever the top inch of soil feels dry. Avoid overwatering, as this can lead to rot. During the winter months, garlic needs less water.
How do I fertilize garlic?
Garlic is a heavy feeder and benefits from regular fertilization. Apply a balanced fertilizer (such as 10-10-10) in the spring, when the plants are actively growing. You can also side-dress with compost or aged manure. Avoid over-fertilizing, as this can lead to excessive foliage growth at the expense of bulb development.
What are garlic scapes, and what do I do with them?
Garlic scapes are the flower stalks that emerge from hardneck garlic varieties in the spring. They are a delicious and versatile ingredient that can be used in a variety of dishes. To harvest scapes, simply cut them off when they begin to curl. They can be used raw in salads, stir-fried, grilled, or made into pesto. Removing the scapes encourages the plant to put more energy into bulb development.
When is garlic ready to harvest?
Garlic is typically ready to harvest in mid-summer, when the lower leaves begin to turn yellow and brown. To check if the bulbs are ready, carefully dig up a few plants and examine the bulbs. The bulbs should be plump and well-formed, with papery skins.
How do I cure garlic after harvesting?
Curing garlic is essential for long-term storage. After harvesting, gently brush off any excess soil and lay the bulbs out in a single layer in a well-ventilated, dry place. Allow the garlic to cure for 2-3 weeks, or until the necks are completely dry and the outer skins are papery.
How do I store garlic?
Once the garlic is cured, store it in a cool, dry, and dark place. Braiding the garlic is a traditional way to store it, as it allows for good air circulation. You can also store the bulbs in mesh bags or baskets. Avoid storing garlic in the refrigerator, as this can cause it to sprout. Properly cured and stored garlic can last for several months.
Can I grow garlic from store-bought cloves?
While it’s possible to grow garlic from store-bought cloves, it’s not always recommended. Store-bought garlic may have been treated with chemicals to prevent sprouting, which can inhibit growth. Additionally, it may not be adapted to your local climate. For best results, purchase garlic seed from a reputable source.
What are some common pests and diseases that affect garlic?
Common pests that affect garlic include aphids, thrips, and nematodes. Diseases include white rot, bulb rot, and downy mildew. To prevent pest and disease problems, practice good garden hygiene, such as removing plant debris and rotating crops. You can also use organic pest control methods, such as insecticidal soap or neem oil.
Can I grow garlic in containers?
Yes, garlic can be successfully grown in containers. Choose a pot that is at least 12 inches deep and wide to allow the bulbs plenty of room to grow. Use a well-draining potting mix and water regularly. Container-grown garlic may need to be fertilized more frequently than garlic grown in the ground.
How do I know if my garlic has a disease?
Signs of garlic disease can include yellowing or browning leaves, stunted growth, soft or mushy bulbs, and white or gray mold on the plants. If you suspect that your garlic has a disease, remove the affected plants immediately to prevent the spread of the disease.
Is growing garlic at home worth the effort?
Absolutely! While it requires some effort, growing garlic at home is a rewarding experience that provides you with fresh, flavorful garlic that is far superior to store-bought varieties. Plus, you’ll have the satisfaction of knowing that you grew it yourself.
Leave a Comment