

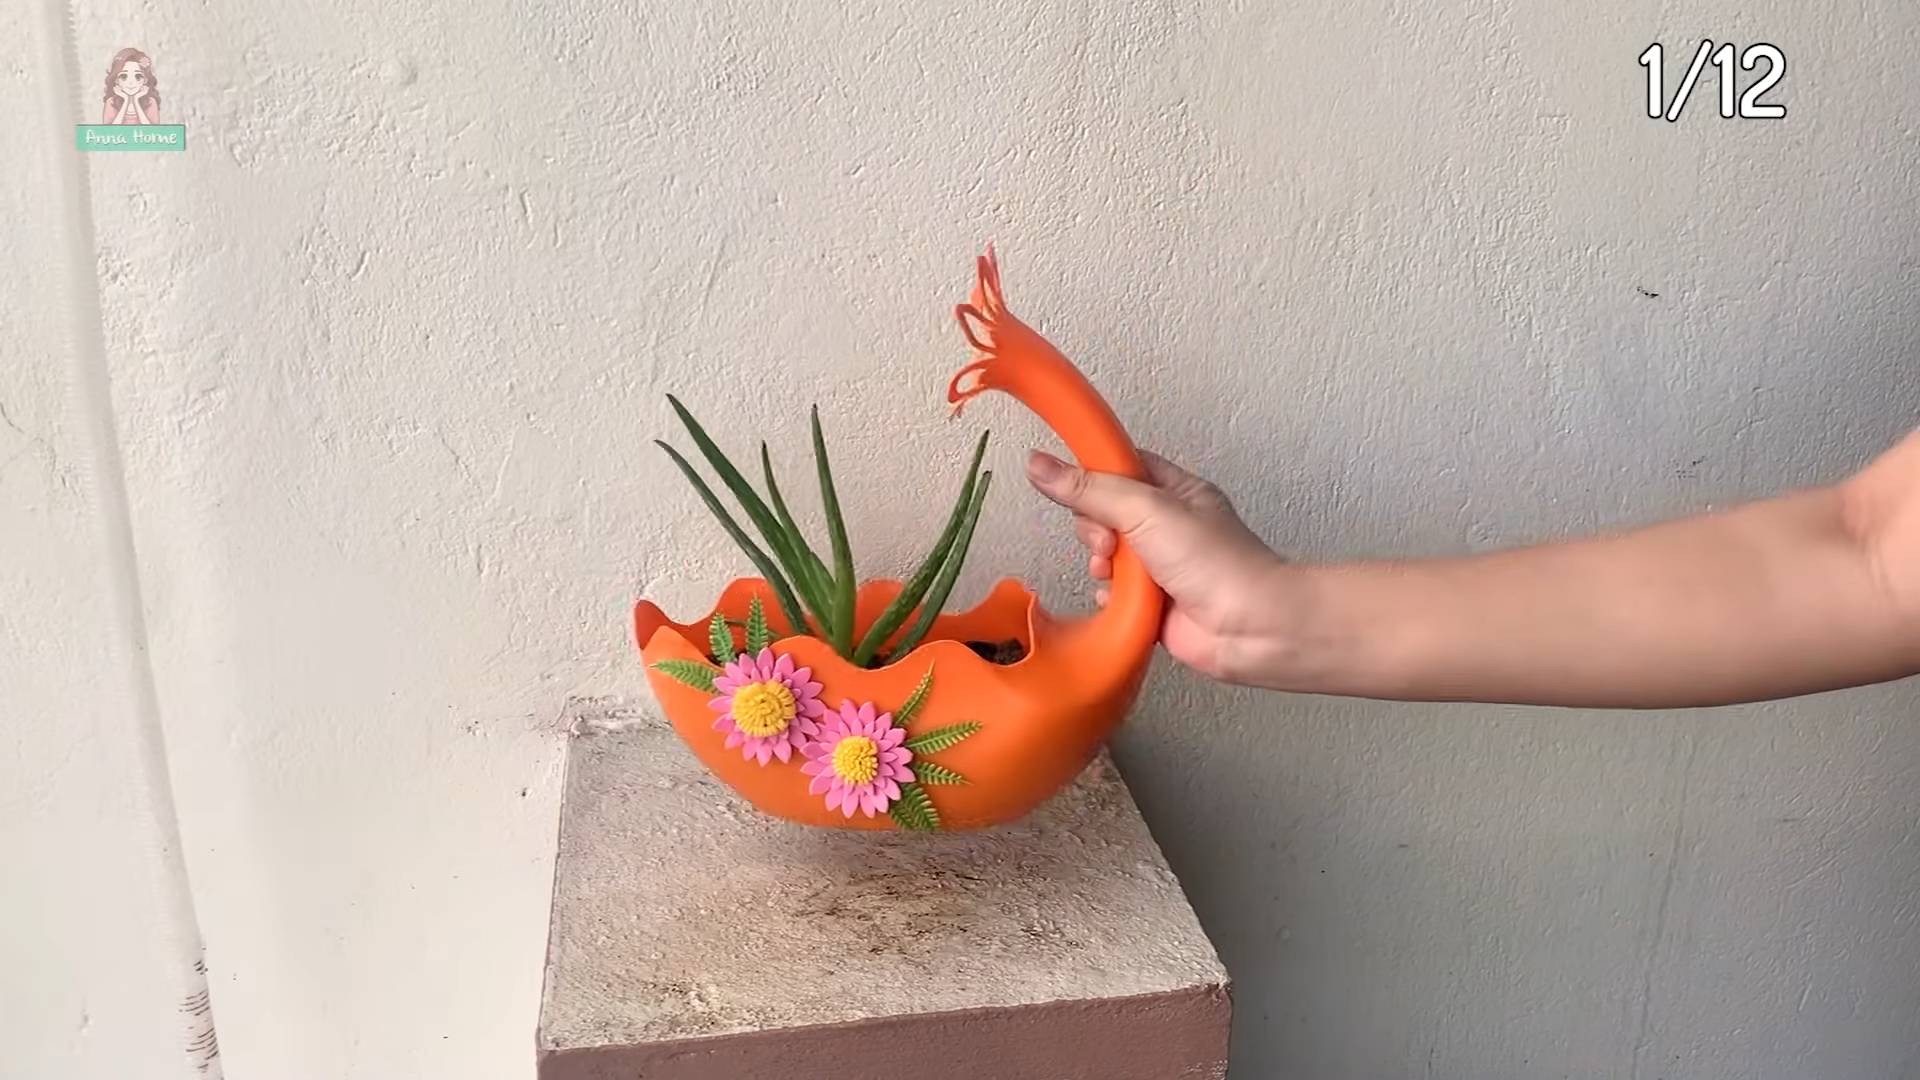
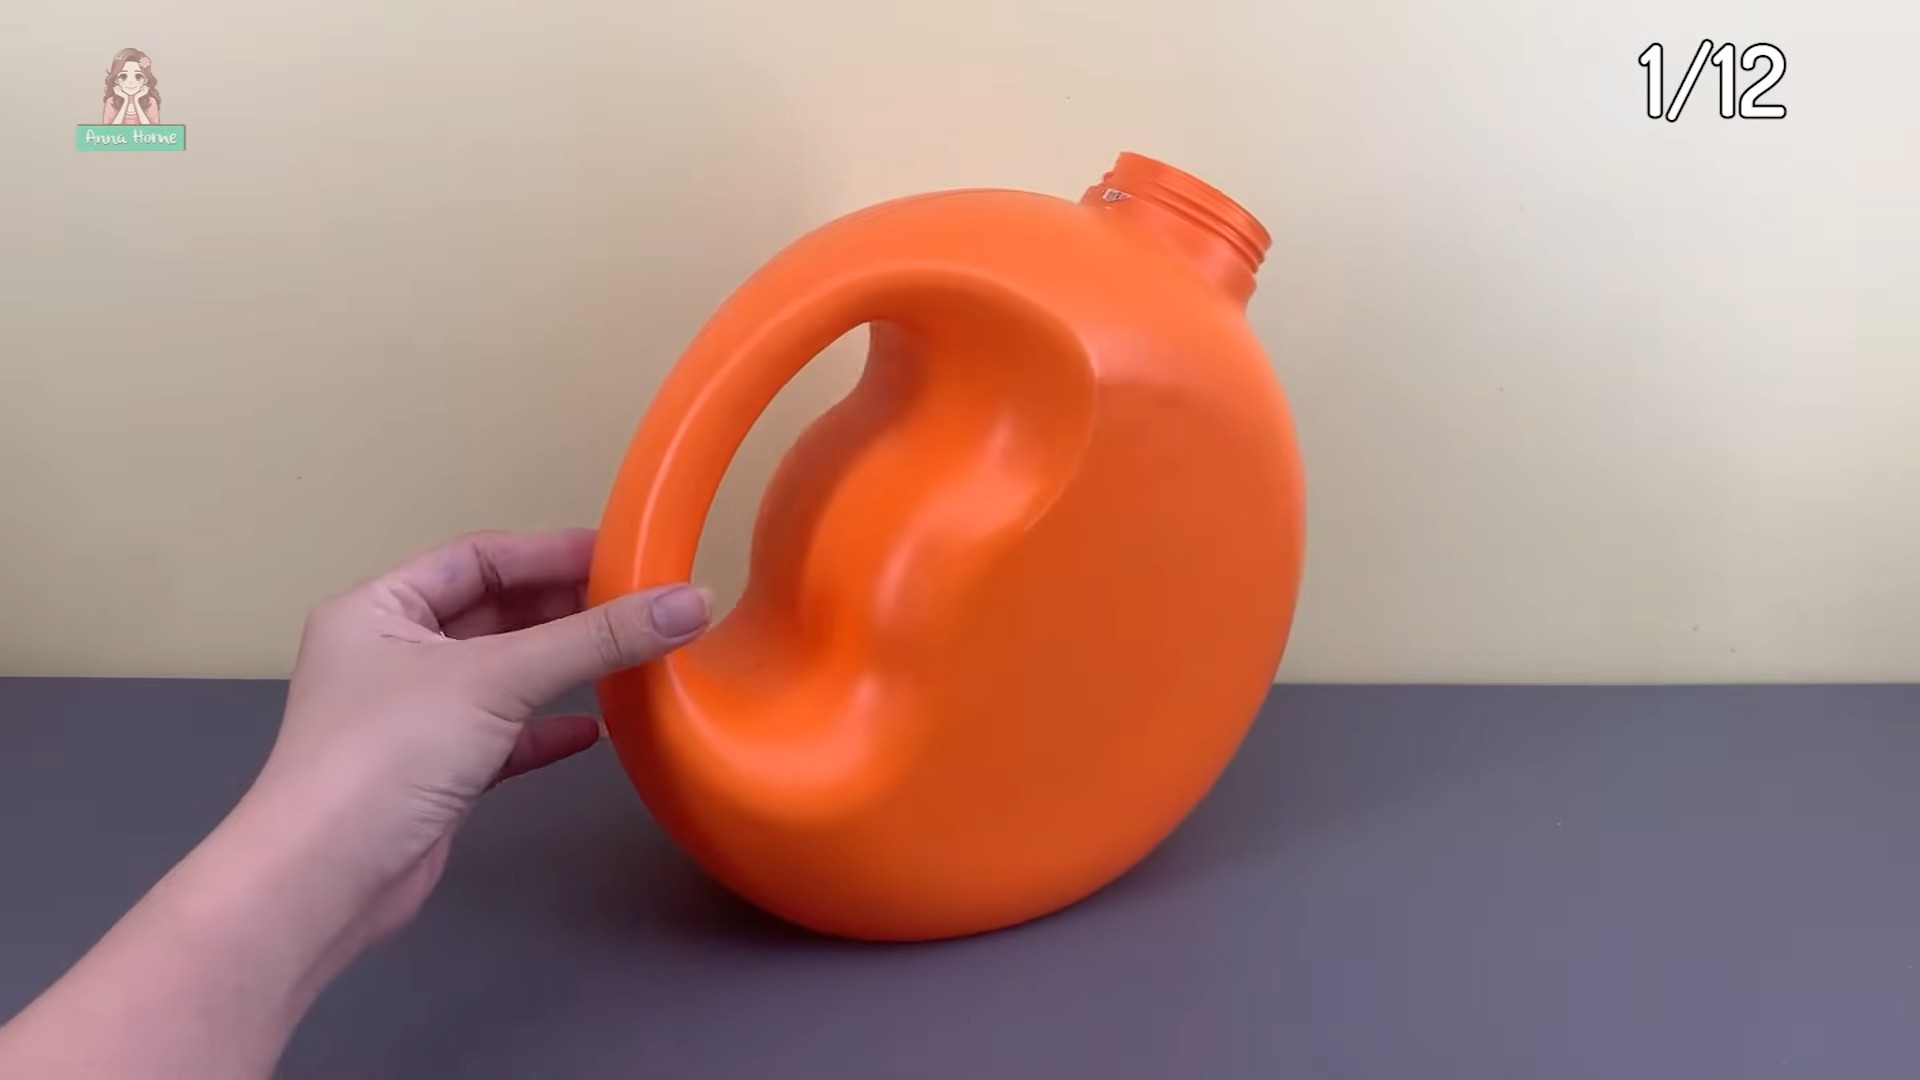
Home Living Hacks – who doesn’t love them? I know I do! We all crave that feeling of accomplishment when we transform our living spaces with clever, budget-friendly solutions. But what if I told you that some of the most impactful hacks are right outside your door, waiting to be unleashed in your garden?
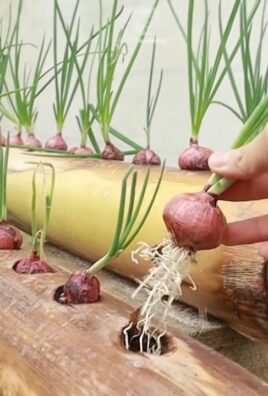
Gardening, in its essence, is a timeless art form. From the ancient Hanging Gardens of Babylon to the meticulously crafted gardens of Kyoto, humans have always sought to cultivate beauty and sustenance from the earth. But you don’t need to be a landscape architect to enjoy the benefits of a thriving garden.
In today’s fast-paced world, finding moments of peace and connection with nature is more important than ever. That’s where these Home Living Hacks for your garden come in. Whether you’re a seasoned gardener or just starting out, these DIY tricks will help you maximize your space, save money, and create a flourishing oasis right at home. Imagine harvesting your own fresh herbs for dinner, or enjoying the vibrant colors of blooming flowers you nurtured yourself.
Ready to roll up your sleeves and discover some amazing gardening secrets? Let’s dive in and transform your outdoor space into a haven of beauty and productivity!
DIY Under-Bed Storage: Maximize Your Space!
Hey everyone! Are you constantly battling clutter and feeling like you’re running out of storage space? I totally get it! Especially in smaller apartments or homes, every square inch counts. That’s why I’m so excited to share this super practical and surprisingly easy DIY project: under-bed storage boxes! This is a game-changer for organizing clothes, shoes, books, seasonal decorations – you name it! Let’s dive in and create some awesome storage solutions together.
Materials You’ll Need
Before we get started, let’s gather all the necessary materials. This will make the whole process smoother and prevent any frustrating mid-project trips to the hardware store.
* Plywood Sheets: This will be the main material for your boxes. I recommend using ½-inch plywood for a good balance of sturdiness and weight. The amount you need will depend on the size of your bed and how many boxes you want to make. I usually make 2-3 boxes per side of a queen-sized bed.
* Measuring Tape: Essential for accurate measurements!
* Pencil: For marking your cut lines.
* Circular Saw or Jigsaw: To cut the plywood. If you don’t have one, many hardware stores will cut the wood for you based on your measurements (which is super convenient!).
* Wood Glue: To create strong and durable joints.
* Clamps: To hold the pieces together while the glue dries.
* Screws: For extra reinforcement. I recommend using 1 ¼-inch wood screws.
* Drill: To pre-drill holes for the screws (this prevents the wood from splitting).
* Screwdriver or Drill with Screwdriver Bit: To drive in the screws.
* Sandpaper: To smooth out any rough edges. I like to use a medium-grit sandpaper (around 120-grit) followed by a fine-grit sandpaper (around 220-grit).
* Paint or Stain (Optional): To customize the look of your boxes.
* Paintbrush or Roller (If Painting or Staining): For applying the finish.
* Handles or Pulls: To make it easier to pull the boxes out from under the bed.
* Casters (Wheels): These are optional, but they make the boxes incredibly easy to slide in and out. I highly recommend them! Choose casters that are appropriate for the type of flooring you have (carpet or hard floor).
* Safety Glasses: Always protect your eyes when working with power tools!
* Dust Mask: To avoid inhaling sawdust.
Planning and Measuring
This is a crucial step! Accurate measurements are key to ensuring your storage boxes fit perfectly under your bed.
1. Measure the Under-Bed Clearance: Use your measuring tape to determine the height from the floor to the bottom of your bed frame. This is the maximum height your storage boxes can be. Subtract about an inch or two to allow for easy sliding.
2. Measure the Width and Depth: Measure the width and depth of the space under your bed. This will help you determine the maximum size of each box. Remember to consider any obstructions, like bed frame supports.
3. Decide on the Number of Boxes: Think about how you want to organize your items and how many boxes you’ll need. I find that having a few smaller boxes is often more manageable than one large one.
4. Calculate the Dimensions of Each Box: Based on your measurements, calculate the dimensions of each box. Remember to account for the thickness of the plywood when calculating the dimensions of the sides, top, and bottom. For example, if you want a box that is 12 inches high and you’re using ½-inch plywood, the sides will need to be cut to 11 ½ inches.
5. Create a Cutting List: Write down all the dimensions of the pieces you’ll need to cut. This will make the cutting process much easier and less prone to errors. For each box, you’ll need:
* One bottom piece
* Two side pieces
* One front piece
* One back piece
Cutting the Plywood
Now it’s time to put on your safety glasses and dust mask and get cutting!
1. Mark Your Cut Lines: Using your measuring tape and pencil, carefully mark the cut lines on the plywood according to your cutting list. Double-check your measurements before you start cutting!
2. Cut the Plywood: Using your circular saw or jigsaw, carefully cut along the marked lines. If you’re using a circular saw, be sure to use a straight edge as a guide to ensure a clean, straight cut. If you’re using a jigsaw, take your time and follow the line carefully.
3. Sand the Edges: Once you’ve cut all the pieces, use sandpaper to smooth out any rough edges. This will prevent splinters and make the boxes look more professional. Start with a medium-grit sandpaper and then finish with a fine-grit sandpaper.
Assembling the Boxes
This is where your storage boxes start to take shape!
1. Apply Wood Glue: Apply a generous amount of wood glue to the edges of the bottom piece where the side pieces will attach.
2. Attach the Side Pieces: Carefully position the side pieces onto the glued edges of the bottom piece. Make sure the edges are flush and square.
3. Clamp the Pieces Together: Use clamps to hold the side pieces in place while the glue dries. This will ensure a strong and durable joint.
4. Repeat for the Front and Back Pieces: Repeat steps 1-3 for the front and back pieces.
5. Let the Glue Dry: Allow the glue to dry completely according to the manufacturer’s instructions. This usually takes at least 24 hours.
6. Reinforce with Screws: Once the glue is dry, pre-drill holes along the edges of the box where the pieces are joined. Then, drive in screws to reinforce the joints. This will make the boxes even stronger and more durable.
Finishing Touches
Now it’s time to personalize your storage boxes and add the finishing touches!
1. Sand the Entire Box: Use sandpaper to smooth out any imperfections on the surface of the box. This will prepare the surface for painting or staining.
2. Paint or Stain (Optional): If you want to customize the look of your boxes, now is the time to paint or stain them. Choose a color or stain that complements your bedroom decor. Apply the paint or stain according to the manufacturer’s instructions. Let it dry completely.
3. Attach Handles or Pulls: Attach handles or pulls to the front of the boxes to make them easier to pull out from under the bed. Choose handles or pulls that are comfortable to grip and that match the style of your bedroom.
4. Attach Casters (Optional): If you’re using casters, attach them to the bottom of the boxes. Make sure the casters are securely attached and that they roll smoothly. I find that placing one caster in each corner works best.
Final Check and Placement
1. Inspect the Boxes: Before placing the boxes under your bed, inspect them carefully to make sure there are no sharp edges or loose screws.
2. Place the Boxes Under Your Bed: Carefully slide the boxes under your bed. Make sure they fit properly and that they don’t rub against the bed frame.
3. Organize Your Items: Now it’s time to fill your storage boxes with your belongings! Organize your items in a way that makes sense to you and that makes it easy to find what you need.
Tips and Tricks
* Use Drawer Dividers: To keep your items organized inside the boxes, consider using drawer dividers.
* Label the Boxes: Label the boxes so you know what’s inside without having to open them.
* Use Fabric Liners: To protect your clothes and other delicate items, consider lining the boxes with fabric.
* Consider Different Box Sizes: Don’t be afraid to experiment with different box sizes to accommodate different types of items.
* Get Creative with the Design: You can customize the look of your boxes in many different ways. Consider adding decorative trim, painting them with stencils, or covering them with fabric.
Alternative Design: Simple Open-Top Bins
If you’re looking for an even simpler design, you can create open-top bins instead of fully enclosed boxes. This is a great option if you want easy access to your items.
1. Follow Steps 1-3 of “Cutting the Plywood” to cut the pieces for the sides, front, back, and bottom.
2. Skip the step of cutting a top piece.
3. Follow Steps 1-6 of “Assembling the Boxes” to assemble the sides, front, back
Conclusion
So, there you have it! This simple yet incredibly effective DIY trick is more than just a clever shortcut; it’s a game-changer for your home living experience. We’ve shown you how to transform everyday items into something extraordinary, saving you time, money, and a whole lot of frustration. The beauty of this particular home living hack lies in its versatility and adaptability. It’s not a rigid, one-size-fits-all solution, but rather a foundation upon which you can build and customize to perfectly suit your individual needs and preferences.
Think about the possibilities! Perhaps you want to add essential oils to your cleaning solution for a refreshing scent, or maybe you want to experiment with different fabrics for your homemade dryer sheets. The only limit is your imagination. Don’t be afraid to get creative and personalize this hack to truly make it your own.
This isn’t just about saving a few dollars; it’s about taking control of your home environment and creating a space that is both functional and enjoyable. It’s about reducing waste, embracing sustainability, and feeling a sense of accomplishment from creating something useful with your own two hands. In a world of mass-produced goods and disposable items, this DIY approach offers a refreshing alternative, allowing you to connect with your home in a more meaningful way.
We understand that trying something new can sometimes feel daunting, but we promise you that this hack is incredibly easy to implement. The steps are straightforward, the materials are readily available, and the results are well worth the effort. Even if you’re not typically a DIY enthusiast, we encourage you to give this a try. You might just surprise yourself with how much you enjoy the process and how much you appreciate the outcome.
But don’t just take our word for it! The real magic happens when you put this home living hack into practice. We are confident that you’ll find it to be a valuable addition to your arsenal of household tips and tricks.
We genuinely believe that this DIY trick has the potential to make a significant positive impact on your daily life. It’s a simple, sustainable, and satisfying way to improve your home living experience. So, what are you waiting for? Gather your supplies, roll up your sleeves, and get ready to transform your home!
And most importantly, we want to hear about your experience! Did you try this hack? What variations did you experiment with? What challenges did you encounter? What successes did you achieve? Share your thoughts, tips, and photos in the comments below. Let’s create a community of DIY enthusiasts who are passionate about making their homes more comfortable, sustainable, and enjoyable. Your feedback is invaluable, and it will help us to continue to refine and improve this hack for everyone. Together, we can make our homes a little bit brighter, a little bit greener, and a whole lot more enjoyable. Embrace the power of DIY and discover the joy of creating a home that truly reflects your unique style and values. Let’s get hacking!
Frequently Asked Questions
What if I don’t have all the exact ingredients listed? Can I substitute anything?
Absolutely! One of the best things about this home living hack is its flexibility. For example, if you don’t have the specific essential oil recommended, feel free to substitute it with another scent you enjoy. Lavender, lemon, and tea tree oil are all great alternatives. If you’re missing a particular type of fabric, you can often use an old t-shirt or towel as a substitute. Just make sure the fabric is clean and absorbent. The key is to experiment and see what works best for you. Don’t be afraid to get creative and adapt the recipe to what you have on hand. Remember, the goal is to create a functional and effective solution using readily available materials.
How often should I repeat this DIY trick?
The frequency depends on your individual needs and usage. For example, if you’re making homemade cleaning solution, you’ll need to replenish it as you use it. A good rule of thumb is to make a fresh batch every few weeks to ensure its effectiveness. For other hacks, such as homemade air fresheners, you might only need to refresh them every month or two. Pay attention to how well the hack is performing and adjust the frequency accordingly. If you notice that the cleaning solution is losing its potency or the air freshener is losing its scent, it’s time to make a new batch.
Is this DIY trick safe for children and pets?
Safety is always a top priority. When using essential oils, be sure to research which ones are safe for children and pets. Some essential oils can be toxic if ingested or inhaled in large quantities. Always store your DIY creations out of reach of children and pets. If you’re using any chemicals, even natural ones like vinegar, be sure to handle them with care and follow all safety precautions. It’s always a good idea to do a patch test before using a new cleaning solution on a large surface, especially if you have sensitive skin or allergies. If you have any concerns, consult with a healthcare professional or veterinarian before using this hack around children or pets.
Can I use this DIY trick for commercial purposes?
While you’re welcome to use this home living hack for personal use, using it for commercial purposes without proper authorization may be restricted. The recipe and instructions are provided for individual use and enjoyment. If you’re interested in using this hack for commercial purposes, please contact us for licensing information. We’re always open to exploring partnerships and collaborations.
What if I encounter problems or the DIY trick doesn’t work as expected?
Don’t worry! DIY projects can sometimes be unpredictable. If you encounter problems, the first step is to double-check that you’ve followed all the instructions correctly. Make sure you’re using the right ingredients and measurements. If you’re still having trouble, try troubleshooting the issue. For example, if your cleaning solution isn’t cleaning effectively, you might need to add more vinegar or baking soda. If your air freshener isn’t releasing enough scent, you might need to add more essential oil. Don’t be afraid to experiment and adjust the recipe until you get the desired results. You can also reach out to us or other DIY enthusiasts for help and advice. We’re all in this together!
How does this DIY trick contribute to sustainability?
This home living hack promotes sustainability in several ways. First, it reduces waste by encouraging you to reuse and repurpose materials that you already have on hand. Instead of throwing away old t-shirts or towels, you can use them to make cleaning cloths or dryer sheets. Second, it reduces your reliance on commercially produced products, which often come in plastic packaging and contain harmful chemicals. By making your own cleaning solutions and air fresheners, you can avoid these unnecessary waste and toxins. Third, it encourages you to be more mindful of your consumption habits and to make more sustainable choices. By embracing DIY, you’re taking a step towards a more eco-friendly lifestyle.
Where can I find more home living hacks like this one?
There are many resources available for finding more home living hacks. You can search online for DIY blogs, websites, and social media groups. You can also check out books and magazines on home improvement and organization. We regularly publish new home living hacks on our website, so be sure to check back often. You can also subscribe to our newsletter to receive updates and exclusive content. The possibilities are endless!

Leave a Comment