

Umbrella Makeover DIY: Tired of that drab, rain-soaked accessory lurking in your hallway? I get it! We’ve all got that one umbrella – the faithful protector from downpours – that’s seen better days. But before you toss it in the trash, let’s breathe new life into it with a fun and easy umbrella makeover DIY project!
Umbrellas have a surprisingly rich history, dating back to ancient civilizations where they were symbols of status and power, often used to shield royalty from the sun. While their primary function has evolved to protection from rain, their aesthetic appeal has always been important. Why settle for a boring, mass-produced umbrella when you can create a unique piece that reflects your personality?
This DIY trick isn’t just about aesthetics; it’s about sustainability and saving money! Instead of contributing to landfill waste by buying a new umbrella every time yours gets a little worn, I’ll show you how to transform it into something stylish and functional. Plus, it’s a fantastic way to unleash your creativity and add a personal touch to your everyday essentials. Whether you’re a seasoned crafter or a DIY newbie, this project is simple, rewarding, and guaranteed to turn heads on those rainy days. Let’s get started and turn that old umbrella into a statement piece!
Give Your Old Umbrella a Stylish New Life!
Okay, let’s face it, umbrellas are essential, but they’re rarely exciting. Mine was looking pretty sad – faded, a bit ripped, and definitely not reflecting my current style. So, I decided to give it a makeover! This DIY project is surprisingly easy and a fantastic way to personalize something you use all the time. Plus, it’s a great way to be eco-friendly and avoid throwing away a perfectly good umbrella frame.
What You’ll Need:
Before we dive in, let’s gather our supplies. This is crucial for a smooth and enjoyable crafting experience.
* Your Old Umbrella: Obviously! Make sure the frame is still in good working order. A few broken ribs are fixable, but a completely mangled frame might be beyond saving.
* New Fabric: This is where the fun begins! Choose a fabric that’s waterproof or water-resistant. Outdoor fabrics, coated cotton, or even repurposed shower curtains work great. Consider the weight of the fabric too – too heavy and the umbrella might be difficult to manage. I went with a vibrant, patterned outdoor fabric that I found on sale.
* Thread: Select a thread that matches your fabric. Polyester thread is a good choice because it’s strong and water-resistant.
* Sewing Machine (Optional, but Recommended): While you *can* hand-sew this project, a sewing machine will make it much faster and more durable.
* Scissors or Rotary Cutter: For precise fabric cutting. A rotary cutter and mat are especially helpful for long, straight lines.
* Seam Ripper: Inevitably, you’ll need to undo a stitch or two. A seam ripper is your best friend for this.
* Measuring Tape or Ruler: Accuracy is key for a well-fitting umbrella cover.
* Pins or Clips: To hold the fabric in place while you sew.
* Iron and Ironing Board: For pressing seams and creating crisp edges.
* Chalk or Fabric Marker: To mark cutting lines on your fabric.
* Old Umbrella Panel (for a pattern): This is the easiest way to get the right shape for your new panels. If your old umbrella is too damaged, you can create a pattern using the steps below.
* Optional: Bias Tape or Ribbon: For finishing the edges of the umbrella panels for a more polished look.
* Optional: Waterproofing Spray: To add an extra layer of protection to your new fabric, especially if it’s not naturally waterproof.
Creating Your Pattern (If Needed):
If your old umbrella is too far gone to use a panel as a pattern, don’t worry! We can create one.
1. Disassemble the Old Umbrella (Carefully!): If possible, carefully detach one of the panels from the umbrella frame. Try to preserve the original shape as much as possible. This will be your template. If the fabric is too ripped, try to salvage a large enough piece to trace around.
2. Trace the Panel: Lay the salvaged panel (or the best piece you could get) onto a large piece of paper (butcher paper, newspaper taped together, etc.). Trace around the entire panel, adding about 1/2 inch seam allowance all the way around. This extra allowance will give you room to sew the panels together.
3. Check the Fit: Hold your paper pattern up to the umbrella frame to ensure it looks like the right size and shape. Adjust as needed. Remember, it’s better to err on the side of being slightly too big than too small. You can always trim it down later.
4. Label Your Pattern: Write “Umbrella Panel Pattern” on your paper pattern, along with any other important information, such as the seam allowance you added.
Removing the Old Fabric:
This step is crucial for getting a clean slate for your new design.
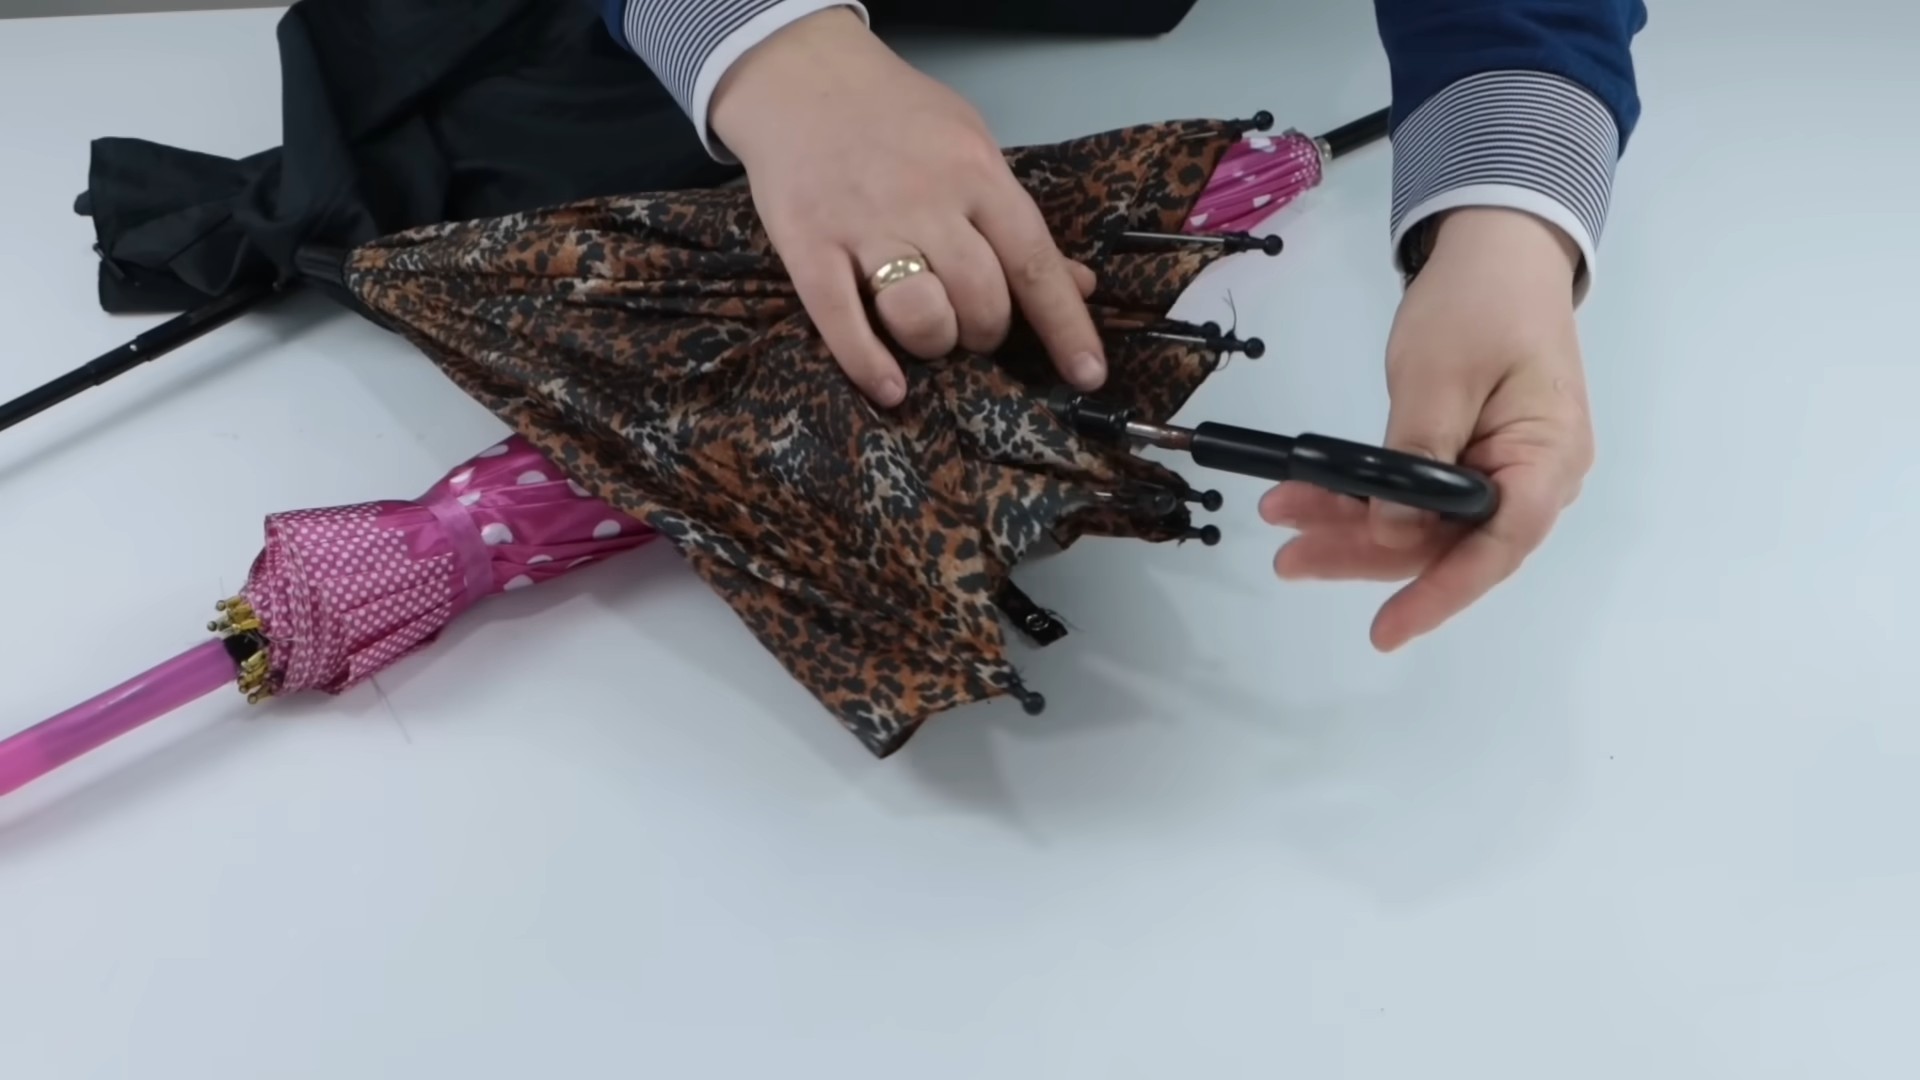
1. Carefully Detach the Old Fabric: Using your seam ripper, carefully remove the old fabric panels from the umbrella frame. Pay attention to how the panels are attached at the top and bottom. You’ll need to replicate this when you attach the new fabric.
2. Save the Hardware: Keep any buttons, snaps, or other hardware that you can reuse. These can save you money and add a professional touch to your finished umbrella.
3. Inspect the Frame: While the umbrella is disassembled, take a good look at the frame. Tighten any loose screws or bolts. If any ribs are bent, try to straighten them carefully.
Cutting the New Fabric:
Now for the exciting part – bringing your vision to life!
1. Lay Out Your Fabric: Spread your new fabric on a flat surface, right side down.
2. Pin or Trace the Pattern: Place your pattern piece on the fabric and pin it in place. Alternatively, you can trace around the pattern with chalk or a fabric marker.
3. Cut Out the Panels: Carefully cut out the fabric panels, following the pattern lines. You’ll need to cut out the same number of panels as your old umbrella had (usually 6 or 8).
4. Repeat: Repeat steps 2 and 3 until you have cut out all the necessary panels.
5. Optional: Cut Bias Tape: If you’re planning to finish the edges of your panels with bias tape, cut strips of bias tape from your fabric. You can use a bias tape maker for this, or simply cut strips at a 45-degree angle to the grain of the fabric.
Sewing the New Panels Together:
This is where your sewing skills come into play.
1. Pin the Panels Together: Pin two fabric panels together, right sides facing, along one of the long edges.
2. Sew the Seam: Sew the seam with a straight stitch, using a 1/2 inch seam allowance.
3. Press the Seam: Press the seam open with an iron. This will help to reduce bulk and create a neater finish.
4. Repeat: Repeat steps 1-3 until all the panels are sewn together to form the umbrella cover.
5. Optional: Finish the Edges: If you’re using bias tape, attach it to the edges of the umbrella cover, following the instructions for your bias tape maker or your preferred method. This will give the edges a clean, professional look and prevent fraying.
Attaching the New Cover to the Frame:
Almost there! This is the final step in transforming your umbrella.
1. Position the Cover: Carefully position the new umbrella cover over the frame, making sure it’s centered and aligned correctly.
2. Attach the Cover at the Top: Secure the top of the cover to the umbrella frame, using the same method that was used for the old fabric. This might involve sewing, gluing, or using small fasteners.
3. Attach the Cover to the Ribs: Attach the bottom edges of the panels to the umbrella ribs. This is usually done by sewing small loops of fabric or ribbon to the edges of the panels and then attaching them to the ribs. Make sure the cover is taut and evenly distributed across the frame.
4. Secure the Bottom Edge: Secure the bottom edge of the umbrella cover to the frame. This might involve hemming the edge and attaching it to the frame with stitches or fasteners.
5. Inspect and Adjust: Once the cover is attached, inspect it carefully to make sure it’s secure and evenly distributed. Adjust as needed.
Final Touches:
These finishing touches will make your umbrella truly special.
1. Add Waterproofing Spray (Optional): If your fabric isn’t naturally waterproof, apply a waterproofing spray to the entire umbrella cover. Follow the instructions on the spray can.
2. Replace Hardware: Reattach any buttons, snaps, or other hardware that you saved from the old umbrella.
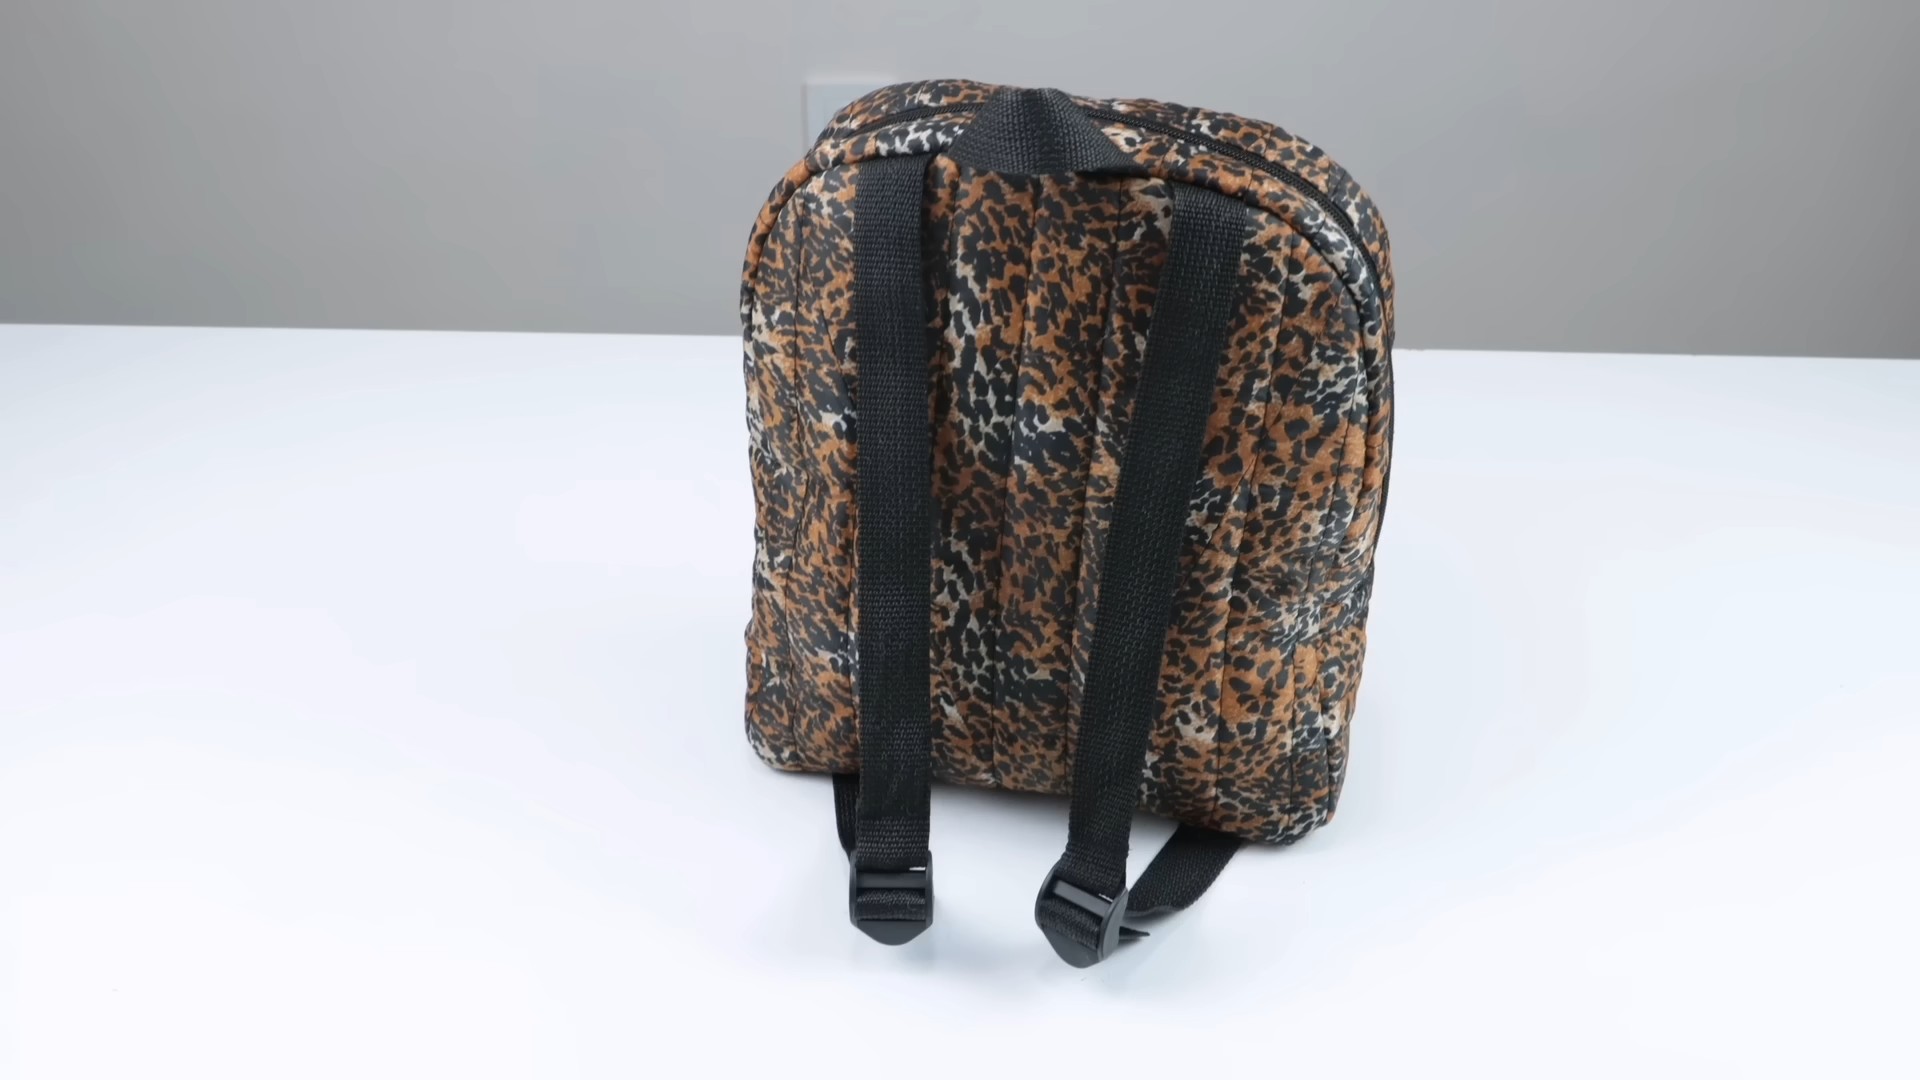
3. Admire Your Work: Step back and admire your handiwork! You’ve successfully transformed an old, tired umbrella into a stylish and unique accessory.
Now you have a brand new umbrella that reflects your personality and style! Enjoy braving the rain with your custom creation. And remember, this project is all about having fun and expressing your creativity. Don’t be afraid to experiment with different fabrics, colors, and embellishments to make your umbrella truly one-of-a-kind. Happy crafting!
Conclusion
So, there you have it! Transforming a tired, old umbrella into a vibrant, personalized accessory is not only achievable but surprisingly rewarding. This umbrella makeover DIY project is more than just a craft; it’s a sustainable way to breathe new life into something you already own, saving you money and reducing waste. Think about it: instead of tossing that slightly damaged or aesthetically unappealing umbrella into the landfill, you’re giving it a stylish second chance.
But why is this DIY trick a must-try? Beyond the environmental and economic benefits, it’s about self-expression. You’re no longer limited to the generic designs available in stores. You have the freedom to create an umbrella that perfectly reflects your personality, matches your favorite outfits, or even showcases your artistic talents. Imagine walking down the street on a rainy day, not with a drab, mass-produced umbrella, but with a unique piece of art that sparks conversation and brightens everyone’s day, including your own.
The possibilities are truly endless. Feeling bold? Opt for vibrant, contrasting colors and geometric patterns. Prefer a more subtle look? Consider using stencils to create delicate floral designs or elegant monograms. You could even decoupage the umbrella with your favorite magazine clippings, travel photos, or vintage maps for a truly personalized touch. For the kids, involve them in the process! Let them paint their favorite cartoon characters or create abstract masterpieces. Remember to use waterproof sealant to protect their artwork.
And don’t limit yourself to just paint! Fabric scraps, ribbons, buttons, and even waterproof markers can be used to add texture and dimension to your umbrella. Consider adding reflective tape for increased visibility during nighttime walks. Or, if your umbrella has a broken handle, replace it with a unique vintage knob or a piece of driftwood for a rustic, one-of-a-kind look.
This umbrella makeover DIY is also a fantastic way to upcycle other materials. Old t-shirts can be cut into strips and woven onto the umbrella frame for a bohemian vibe. Scraps of waterproof fabric from old raincoats or tents can be used to patch up any holes or tears. The key is to get creative and experiment with different materials and techniques until you achieve the desired effect.
We truly believe that anyone can tackle this project, regardless of their crafting experience. It’s all about having fun and letting your imagination run wild. So, gather your supplies, unleash your inner artist, and prepare to transform that old umbrella into a stunning statement piece.
We’re incredibly excited to see what you create! Don’t forget to share your before-and-after photos and your creative variations with us. Tag us on social media and use the hashtag #UmbrellaMakeoverDIY so we can admire your handiwork and inspire others to give this project a try. We can’t wait to see your unique and personalized umbrellas brightening up rainy days everywhere!
Frequently Asked Questions (FAQ)
What kind of paint should I use for my umbrella makeover?
The most important factor when choosing paint for your umbrella is that it’s waterproof and flexible. Acrylic paints are a popular choice because they’re readily available, relatively inexpensive, and come in a wide range of colors. However, standard acrylic paint can crack and peel over time when exposed to rain and the constant flexing of the umbrella fabric. Therefore, it’s crucial to use a fabric medium or textile paint specifically designed for use on fabrics. These paints are formulated to adhere better to the fabric and remain flexible even when wet. Another excellent option is spray paint designed for outdoor use, as it provides a durable and waterproof finish. Always test the paint on a small, inconspicuous area of the umbrella first to ensure it adheres properly and doesn’t bleed or fade. Remember to apply multiple thin coats rather than one thick coat to prevent cracking.
How do I prepare my umbrella before painting?
Proper preparation is key to a successful umbrella makeover DIY project. First, thoroughly clean the umbrella with a mild soap and water solution to remove any dirt, dust, or grime. This will ensure that the paint adheres properly to the fabric. Allow the umbrella to dry completely before proceeding. Next, if there are any tears or holes in the fabric, repair them with waterproof fabric patches or a strong adhesive. If you’re planning to paint intricate designs, consider sketching them lightly onto the umbrella with a pencil beforehand. This will help you stay within the lines and achieve a more professional-looking result. Finally, protect any areas of the umbrella that you don’t want to paint, such as the handle or metal frame, with masking tape or painter’s tape.
How can I make my umbrella design last longer?
To ensure that your beautifully painted umbrella withstands the elements and lasts for years to come, it’s essential to apply a waterproof sealant after the paint has completely dried. There are several types of sealants available, including spray-on sealants and brush-on sealants. Choose a sealant that is specifically designed for use on fabrics and that provides UV protection to prevent fading. Apply the sealant according to the manufacturer’s instructions, ensuring that you cover all painted areas evenly. Reapply the sealant periodically, especially after heavy use or exposure to harsh weather conditions. Additionally, store your umbrella in a dry place when not in use to prevent mildew and mold growth.
What if I don’t want to paint my umbrella? Are there other options for a makeover?
Absolutely! Painting is just one of many ways to transform your umbrella. If you’re not a fan of painting, consider using fabric scraps, ribbons, buttons, or waterproof markers to add embellishments and personalize your umbrella. You can also decoupage the umbrella with your favorite magazine clippings, travel photos, or vintage maps for a unique and eye-catching design. Another option is to add reflective tape for increased visibility during nighttime walks. If your umbrella has a broken handle, replace it with a unique vintage knob or a piece of driftwood for a rustic, one-of-a-kind look. The possibilities are truly endless, so get creative and experiment with different materials and techniques until you achieve the desired effect.
My umbrella is ripped. Can I still do this DIY?
Yes, even if your umbrella has rips, you can still salvage it with this umbrella makeover DIY! Before you start any decorative work, you’ll need to repair the rips. Use waterproof fabric patches designed for outdoor gear. You can find these at most fabric or outdoor supply stores. Apply the patch according to the instructions, ensuring a strong bond. For smaller tears, you can use a waterproof fabric glue. If the rips are extensive, consider using waterproof fabric to create new panels for the umbrella. This will require some sewing skills, but it’s a great way to give your umbrella a completely new look. Once the repairs are complete, you can proceed with painting, embellishing, or any other decorative techniques you choose.
How do I clean my newly decorated umbrella?
Cleaning your newly decorated umbrella requires a gentle approach to protect your artwork. Avoid using harsh chemicals or abrasive cleaners, as these can damage the paint or embellishments. Instead, spot clean any dirt or stains with a damp cloth and a mild soap solution. Gently blot the affected area, being careful not to rub too hard. Allow the umbrella to air dry completely before storing it. If the entire umbrella needs cleaning, you can hand wash it in a tub of lukewarm water with a mild detergent. Rinse thoroughly and hang it open to dry. Avoid putting your decorated umbrella in the washing machine or dryer, as this can damage the fabric and the artwork.


Leave a Comment