

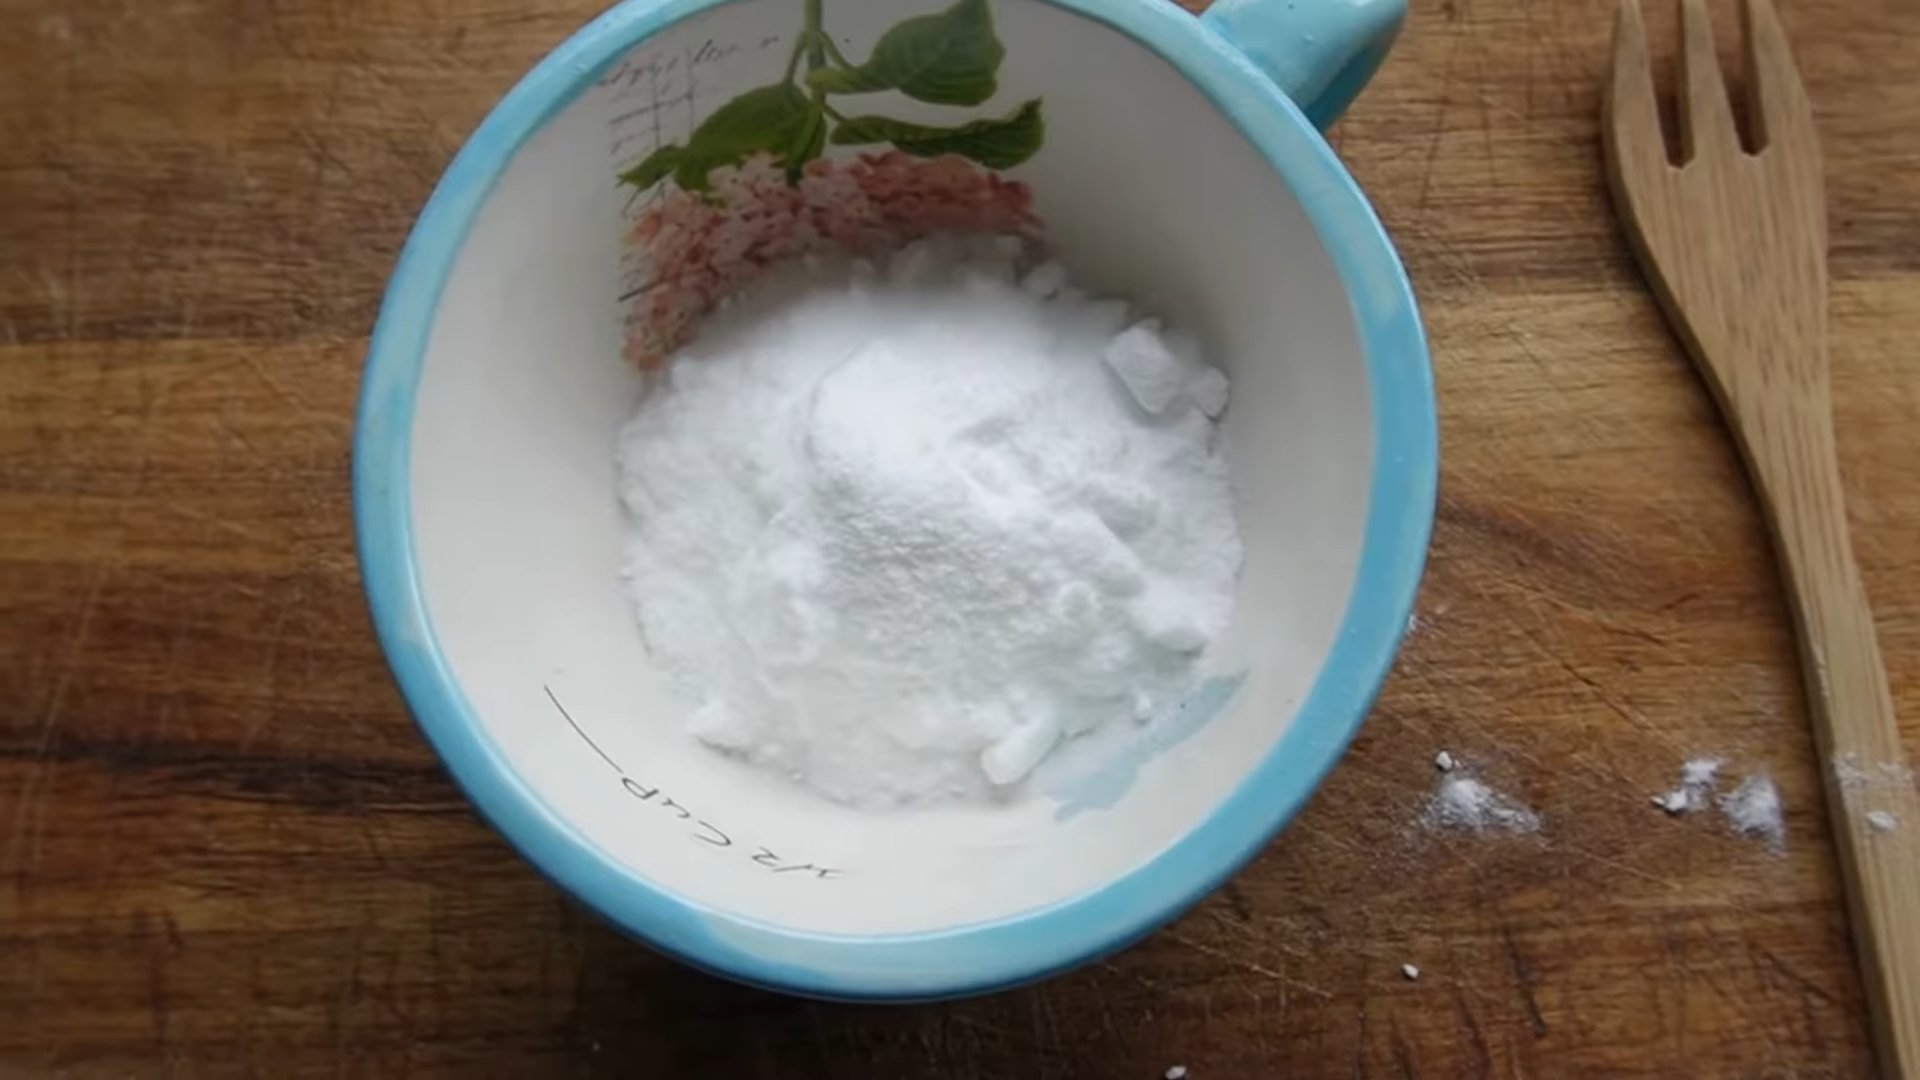
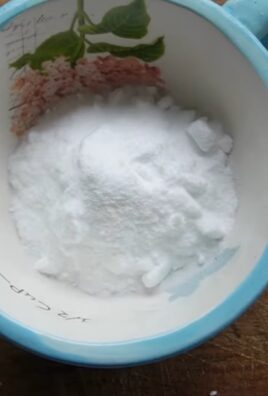
Stain Removal Quick Trick: Are you tired of your favorite clothes being ruined by stubborn stains? I know I am! It’s happened to me more times than I care to admit – a splash of coffee here, a rogue pen mark there, and suddenly that beloved shirt is relegated to the back of the closet. But what if I told you there’s a way to fight back? What if you could conquer those pesky blemishes with simple, everyday items you probably already have in your home?
The quest for effective stain removal is nothing new. Throughout history, people have experimented with various natural remedies and concoctions to keep their garments looking pristine. From ancient Egyptians using natron (a naturally occurring salt mixture) to Victorian housewives relying on sunshine and elbow grease, the desire to preserve our clothing has always been strong.
In today’s fast-paced world, we don’t always have time for elaborate cleaning rituals. That’s where this stain removal quick trick comes in. I’m going to share a simple, yet incredibly effective DIY method that will help you tackle those stains head-on, saving you time, money, and the heartache of losing your favorite items. Get ready to say goodbye to stain-induced despair and hello to a cleaner, brighter wardrobe!
Water-Free Tomato Growing: A DIY Guide to Thriving Tomatoes with Minimal Watering
Hey there, fellow gardening enthusiasts! Are you tired of constantly lugging watering cans or battling inconsistent watering schedules for your tomato plants? I’ve got a fantastic solution for you: water-free tomato growing! This method, which I’ve personally used with great success, focuses on creating a self-sustaining environment for your tomatoes, reducing your watering needs to almost zero after the initial establishment phase. It’s all about building healthy soil and using clever planting techniques. Let’s dive in!
Choosing the Right Tomato Variety
Before we even get our hands dirty, it’s important to select tomato varieties that are naturally more drought-tolerant. While this method works for most tomatoes, some are simply better suited for drier conditions.
* Heirloom Varieties: Many heirloom tomatoes, especially those originating from warmer climates, tend to be more resilient. Look for varieties like ‘Black Krim,’ ‘Cherokee Purple,’ or ‘San Marzano.’
* Determinate Varieties: Determinate tomatoes, which grow to a specific size and produce all their fruit at once, often require less water than indeterminate varieties, which continue to grow and produce throughout the season.
* Consider Your Climate: Research which tomato varieties thrive in your specific region. Local nurseries are a great resource for this information.
Preparing the Planting Site: The Key to Success
The secret to water-free tomato growing lies in creating a soil environment that retains moisture and provides essential nutrients. This involves amending your soil with organic matter and using a planting technique that encourages deep root growth.
1. Soil Testing (Optional but Recommended)
While not strictly necessary, a soil test can give you valuable insights into your soil’s pH and nutrient levels. You can purchase a soil testing kit at most garden centers or send a sample to your local agricultural extension office. This will help you determine if you need to adjust the soil’s pH or add any specific nutrients.
2. Digging the Planting Hole: Go Big or Go Home!
This is where the magic happens. We’re not just digging a small hole; we’re creating a reservoir for moisture and nutrients.
1. Dig a Large Hole: For each tomato plant, dig a hole that is at least 2 feet wide and 2 feet deep. Yes, that’s a big hole! The larger the hole, the more amended soil you can add, and the more moisture it will retain.
2. Loosen the Soil: Break up the soil at the bottom and sides of the hole to improve drainage and encourage root growth.
3. Amending the Soil: Creating a Moisture-Rich Environment
This is where we’ll build a super-charged soil mix that will feed and hydrate your tomato plants.
1. Gather Your Amendments: You’ll need a variety of organic materials to create the perfect soil mix. Here’s what I recommend:
* Compost: This is the foundation of our soil mix. Use well-rotted compost, either homemade or purchased from a reputable source. Compost provides essential nutrients and improves soil structure. Aim for about 1/3 of the total volume.
* Peat Moss or Coco Coir: These materials help retain moisture in the soil. Coco coir is a more sustainable alternative to peat moss. Use about 1/4 of the total volume.
* Worm Castings: These are the “black gold” of gardening. Worm castings are packed with nutrients and beneficial microbes that will boost your tomato plants’ growth. Use about 1/8 of the total volume.
* Bone Meal: Bone meal is a slow-release source of phosphorus, which is essential for root development and fruit production. Follow the instructions on the package for the correct amount.
* Epsom Salts: Epsom salts provide magnesium, which can help prevent blossom end rot, a common problem in tomatoes. Add about a tablespoon per planting hole.
* Azomite (Optional): Azomite is a natural mineral powder that contains a wide range of trace elements. It can help improve the overall health and vigor of your tomato plants. Follow the instructions on the package for the correct amount.
2. Mix the Amendments: In a wheelbarrow or large container, thoroughly mix all the amendments together with the soil you removed from the planting hole. Aim for a consistent mixture.
4. Filling the Planting Hole: Layering for Success
Now, we’ll carefully fill the planting hole with our amended soil mix, creating layers that will provide optimal conditions for your tomato plants.
1. Bottom Layer: Place a layer of coarse organic material at the bottom of the hole. This could be wood chips, shredded bark, or even old straw. This layer will improve drainage and prevent the soil from becoming waterlogged.
2. Amended Soil Layer: Fill the hole with the amended soil mix, leaving enough space for the tomato plant.
3. Water Thoroughly: Before planting the tomato, water the amended soil thoroughly. This will help settle the soil and ensure that it is moist before planting.
Planting Your Tomato Seedlings: Deep Planting is Key
Now comes the exciting part: planting your tomato seedlings! The key here is to plant them deeply, which will encourage them to develop a strong root system.
1. Remove Lower Leaves: Gently remove the lower leaves from the tomato seedling, leaving only the top few sets of leaves.
2. Plant Deeply: Plant the tomato seedling deep in the hole, burying the stem up to the first set of leaves. The buried stem will develop roots, creating a stronger and more resilient plant.
3. Backfill with Amended Soil: Backfill the hole with the remaining amended soil, gently firming the soil around the plant.
4. Water Again: Water the newly planted tomato thoroughly.
Mulching: Locking in Moisture
Mulching is essential for water-free tomato growing. A thick layer of mulch will help retain moisture in the soil, suppress weeds, and regulate soil temperature.
1. Choose Your Mulch: There are many different types of mulch you can use, including straw, wood chips, shredded bark, or even compost. I prefer straw because it is readily available and decomposes slowly.
2. Apply a Thick Layer: Apply a thick layer of mulch (at least 4-6 inches) around the base of the tomato plant, leaving a small space around the stem to prevent rot.
Staking or Caging: Providing Support
Tomato plants can get quite heavy, especially when they are loaded with fruit. Staking or caging your tomato plants will provide support and prevent them from falling over.
1. Choose Your Support Method: You can use stakes, cages, or even a trellis to support your tomato plants. I prefer cages because they provide all-around support and are easy to install.
2. Install Support Early: Install the support system as soon as you plant the tomato seedling. This will prevent you from damaging the plant’s roots later on.
Watering: Initial Watering and Beyond
While the goal is water-free tomato growing, you will need to water your tomato plants initially to help them establish their root systems.
1. Initial Watering: Water the newly planted tomato plants thoroughly every day for the first week.
2. Reduce Watering: After the first week, gradually reduce the frequency of watering. Water every other day for the second week, then every three days for the third week.
3. Monitor the Plants: After the initial establishment phase, monitor your tomato plants closely. If the leaves start to wilt or droop, it’s a sign that they need water. However, avoid overwatering, as this can lead to root rot.
4. Deep Watering: When you do water, water deeply and infrequently. This will encourage the roots to grow deeper into the soil, making them more drought-tolerant.
Fertilizing: Feeding Your Tomatoes
Even with amended soil, your tomato plants will still need occasional fertilization to produce a bountiful harvest.
1. Choose a Tomato Fertilizer: Use a fertilizer that is specifically formulated for tomatoes. These fertilizers typically have a higher phosphorus content, which is essential for fruit production.
2. Follow the Instructions: Follow the instructions on the fertilizer package for the correct amount and frequency of application.
3. Side-Dress with Compost: In addition to fertilizer, you can also side-dress your tomato plants with compost every few weeks. This will provide a slow-release source of nutrients and improve soil health.
Troubleshooting: Common Problems and Solutions
Even with the best planning, you may encounter some problems while growing your tomatoes. Here are some common issues and how to address them:
* Blossom End Rot: This is caused by a calcium deficiency. To prevent blossom end rot, add bone meal to the planting hole and ensure that your soil is well-drained. You can also spray the plants with a calcium solution.
* Tomato Hornworms: These large green caterpillars can quickly defoliate your tomato plants. Handpick them off the plants and drop

Conclusion
So, there you have it! This simple, yet incredibly effective, stain removal quick trick is a game-changer for anyone who’s ever battled stubborn blemishes on their favorite clothes, carpets, or upholstery. Forget expensive, chemical-laden stain removers that often fail to deliver on their promises. This DIY solution is not only budget-friendly but also utilizes ingredients you likely already have in your pantry.
Why is this a must-try? Because it works! We’ve seen it tackle everything from coffee spills and red wine stains to greasy food mishaps and even some ink blots. The beauty of this method lies in its gentle yet powerful approach. It lifts the stain without harsh chemicals that can damage delicate fabrics or fade colors. Plus, it’s incredibly versatile, making it suitable for a wide range of materials.
But don’t just take our word for it. We encourage you to experiment and discover the magic for yourself. For instance, if you’re dealing with a particularly stubborn stain on white fabric, consider adding a small amount of hydrogen peroxide to the mixture for an extra boost. Always test a small, inconspicuous area first to ensure colorfastness. Alternatively, for delicate fabrics like silk or wool, you might want to dilute the solution slightly with more water. You can also try using a soft-bristled toothbrush to gently work the solution into the stain, especially for textured surfaces like carpets.
Remember, the key to success with any stain removal method is to act quickly. The sooner you treat the stain, the better your chances of completely removing it. So, keep this simple recipe handy and be prepared to tackle those unexpected spills and splatters with confidence.
We’re confident that this stain removal quick trick will become your go-to solution for all your stain-related woes. But the real test is in your own experience. We’d love to hear about your results! Share your before-and-after photos, your tips and tricks, and any variations you’ve tried in the comments below. Let’s build a community of stain-fighting experts and help each other keep our homes and wardrobes looking their best. Give this a try and let us know what you think!
Frequently Asked Questions (FAQs)
What types of stains does this stain removal quick trick work best on?
This DIY stain remover is effective on a wide range of common household stains, including:
* Food stains (coffee, tea, wine, sauces, grease)
* Beverage stains (juice, soda)
* Ink stains (ballpoint pen, felt-tip marker – test first!)
* Dirt and mud stains
* Some cosmetic stains (foundation, lipstick – test first!)
However, its effectiveness may vary depending on the age and severity of the stain, as well as the type of fabric. For particularly stubborn or set-in stains, you may need to repeat the treatment or try a different approach. Always test on an inconspicuous area first.
Can I use this stain remover on all types of fabrics?
While this stain remover is generally safe for most fabrics, it’s always best to test it on a hidden area first, such as an inside seam or hem. This is especially important for delicate fabrics like silk, wool, or linen, as well as brightly colored or patterned fabrics that may be prone to fading. If you notice any discoloration or damage, discontinue use immediately. For delicate fabrics, consider diluting the solution with more water.
How long should I leave the stain remover on the stain?
The amount of time you leave the stain remover on the stain will depend on the severity of the stain and the type of fabric. For light stains, a few minutes may be sufficient. For more stubborn stains, you may need to leave it on for up to 30 minutes. Check the stain periodically and gently blot with a clean cloth to see if it’s lifting. Avoid rubbing the stain, as this can spread it or damage the fabric.
What if the stain doesn’t come out completely after the first treatment?
If the stain is still visible after the first treatment, don’t despair! You can try repeating the process, allowing the stain remover to sit on the stain for a longer period of time. You can also try gently agitating the stain with a soft-bristled brush or toothbrush. If the stain is particularly stubborn, you may need to try a different stain removal method or consult a professional cleaner.
Can I use this stain remover on carpets and upholstery?
Yes, this stain remover can be used on carpets and upholstery, but it’s especially important to test it on a hidden area first to ensure that it doesn’t damage or discolor the material. Apply the solution sparingly and blot gently with a clean cloth. Avoid saturating the carpet or upholstery, as this can lead to mildew growth. Once you’ve removed the stain, blot the area with clean water to remove any residue and allow it to air dry completely.
What are some variations I can try with this stain removal quick trick?
Here are a few variations you can try, depending on the type of stain and fabric:
* **For white fabrics:** Add a small amount of hydrogen peroxide to the mixture for an extra whitening boost.
* **For grease stains:** Add a drop or two of dish soap to the mixture to help break down the grease.
* **For delicate fabrics:** Dilute the solution with more water to make it gentler.
* **For set-in stains:** Pre-treat the stain with a paste of baking soda and water before applying the stain remover.
How should I store the leftover stain remover?
It’s best to make a fresh batch of stain remover each time you need it, as the ingredients may lose their effectiveness over time. However, if you have leftover solution, you can store it in a tightly sealed container in a cool, dark place for up to a week. Be sure to label the container clearly and keep it out of reach of children and pets.
Is this stain removal quick trick safe for children and pets?
While the ingredients in this stain remover are generally considered safe, it’s still important to keep it out of reach of children and pets. Avoid getting the solution in your eyes or mouth. If contact occurs, rinse thoroughly with water. As with any cleaning product, it’s always best to exercise caution and supervise children and pets when using this stain remover.

Leave a Comment