

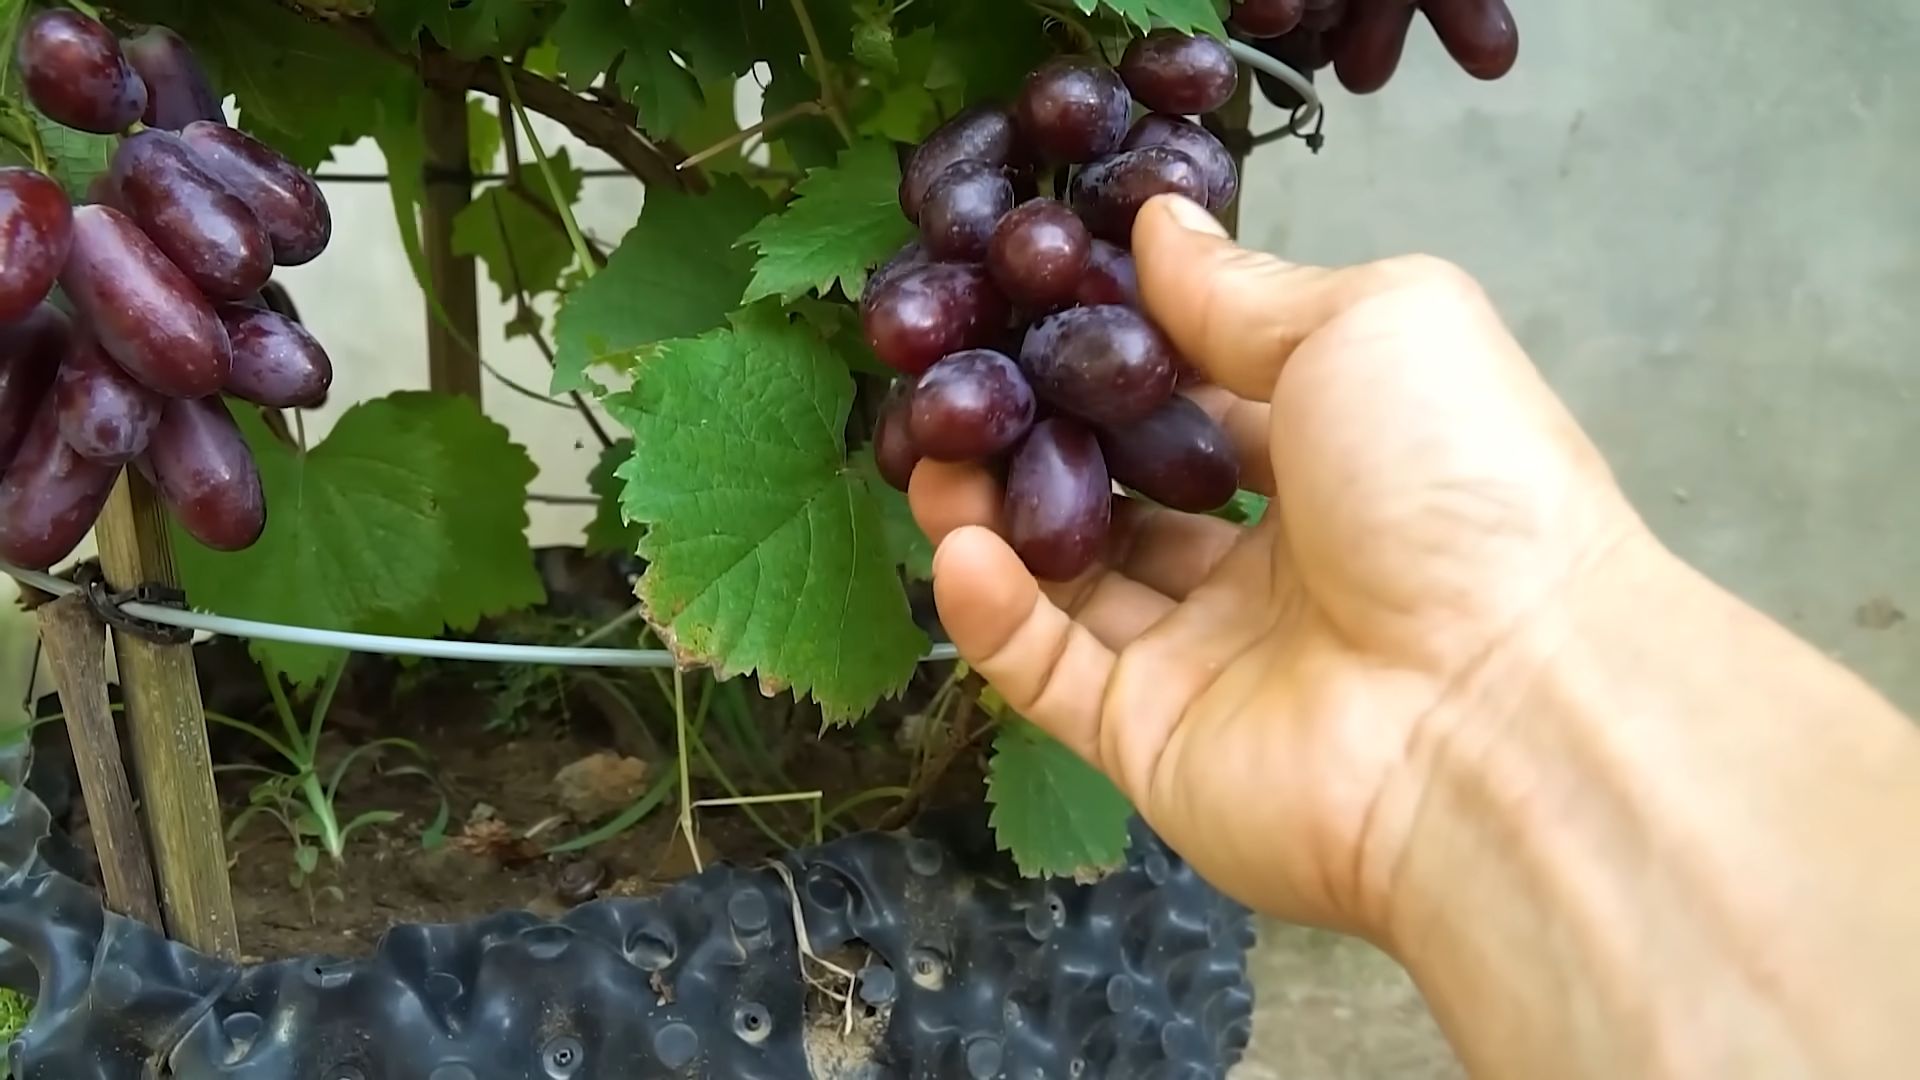
Healthy Grape Vines are the cornerstone of any thriving home vineyard, and let’s be honest, who hasn’t dreamt of plucking sun-ripened grapes straight from their own backyard? For centuries, cultivating grape vines has been a cherished tradition, deeply intertwined with cultures around the globe, from the ancient Romans celebrating Bacchus to modern-day families crafting homemade jams and wines. But achieving those luscious, bountiful harvests can sometimes feel like a daunting task.
I’ve been there, trust me! I remember my first attempt at growing grapes – a tangled mess of leaves and barely any fruit. That’s when I realized the importance of understanding the nuances of grape vine care. That’s why I’m so excited to share these simple yet effective DIY tricks and hacks that will transform your grape-growing game.
Whether you’re a seasoned gardener or just starting out, these tips will help you nurture healthy grape vines, prevent common problems, and ultimately, enjoy the sweet rewards of your labor. Forget expensive fertilizers and complicated techniques; we’re focusing on practical, budget-friendly solutions that anyone can implement. Get ready to unlock the secrets to a flourishing home vineyard and impress your friends and family with your green thumb!
DIY: Propagating Grape Vines from Cuttings for a Bountiful Harvest
Okay, grape lovers, let’s talk about multiplying your grape vines! Buying new vines can get expensive, and sometimes you just want more of a specific variety you already adore. The good news? Propagating grape vines from cuttings is totally doable at home, and I’m going to walk you through every step. It’s a rewarding process, and before you know it, you’ll have a whole vineyard (or at least a few extra vines!) to call your own.
Choosing the Right Cuttings: The Foundation of Success
Before we dive into the nitty-gritty, let’s talk about selecting the best cuttings. This is crucial because the quality of your cuttings directly impacts your success rate. Think of it like this: you want to start with strong, healthy material to get strong, healthy vines.
* Timing is Key: The best time to take grape vine cuttings is during the dormant season, typically late winter or early spring, before the buds begin to swell. I usually aim for late February or early March in my area, but check your local climate for the ideal window.
* Look for Healthy Wood: You want to select one-year-old wood, meaning the growth from the previous season. This wood will be thicker and more mature than the newer, greener growth. It should be brown and firm, not green and flexible.
* Pencil-Thickness is Ideal: Aim for cuttings that are about the thickness of a pencil. Thicker cuttings tend to root better than thin, spindly ones.
* Avoid Diseased or Damaged Wood: This is a no-brainer, but it’s worth mentioning. Steer clear of any wood that shows signs of disease, insect damage, or physical injury. Look for clean, healthy, and unblemished canes.
* Choose the Right Length: I usually aim for cuttings that are 12-18 inches long. This gives them enough energy reserves to root and get established.
* Take Multiple Cuttings: Not every cutting will root successfully, so it’s always a good idea to take more cuttings than you need. I usually take at least twice as many as the number of new vines I want.
Taking the Cuttings: Precision is Important
Now that you know what to look for, let’s get to the actual cutting process. This is where a sharp pair of pruning shears comes in handy.
1. Gather Your Supplies: You’ll need sharp pruning shears, a clean bucket or container, and some water.
2. Identify One-Year-Old Wood: Look for the brown, mature canes that grew last season. They’ll be easily distinguishable from the newer, greener growth.
3. Make the Cuts: Make a clean, angled cut at the bottom of the cutting, just below a node (the point where a leaf or bud grows). An angled cut helps with water absorption and prevents the cutting from sitting flat in the rooting medium.
4. Make a Straight Cut at the Top: Make a straight cut at the top of the cutting, about an inch or two above a node. This helps you remember which end is up when you plant them.
5. Collect and Hydrate: Place the cuttings in the bucket of water, making sure the bottom ends are submerged. This will help prevent them from drying out.
Preparing the Cuttings for Rooting: Giving Them a Head Start
Before we plant the cuttings, there are a few things we can do to improve their chances of rooting.
1. Remove Lower Buds (Optional but Recommended): Remove any buds from the lower portion of the cutting that will be buried in the rooting medium. This will encourage the cutting to focus its energy on root development rather than leaf growth. I usually remove about 2/3 of the buds.
2. Scoring the Base (Optional): Some people like to lightly score the base of the cutting with a knife. This can stimulate root formation. I’ve had success both with and without scoring, so it’s really up to you. If you do score, be gentle and avoid cutting too deep.
3. Rooting Hormone (Optional but Recommended): Applying a rooting hormone to the base of the cutting can significantly increase your success rate. I use a powdered rooting hormone, but liquid versions are also available. Just dip the bottom inch or two of the cutting into the hormone powder and tap off any excess.
Rooting the Cuttings: Choosing Your Method
There are several ways to root grape vine cuttings. I’m going to share two methods that I’ve found to be particularly effective: the water rooting method and the direct planting method.
Water Rooting Method
This method allows you to observe the root development before planting, which can be very satisfying.
1. Choose a Container: Select a clear container, such as a glass jar or plastic bottle, that is tall enough to hold the cuttings upright.
2. Add Water: Fill the container with water, leaving a few inches of space at the top.
3. Place the Cuttings: Place the cuttings in the water, making sure that the bottom ends are submerged. Avoid overcrowding the container.
4. Provide Light: Place the container in a bright, indirect light location. Avoid direct sunlight, which can overheat the water and damage the cuttings.
5. Change the Water Regularly: Change the water every few days to prevent the growth of algae and bacteria.
6. Wait for Roots: Be patient! It can take several weeks for roots to develop. Once the roots are an inch or two long, you can transplant the cuttings into pots.
Direct Planting Method
This method involves planting the cuttings directly into a rooting medium.
1. Prepare the Rooting Medium: Choose a well-draining rooting medium, such as a mixture of perlite and peat moss or sand and compost. I like to use a 50/50 mix of perlite and peat moss.
2. Moisten the Rooting Medium: Moisten the rooting medium thoroughly, but avoid making it soggy.
3. Plant the Cuttings: Insert the cuttings into the rooting medium, burying about half of their length. Make sure the buds are facing upwards.
4. Water Gently: Water the cuttings gently to settle the rooting medium around them.
5. Provide Humidity: To maintain high humidity, you can cover the cuttings with a plastic bag or dome. Make sure to vent the bag or dome regularly to prevent the growth of mold.
6. Provide Light: Place the cuttings in a bright, indirect light location.
7. Keep the Rooting Medium Moist: Check the rooting medium regularly and water as needed to keep it moist.
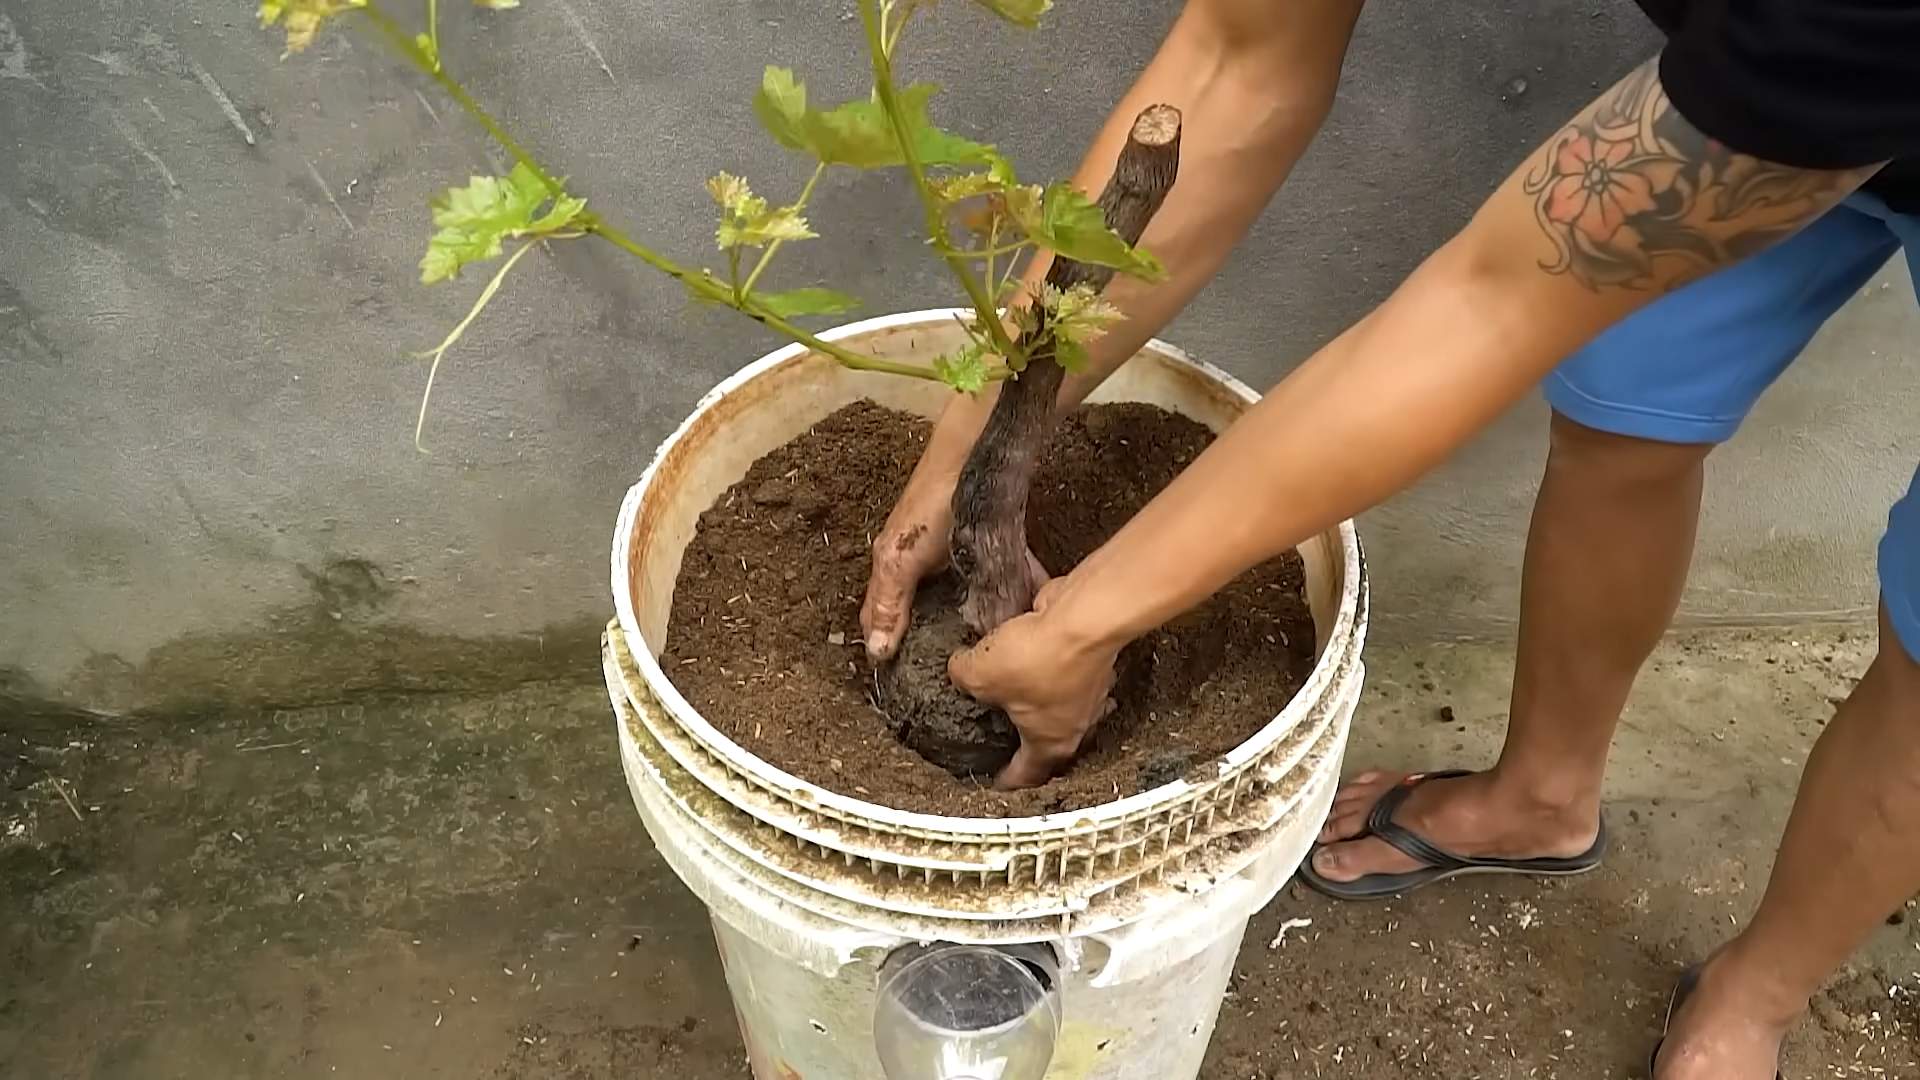
Transplanting and Caring for Your New Vines: Nurturing Your Investment
Once your cuttings have developed a good root system, it’s time to transplant them into pots.
1. Choose the Right Pots: Select pots that are large enough to accommodate the root system. I usually start with 1-gallon pots.
2. Prepare the Potting Mix: Use a well-draining potting mix.
3. Gently Remove the Cuttings: Carefully remove the rooted cuttings from the water or rooting medium. Be gentle to avoid damaging the roots.
4. Plant the Cuttings: Plant the cuttings in the pots, making sure the roots are spread out.
5. Water Thoroughly: Water the newly planted vines thoroughly.
6. Provide Light: Place the pots in a sunny location.
7. Fertilize Regularly: Fertilize the vines regularly with a balanced fertilizer.
8. Protect from Frost: If you live in an area with frost, protect the vines from freezing temperatures.
9. Monitor for Pests and Diseases: Keep an eye out for pests and diseases and take action as needed.
Hardening Off: Preparing for the Great Outdoors
Before planting your new grape vines in the ground, it’s important to harden them off. This process gradually acclimates the vines to outdoor conditions, making them more resilient.
1. Gradually Increase Exposure: Start by placing the pots outdoors for a few hours each day, gradually increasing the amount of time they spend outside.
2. Protect from Harsh Weather: Protect the vines from strong winds, direct sunlight, and extreme temperatures.
3. Monitor for Stress: Watch for signs of stress, such as wilting or leaf burn. If you see these signs, bring the vines back indoors and gradually reintroduce them to outdoor conditions.
4. Plant After Last Frost: Once the danger of frost has passed, you can plant your new grape vines in the ground.
Planting in the Ground: The Final Step
Now for the exciting part – planting your new vines in their permanent home!
1. Choose a Sunny Location: Grape vines need at least 6-8 hours of sunlight per day.
2. Prepare the Soil:
Conclusion
So, there you have it! This simple yet effective DIY trick is a game-changer for anyone looking to cultivate healthy grape vines and enjoy a bountiful harvest. We’ve walked you through the process, highlighting how easy it is to implement and the significant benefits it offers in terms of vine health, fruit production, and overall garden vitality.
Why is this a must-try? Because it addresses a fundamental need: providing your grape vines with the essential nutrients and support they require to thrive, all while minimizing the use of harsh chemicals and expensive store-bought solutions. It’s a sustainable, cost-effective, and incredibly rewarding approach to grape vine care. Imagine the satisfaction of harvesting plump, juicy grapes knowing that you nurtured them with your own hands, using a simple, natural method.
But don’t stop there! Feel free to experiment with variations to suit your specific needs and preferences. For instance, if you’re dealing with particularly acidic soil, consider adding a small amount of lime to your DIY mixture to help balance the pH. Or, if you’re looking to boost the potassium levels, incorporate some banana peels into your compost. The possibilities are endless!
Remember, gardening is a journey of discovery, and every garden is unique. What works wonders for one person might need a slight tweak for another. The key is to observe your grape vines closely, pay attention to their needs, and adjust your approach accordingly.
We are confident that this DIY trick will make a noticeable difference in the health and productivity of your grape vines. It’s a small investment of time and effort that yields significant returns in the form of delicious, homegrown grapes.
Now, it’s your turn! We encourage you to give this DIY trick a try and see the amazing results for yourself. Don’t be afraid to get your hands dirty and experiment with different variations. And most importantly, share your experience with us! We’d love to hear your success stories, challenges, and any tips or tricks you discover along the way. Let’s build a community of grape-growing enthusiasts who are passionate about nurturing healthy grape vines and enjoying the fruits of their labor. Share your photos and stories on our social media pages using #HealthyGrapeVinesDIY. We can’t wait to see what you create!
Frequently Asked Questions (FAQ)
What exactly does this DIY trick do for my grape vines?
This DIY trick primarily focuses on improving soil health and providing essential nutrients to your grape vines. It acts as a natural fertilizer, enriching the soil with organic matter, promoting beneficial microbial activity, and delivering key nutrients like nitrogen, phosphorus, and potassium, which are crucial for healthy growth, strong root development, and abundant fruit production. It also helps improve soil drainage and aeration, preventing waterlogging and root rot, which are common problems for grape vines.
How often should I apply this DIY treatment to my grape vines?
The frequency of application depends on several factors, including the age of your vines, the type of soil you have, and the climate you live in. As a general guideline, we recommend applying the treatment every 4-6 weeks during the growing season (spring and summer). For younger vines, you might want to apply it more frequently, perhaps every 3-4 weeks, to give them an extra boost. In the fall, you can reduce the frequency to once a month to help prepare the vines for dormancy. Always observe your vines closely and adjust the frequency based on their needs. If you notice signs of nutrient deficiency, such as yellowing leaves or stunted growth, you may need to apply the treatment more often.
Can I use this DIY trick on other plants besides grape vines?
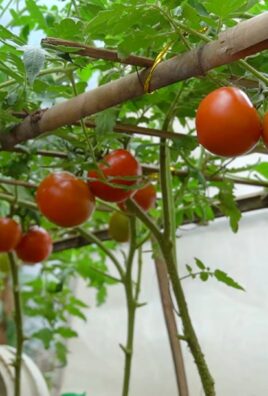
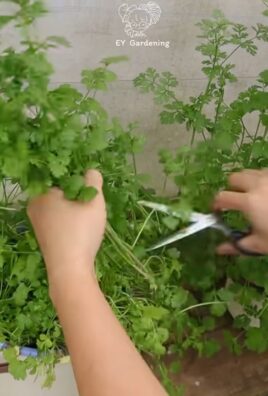
While this DIY trick is specifically formulated for grape vines, it can also be beneficial for other fruit-bearing plants and vegetables that thrive in slightly acidic soil. Plants like blueberries, raspberries, and tomatoes can also benefit from the nutrients and soil-improving properties of this treatment. However, it’s important to note that not all plants have the same nutrient requirements. Before applying this treatment to other plants, research their specific needs and adjust the ingredients accordingly. For example, plants that prefer alkaline soil may not respond well to this treatment.
What if I don’t have all the ingredients listed in the recipe? Can I substitute anything?
Yes, you can definitely make substitutions based on what you have available. The key is to understand the purpose of each ingredient and find a suitable alternative that provides similar benefits. For example, if you don’t have coffee grounds, you can use tea leaves or other nitrogen-rich organic matter. If you don’t have eggshells, you can use bone meal or other sources of calcium. If you don’t have Epsom salts, you can use other sources of magnesium, such as seaweed extract. Just be mindful of the nutrient content of each ingredient and adjust the quantities accordingly.
My grape vines are already showing signs of disease. Will this DIY trick help?
While this DIY trick can help improve the overall health and resilience of your grape vines, it’s not a substitute for proper disease management. If your vines are already showing signs of disease, such as powdery mildew or black rot, you’ll need to take specific measures to address the problem. This may involve pruning affected areas, applying fungicides, or improving air circulation around the vines. This DIY trick can be used as a preventative measure to help strengthen the vines and make them less susceptible to disease, but it’s not a cure for existing infections. Consult with a local gardening expert or agricultural extension agent for advice on managing specific diseases in your area.
Is there a risk of over-fertilizing my grape vines with this DIY treatment?
Yes, there is always a risk of over-fertilizing any plant, even with natural fertilizers. Over-fertilization can lead to nutrient imbalances, salt buildup in the soil, and other problems that can harm your grape vines. To avoid over-fertilizing, it’s important to follow the recommended application frequency and amounts. Also, be sure to monitor your vines closely for signs of over-fertilization, such as leaf burn, stunted growth, or excessive vegetative growth at the expense of fruit production. If you suspect that you’ve over-fertilized, flush the soil with plenty of water to help remove excess nutrients.
How long will it take to see results from using this DIY trick?
The time it takes to see results can vary depending on the health of your vines, the type of soil you have, and the climate you live in. In general, you should start to see noticeable improvements in the health and vigor of your vines within a few weeks of starting the treatment. This may include greener leaves, stronger stems, and increased growth. However, it may take longer to see significant improvements in fruit production. Be patient and consistent with your applications, and you should eventually see the desired results. Remember, gardening is a long-term process, and it takes time to nurture healthy grape vines.
Can I use this DIY trick on potted grape vines?
Yes, you can use this DIY trick on potted grape vines, but you’ll need to adjust the application amounts accordingly. Potted plants have limited root space and are more susceptible to over-fertilization. Therefore, it’s important to use smaller amounts of the treatment and apply it more frequently. You may also want to consider using a diluted version of the treatment to avoid burning the roots. Be sure to monitor the soil moisture levels in your pots and adjust your watering schedule as needed.
What is the best time of day to apply this DIY treatment?
The best time of day to apply this DIY treatment is in the early morning or late evening, when the sun is not as intense. This will help prevent the treatment from evaporating too quickly and allow the nutrients to be absorbed by the soil and roots more effectively. Avoid applying the treatment during the hottest part of the day, as this can stress the vines and potentially cause leaf burn.
How should I store any leftover DIY treatment?
Store any leftover DIY treatment in a cool, dark place in a sealed container. A garage or shed is ideal. The mixture should be used within a few weeks for optimal effectiveness. Over time, the organic matter may start to decompose, reducing the nutrient content of the treatment. Label the container clearly with the date it was made.

Leave a Comment