

Grow Celery at Home? Absolutely! Imagine stepping into your backyard and snipping fresh, crisp celery stalks for your salads, soups, or even just a healthy snack. No more wilted, store-bought celery – just vibrant, homegrown goodness.
For centuries, celery has been cultivated not only for its culinary uses but also for its medicinal properties. Ancient civilizations, including the Egyptians and Romans, valued celery for its digestive benefits and used it in various remedies. Now, you can tap into that rich history and bring this versatile vegetable right to your doorstep.
Why should you learn to grow celery at home? Well, for starters, it’s incredibly rewarding! Plus, you have complete control over the growing process, ensuring your celery is free from harmful pesticides and chemicals. In this DIY guide, I’ll share simple yet effective tricks and hacks that will transform even the most novice gardener into a celery-growing pro. From seed starting to harvesting, I’ll walk you through each step, providing insider tips to maximize your yield and minimize common pitfalls. Get ready to enjoy the freshest, most flavorful celery you’ve ever tasted – all from the comfort of your own home!

Grow Your Own Celery: A Beginner’s Guide
Hey there, fellow gardening enthusiasts! Ever thought about growing your own celery? It’s surprisingly easy and rewarding, and nothing beats the fresh, crisp taste of homegrown celery. I’m going to walk you through the whole process, from starting with scraps to harvesting your own stalks. Let’s get started!
Starting from Celery Base: The Regrowth Method
This is my favorite way to start because it’s practically free and super satisfying. You’re essentially giving a new life to something that would otherwise end up in the compost bin.
What You’ll Need:
* A celery stalk base (the part you usually cut off and discard)
* A shallow dish or bowl
* Water
* A sunny windowsill
* Potting soil
* A pot (at least 6 inches in diameter)
Step-by-Step Instructions:
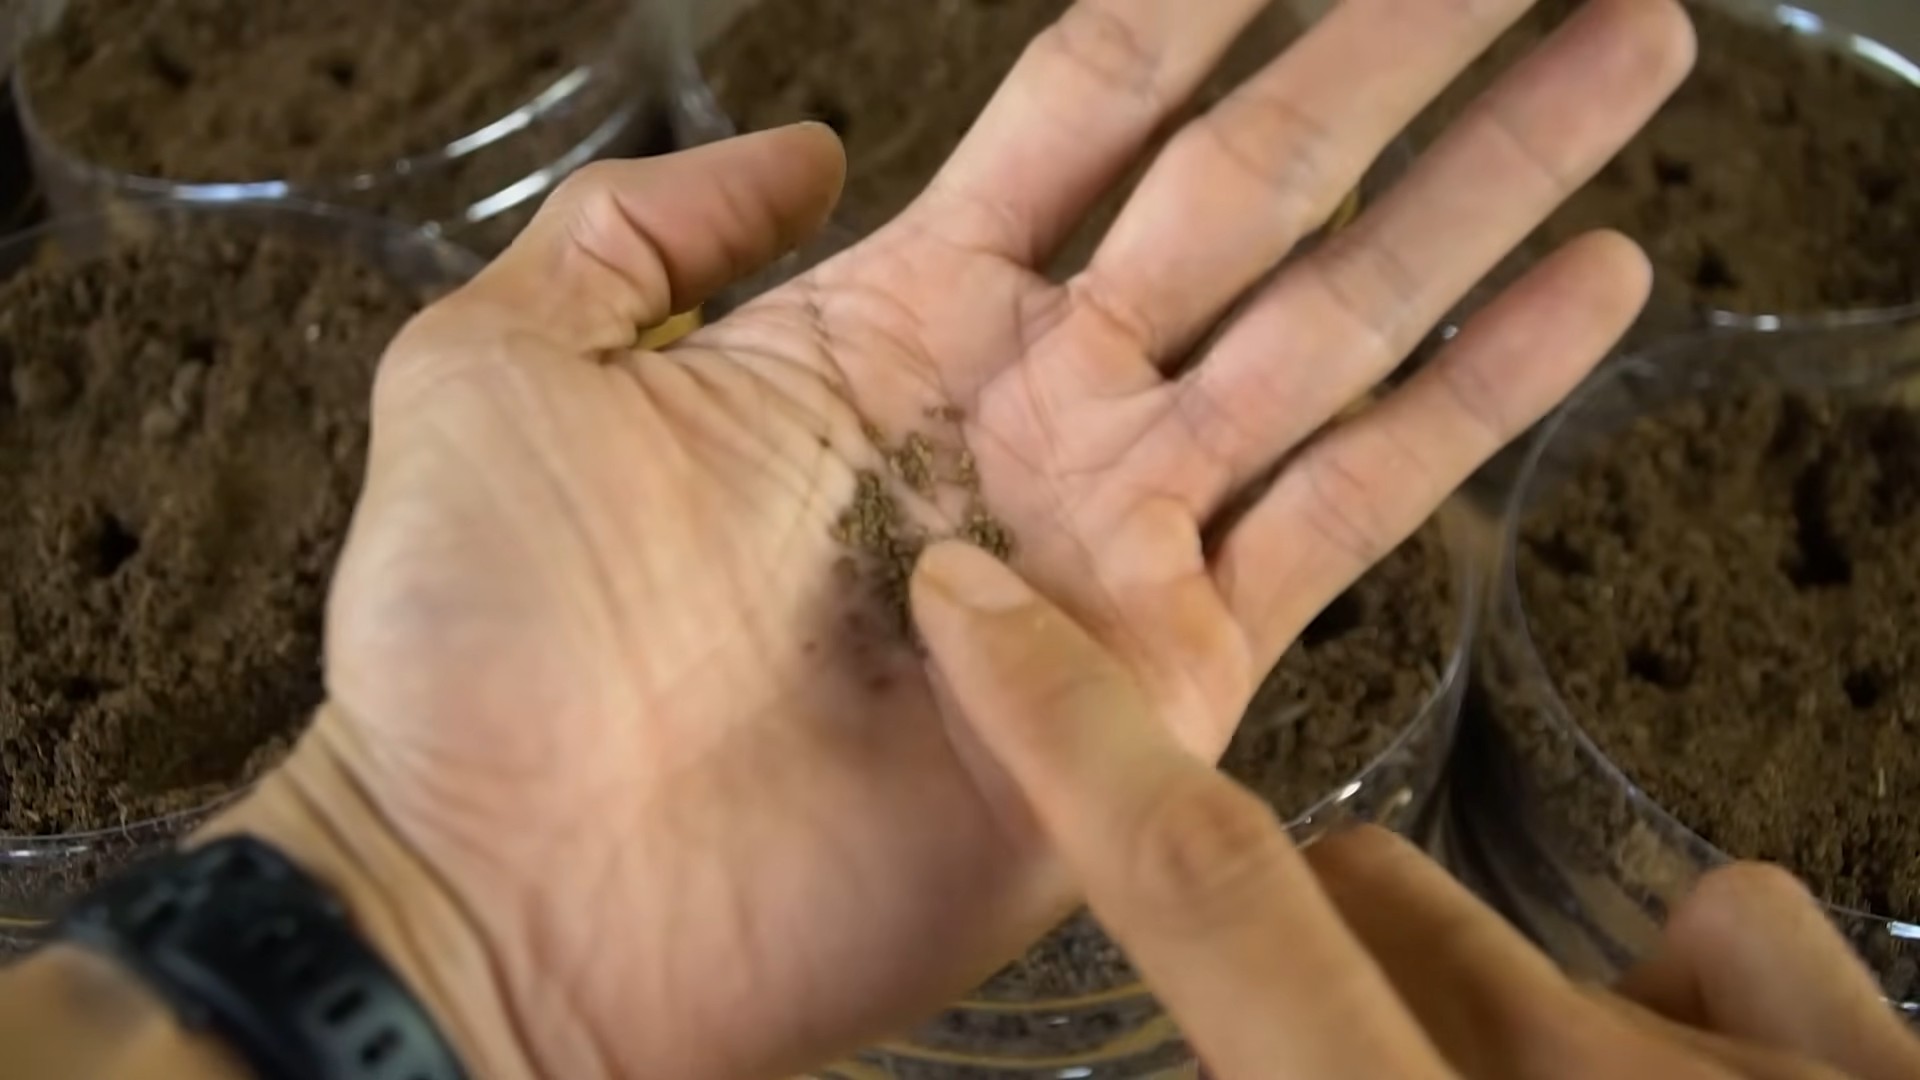
1. Prepare the Celery Base: After you’ve used the celery stalks, don’t toss the base! Carefully cut off the bottom 2 inches of the celery stalk, making sure the base is intact. This is where the magic happens.
2. Place in Water: Put the celery base in your shallow dish or bowl. Add enough water to cover the bottom inch or so of the base. You don’t want the entire base submerged, just the bottom part.
3. Find a Sunny Spot: Place the dish on a sunny windowsill. Celery needs plenty of light to grow. A south-facing window is ideal, but any window that gets at least 6 hours of sunlight will work.
4. Change the Water Regularly: Change the water every 1-2 days to prevent mold and keep the water fresh. This is crucial for healthy root development.
5. Watch for Growth: Within a few days, you should start to see small leaves sprouting from the center of the celery base. You’ll also notice roots starting to grow from the bottom. This is so exciting!
6. Wait for Root Development: Let the roots grow for about a week or two, until they are at least 2-3 inches long. The more roots, the better the chances of successful transplanting.
Transplanting to Soil: Giving Your Celery a Home
Once your celery base has developed a good root system, it’s time to move it to a pot with soil. This is where it will really start to grow and thrive.
What You’ll Need:
* Your rooted celery base
* Potting soil
* A pot (at least 6 inches in diameter and depth)
* Water
* A trowel or small shovel
Step-by-Step Instructions:
1. Prepare the Pot: Fill your pot with potting soil, leaving about an inch of space at the top. Gently pat down the soil to remove any air pockets.
2. Create a Hole: Use your trowel or fingers to create a hole in the center of the pot, large enough to accommodate the celery base and its roots.
3. Carefully Transplant: Gently remove the celery base from the water, being careful not to damage the roots. Place the base into the hole in the pot, making sure the roots are spread out.
4. Cover the Roots: Fill the hole with potting soil, gently covering the roots. Make sure the base of the celery is still slightly exposed above the soil line.
5. Water Thoroughly: Water the soil thoroughly until water drains out of the bottom of the pot. This will help settle the soil and ensure the roots are well-hydrated.
6. Place in a Sunny Location: Put the pot back on your sunny windowsill or in another location that gets plenty of sunlight.
Caring for Your Celery Plant: Keeping it Happy and Healthy
Now that your celery is planted, it’s important to provide it with the right care to ensure it grows into a healthy and productive plant.
What You’ll Need:
* Water
* Fertilizer (optional)
* Patience!
Step-by-Step Instructions:
1. Water Regularly: Celery needs consistent moisture to thrive. Water your plant whenever the top inch of soil feels dry to the touch. Avoid overwatering, as this can lead to root rot. I usually check mine every other day.
2. Fertilize (Optional): If you want to give your celery a boost, you can fertilize it every few weeks with a balanced liquid fertilizer. Follow the instructions on the fertilizer package. I find that a little fertilizer helps them grow bigger and faster.
3. Provide Support (Optional): As your celery grows taller, it may need some support to prevent it from falling over. You can use stakes or a tomato cage to provide support.
4. Monitor for Pests and Diseases: Keep an eye out for any signs of pests or diseases, such as aphids, slugs, or fungal infections. If you notice any problems, take action immediately to prevent them from spreading. I’ve had good luck with neem oil for aphids.
5. Be Patient: Celery takes time to grow. It can take several months for your plant to reach full size. Don’t get discouraged if it doesn’t happen overnight. Just keep providing it with the right care, and you’ll be rewarded with delicious, homegrown celery.
Starting from Seeds: A More Traditional Approach
While regrowing from a base is fun, starting from seeds gives you more variety and control. It requires a bit more patience, but the results are worth it!
What You’ll Need:
* Celery seeds
* Seed starting trays or small pots
* Seed starting mix
* Water
* A spray bottle
* A warm, sunny location or grow lights
* Potting soil
* Larger pots (at least 6 inches in diameter)
Step-by-Step Instructions:
1. Start Seeds Indoors: Celery seeds are tiny and need a head start indoors. Start them about 10-12 weeks before the last expected frost.
2. Prepare Seed Starting Trays: Fill your seed starting trays or small pots with seed starting mix. Moisten the mix thoroughly with water.
3. Sow the Seeds: Sprinkle the celery seeds evenly over the surface of the soil. Celery seeds need light to germinate, so don’t bury them too deeply. Gently press them into the soil.
4. Mist with Water: Use a spray bottle to mist the seeds with water. This will help keep the soil moist without disturbing the seeds.
5. Provide Warmth and Light: Place the seed starting trays in a warm, sunny location or under grow lights. Celery seeds need a temperature of around 70-75°F (21-24°C) to germinate.
6. Keep Soil Moist: Keep the soil consistently moist, but not soggy. Mist the seeds with water as needed.
7. Wait for Germination: Celery seeds can take up to 2-3 weeks to germinate. Be patient and keep the soil moist.
8. Thin Seedlings: Once the seedlings have emerged and have a few true leaves, thin them out so that only the strongest seedlings remain.
9. Harden Off Seedlings: Before transplanting the seedlings outdoors, you need to harden them off. This means gradually exposing them to outdoor conditions over a period of a week or two. Start by placing them outdoors for a few hours each day, gradually increasing the amount of time they spend outside.
10. Transplant to Larger Pots: Once the seedlings are hardened off, transplant them to larger pots filled with potting soil.
Planting Celery Outdoors: Finding the Perfect Spot
Whether you started from seeds or regrew from a base, eventually your celery will need to be planted outdoors (or in a very large container). Choosing the right location is key.
What You’ll Need:
* Your celery seedlings or regrown plant
* A garden bed or large container
* Well-draining soil
* Compost or other organic matter
* Water
* A trowel or shovel
Step-by-Step Instructions:
1. Choose a Location: Select a location that gets at least 6 hours of sunlight per day. Celery prefers well-draining soil that is rich in organic matter.
2. Prepare the Soil: Amend the soil with compost or other organic matter to improve drainage and fertility.
3. Dig a Hole: Dig a hole that is large enough to accommodate the root ball of your celery plant.
4. Plant the Celery: Gently remove the celery plant from its pot and place it in the hole. Make sure the top of the root ball is level with the surrounding soil.
5. Fill the Hole: Fill the hole with soil, gently patting it down around the plant.
6. Water Thoroughly
Conclusion
So, there you have it! Growing celery at home from scraps isn’t just a fun experiment; it’s a sustainable way to reduce food waste, enjoy fresh, flavorful celery, and connect with the natural world. It’s a surprisingly simple process that yields impressive results, transforming what would otherwise be kitchen scraps into a vibrant, thriving plant.
Why is this DIY trick a must-try? Because it’s economical, environmentally friendly, and rewarding. Think about it: instead of tossing those celery bases into the compost bin, you’re giving them a second life, saving money on groceries, and contributing to a greener planet. Plus, there’s something incredibly satisfying about nurturing a plant from its humble beginnings to a fully grown stalk.
But the benefits don’t stop there. Homegrown celery boasts a flavor that’s often superior to store-bought varieties. It’s crisper, more aromatic, and bursting with freshness. Imagine adding that homegrown goodness to your soups, salads, smoothies, or simply enjoying it as a healthy snack with your favorite dip.
Looking for variations? Absolutely! Once your celery has established roots, you can experiment with different growing mediums. While water propagation is a great starting point, transferring your celery to a pot filled with nutrient-rich soil will encourage even more robust growth. Consider adding organic fertilizers or compost to provide your plant with the essential nutrients it needs to thrive. You can also try growing different varieties of celery, such as Pascal celery or Golden Self-Blanching celery, to explore a range of flavors and textures.
Another fun variation is to use the celery leaves in your cooking. Don’t discard them! Celery leaves are packed with flavor and can be used as a substitute for parsley or other herbs in soups, stews, and salads. They can also be dried and used as a seasoning.
We wholeheartedly encourage you to give this DIY trick a try. It’s a fantastic project for gardeners of all levels, from beginners to seasoned pros. It’s also a great way to get kids involved in gardening and teach them about the importance of sustainability.
Don’t be intimidated if you’ve never grown celery before. The process is straightforward, and the rewards are well worth the effort. Follow the simple steps outlined in this article, and you’ll be well on your way to enjoying fresh, homegrown celery in no time.
And most importantly, we want to hear about your experience! Share your photos, tips, and stories with us in the comments section below. Let us know what challenges you faced, what successes you celebrated, and any creative variations you tried. Your feedback will not only inspire other readers but also help us improve this guide for future gardeners. Let’s cultivate a community of celery-growing enthusiasts! So go ahead, **grow celery at home** and experience the joy of homegrown goodness.
Frequently Asked Questions (FAQ)
1. How long does it take to grow celery from a base?
The time it takes to grow celery from a base can vary depending on several factors, including the variety of celery, the growing conditions, and the care you provide. Generally, you can expect to see new growth within a week or two of placing the celery base in water. Roots should start to appear within a few days. Once the roots are well-established, you can transplant the celery to soil. From there, it can take several weeks to a few months for the celery to fully mature and be ready for harvest. Be patient and provide your celery with the right conditions, and you’ll be rewarded with fresh, homegrown stalks.
2. What kind of water should I use to regrow celery?
Using clean, fresh water is crucial for successfully regrowing celery. Tap water is generally fine, but if your tap water is heavily chlorinated, it’s best to let it sit out for 24 hours before using it to allow the chlorine to dissipate. Alternatively, you can use filtered water or bottled water. Avoid using distilled water, as it lacks the minerals that plants need to thrive. Change the water every one to two days to prevent bacterial growth and keep the celery base healthy.
3. How much sunlight does celery need?
Celery thrives in bright, indirect sunlight. While it can tolerate some direct sunlight, especially in the morning, too much direct sun can scorch the leaves. Aim for at least six hours of indirect sunlight per day. If you’re growing your celery indoors, place it near a sunny window, preferably one that faces east or west. If you don’t have access to enough natural light, you can supplement with artificial grow lights.
4. What type of soil is best for growing celery?
Celery prefers rich, well-draining soil that is high in organic matter. A good potting mix for celery should retain moisture but also allow excess water to drain away easily. You can amend your soil with compost, aged manure, or other organic materials to improve its fertility and drainage. The ideal soil pH for celery is between 6.0 and 6.8.
5. How often should I water celery once it’s planted in soil?
Celery needs consistent moisture to thrive. Water your celery regularly, keeping the soil consistently moist but not waterlogged. Check the soil moisture level daily, and water when the top inch of soil feels dry to the touch. Avoid letting the soil dry out completely, as this can stress the plant and affect its growth. During hot, dry weather, you may need to water your celery more frequently.
6. How do I know when my celery is ready to harvest?
Celery is typically ready to harvest when the stalks are at least 6-8 inches long and have reached a desirable thickness. The exact time to harvest will depend on the variety of celery and your personal preference. You can harvest individual stalks as needed, or you can harvest the entire plant at once. To harvest, simply cut the stalks at the base of the plant with a sharp knife.
7. Can I grow celery indoors year-round?
Yes, you can grow celery indoors year-round, provided you provide it with the right conditions. This includes adequate light, consistent moisture, and a nutrient-rich growing medium. You may need to supplement with artificial grow lights during the winter months when natural light is limited.
8. What are some common problems when growing celery and how can I fix them?
Some common problems when growing celery include pests, diseases, and nutrient deficiencies. Pests such as aphids and celery leaf miners can damage the leaves and stems. You can control these pests with insecticidal soap or neem oil. Diseases such as early blight and pink rot can also affect celery. Prevent these diseases by providing good air circulation and avoiding overhead watering. Nutrient deficiencies can cause stunted growth and yellowing leaves. Fertilize your celery regularly with a balanced fertilizer to prevent nutrient deficiencies.
9. Can I eat the celery leaves?
Yes, celery leaves are perfectly edible and packed with flavor. They can be used in soups, stews, salads, and as a garnish. Celery leaves have a stronger flavor than the stalks, so use them sparingly at first until you get used to the taste. You can also dry the leaves and use them as a seasoning.
10. Is growing celery from scraps truly sustainable?
Yes, growing celery from scraps is a sustainable practice because it reduces food waste and minimizes the need to purchase commercially grown celery, which often involves transportation and packaging. By regrowing celery from scraps, you’re contributing to a more circular and environmentally friendly food system. It’s a small but meaningful step towards a more sustainable lifestyle.

Leave a Comment