

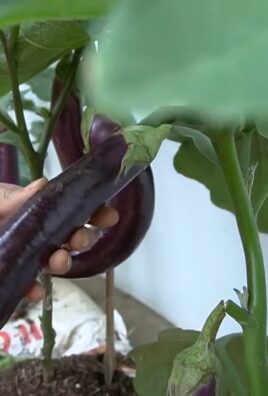
Grow Eggplants Faster? Absolutely! Imagine biting into a juicy, homegrown eggplant weeks ahead of your neighbor. Sounds tempting, right? For centuries, gardeners have sought ways to coax the most out of their plants, and eggplants, with their glossy skin and versatile flavor, are no exception. From ancient Ayurvedic practices that recognized the eggplant’s medicinal properties to modern-day culinary delights, this nightshade has earned its place in gardens and kitchens worldwide.
But let’s be honest, waiting for those plump purple beauties to mature can test even the most patient gardener. That’s where these DIY tricks and hacks come in! I’m going to share some simple, yet effective, techniques that will help you grow eggplants faster and enjoy a bountiful harvest. Whether you’re a seasoned green thumb or just starting your gardening journey, these tips will empower you to maximize your eggplant yield and savor the fruits (or rather, vegetables!) of your labor sooner than you thought possible. Get ready to unlock the secrets to eggplant success!

DIY: Supercharge Your Eggplant Growth!
Hey there, fellow gardeners! Are you tired of waiting seemingly forever for your eggplants to mature? I know I was! That’s why I’ve compiled this guide based on my own experiments and research to help you get those beautiful, glossy eggplants faster than you ever thought possible. Let’s dive in!
Choosing the Right Variety and Starting Early
Before we even get our hands dirty, let’s talk about setting the stage for success. The variety of eggplant you choose and when you start your seeds can significantly impact your harvest time.
* Variety Matters: Some eggplant varieties are simply faster to mature than others. Look for varieties labeled as “early” or “quick-maturing.” Some of my favorites include ‘Black Beauty’ (a classic!), ‘Ichiban’ (long and slender), and ‘Fairy Tale’ (small and striped). Do some research and see what grows well in your climate and offers a shorter time to harvest.
* Start Indoors: Eggplants need a long growing season, especially in cooler climates. Starting your seeds indoors 6-8 weeks before the last expected frost is crucial. This gives them a head start and allows them to establish a strong root system before facing the unpredictable outdoor weather.
Step-by-Step: Starting Eggplant Seeds Indoors
Okay, let’s get those seeds germinating!
1. Gather Your Supplies: You’ll need:
* Eggplant seeds (of course!)
* Seed starting trays or small pots (I prefer using peat pots as they minimize transplant shock)
* Seed starting mix (this is lighter and better draining than regular potting soil)
* A spray bottle filled with water
* A heat mat (optional, but highly recommended)
* A grow light (also optional, but helps prevent leggy seedlings)
2. Prepare Your Trays/Pots: Fill your seed starting trays or pots with the seed starting mix. Gently tap them to settle the soil.
3. Sow the Seeds: Make a small indentation (about 1/4 inch deep) in the center of each cell or pot. Place 2-3 seeds in each indentation. This increases your chances of at least one seed germinating.
4. Cover and Water: Gently cover the seeds with more seed starting mix. Lightly mist the soil with water using your spray bottle. You want the soil to be moist, but not soggy.
5. Provide Warmth and Light: Place your trays or pots on a heat mat (if using) and under a grow light (if using). Eggplant seeds germinate best in warm temperatures (around 80-85°F). If you don’t have a heat mat, find a warm spot in your house. If you don’t have a grow light, place the trays near a sunny window, but be sure to rotate them regularly to prevent the seedlings from leaning towards the light.
6. Maintain Moisture: Keep the soil consistently moist by misting it regularly. Don’t let it dry out completely.
7. Thin the Seedlings: Once the seedlings emerge (usually within 7-14 days), thin them to one seedling per cell or pot. Choose the strongest, healthiest-looking seedling and snip off the others at the soil line with small scissors. Don’t pull them out, as this can disturb the roots of the remaining seedling.
Hardening Off Your Seedlings
Before transplanting your eggplant seedlings outdoors, you need to “harden them off.” This process gradually acclimates them to the outdoor environment, preventing shock and increasing their chances of survival.
1. Start Slowly: About a week before you plan to transplant, begin taking your seedlings outdoors for a few hours each day. Start with just an hour or two in a sheltered location, protected from direct sunlight and wind.
2. Gradually Increase Exposure: Each day, gradually increase the amount of time the seedlings spend outdoors and expose them to more sunlight.
3. Monitor the Weather: Avoid hardening off your seedlings on days with extreme temperatures, strong winds, or heavy rain.
4. Bring Them Back In: Bring the seedlings back indoors each evening.
5. Ready to Transplant: After a week of hardening off, your seedlings should be ready to handle the outdoor environment.
Preparing the Garden Bed for Rapid Growth
Eggplants are heavy feeders, so preparing the garden bed properly is essential for fast growth and abundant fruit production.
* Sunlight is Key: Eggplants need at least 6-8 hours of direct sunlight per day. Choose a location in your garden that receives plenty of sun.
* Well-Drained Soil: Eggplants don’t like soggy soil. Make sure your garden bed has good drainage. If your soil is heavy clay, amend it with compost, peat moss, or other organic matter to improve drainage.
* Rich Soil: As I mentioned, eggplants are heavy feeders. Amend your soil with plenty of compost, well-rotted manure, or other organic matter. This will provide them with the nutrients they need to grow quickly and produce lots of fruit.
* Soil pH: Eggplants prefer a slightly acidic soil pH (around 6.0-6.8). You can test your soil pH with a soil testing kit and amend it accordingly.
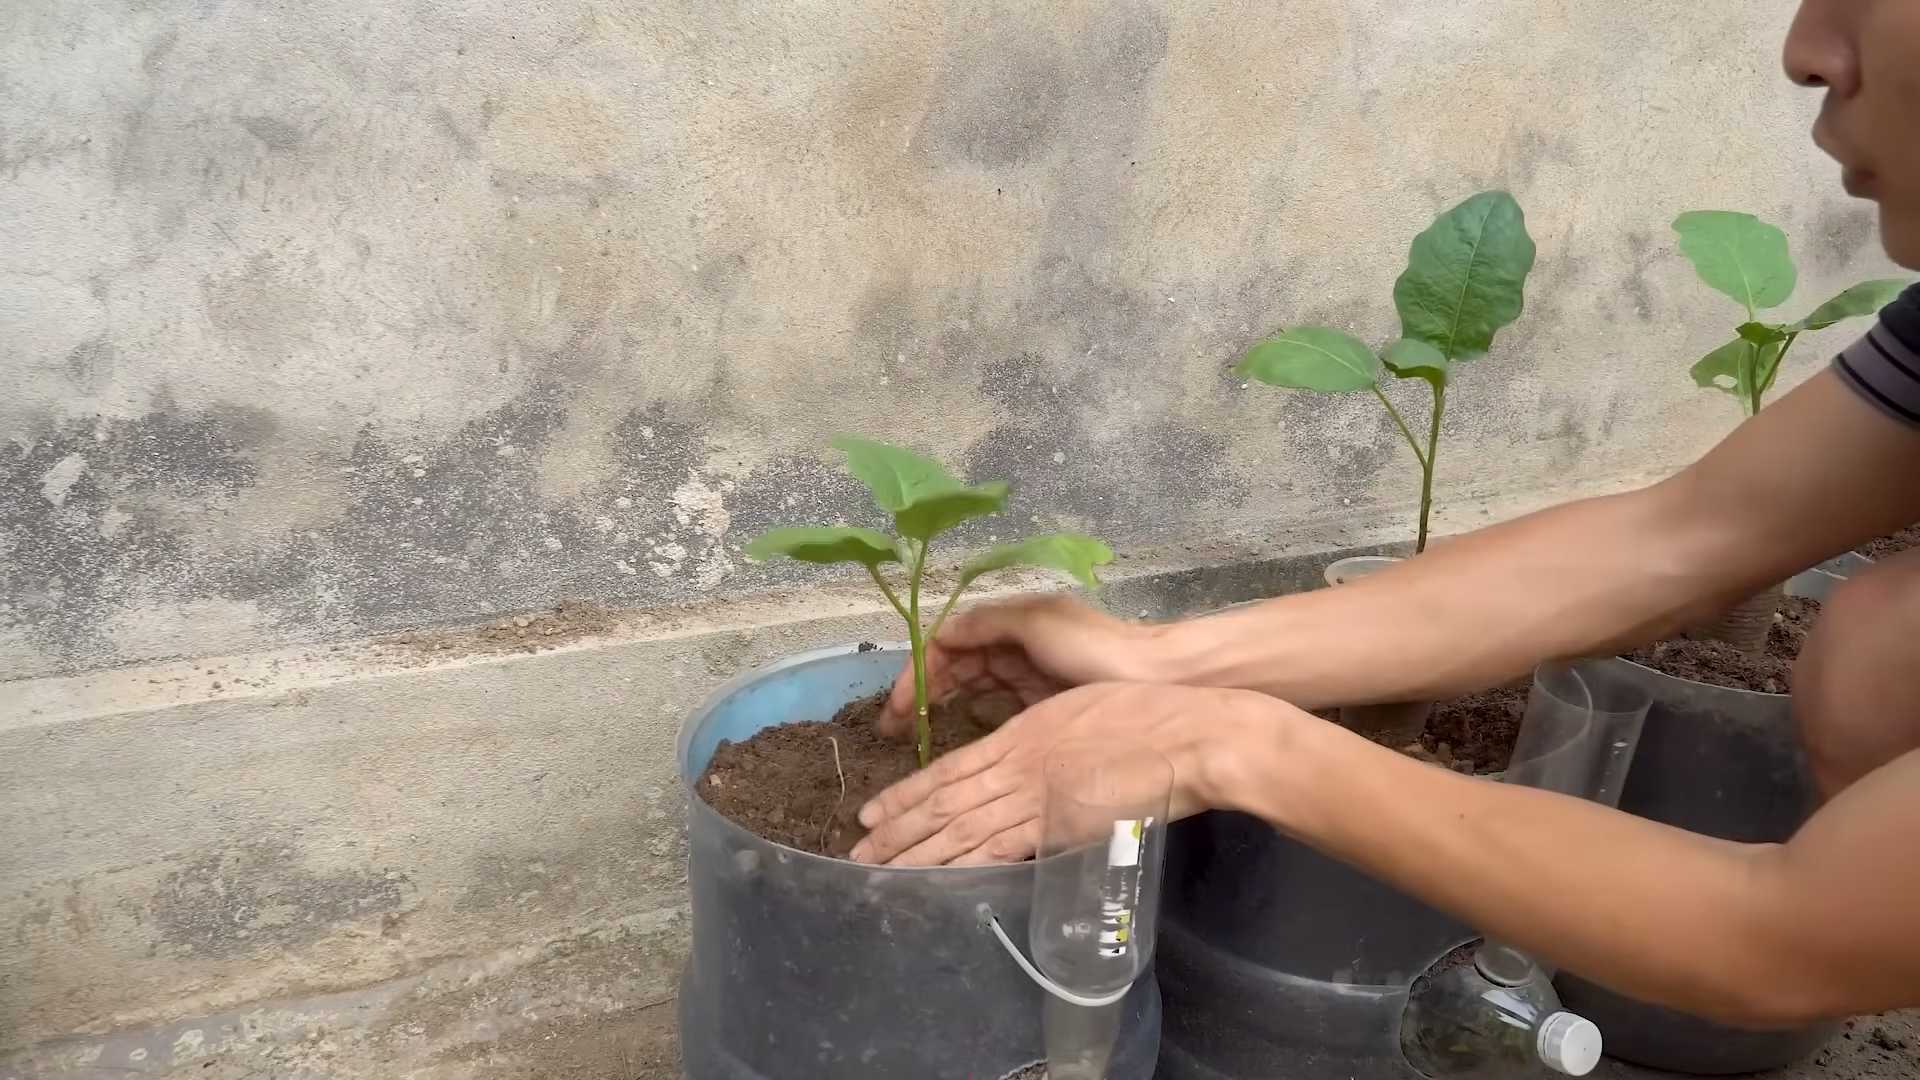
Transplanting Your Eggplant Seedlings
Now for the exciting part – getting those eggplants into the ground!
1. Choose a Cloudy Day: Transplanting on a cloudy day will help reduce transplant shock.
2. Dig Holes: Dig holes that are slightly larger than the root balls of your seedlings. Space the holes about 18-24 inches apart.
3. Gently Remove Seedlings: Carefully remove the seedlings from their pots or trays. If you used peat pots, you can plant the entire pot directly into the ground. Just make sure to tear off the top edge of the pot to prevent it from wicking moisture away from the roots.
4. Plant Seedlings: Place the seedlings in the holes and gently backfill with soil. Make sure the top of the root ball is level with the surrounding soil.
5. Water Thoroughly: Water the seedlings thoroughly after planting.
6. Mulch: Apply a layer of mulch around the plants to help retain moisture, suppress weeds, and regulate soil temperature. I like to use straw, wood chips, or shredded leaves.
Fertilizing for Maximum Growth
Consistent feeding is crucial for getting those eggplants to grow quickly and produce a bountiful harvest.
* Initial Feeding: After transplanting, give your eggplants a boost with a balanced fertilizer (e.g., 10-10-10). Follow the instructions on the fertilizer package.
* Regular Feeding: Continue to fertilize your eggplants every 2-3 weeks throughout the growing season. You can use a balanced fertilizer or a fertilizer specifically formulated for vegetables. I also like to use liquid seaweed or fish emulsion for an extra boost of nutrients.
* Side-Dressing: As the plants grow, you can side-dress them with compost or well-rotted manure. This will provide them with a slow-release source of nutrients.
Watering Wisely
Eggplants need consistent moisture, but they don’t like to be waterlogged.
* Water Deeply: Water your eggplants deeply and regularly, especially during hot, dry weather. Aim to water them at the base of the plant to avoid wetting the foliage, which can lead to fungal diseases.
* Check the Soil: Before watering, check the soil moisture by sticking your finger into the soil. If the top inch or two of soil is dry, it’s time to water.
* Mulch Helps: Mulch helps retain moisture in the soil, reducing the need for frequent watering.
Pruning for Better Airflow and Fruit Production
Pruning your eggplant plants can improve airflow, reduce the risk of disease, and encourage more fruit production.
* Remove Suckers: Suckers are small shoots that grow from the base of the plant. Remove them regularly to direct the plant’s energy towards fruit production.
* Remove Yellowing Leaves: Remove any yellowing or damaged leaves to improve airflow and prevent the spread of disease.
* Pinch Back Growing Tips: Once the plant has reached a desired size, you can pinch back the growing tips to encourage branching and more fruit production.
Pest and Disease Control
Unfortunately, eggplants are susceptible to a few pests and diseases. Here’s how to keep them at bay:
* Common Pests: Common eggplant pests include aphids, flea beetles, and spider mites. You can control these pests with insecticidal soap, neem oil, or by hand-picking them off the plants.
* Common Diseases: Common eggplant diseases include fungal diseases like early blight and verticillium wilt. Prevent these diseases by providing good airflow, avoiding overhead watering, and using disease-resistant varieties. If you do notice signs of disease, treat the plants with a fungicide
Conclusion
So, there you have it! This simple yet effective DIY trick to grow eggplants faster is a game-changer for any gardener, regardless of experience level. We’ve walked you through the process, highlighting the science behind why it works and providing clear, actionable steps to implement it in your own garden.
Why is this a must-try? Because time is precious, and waiting for your eggplants to mature can be agonizing. This method not only accelerates growth but also often results in healthier, more robust plants that are better equipped to withstand common pests and diseases. Imagine harvesting plump, vibrant eggplants weeks earlier than you normally would, allowing you to enjoy them in your favorite recipes throughout the season. The satisfaction of nurturing your own food from seed to table is amplified when you see tangible results quickly.
But don’t just take our word for it. We encourage you to experiment and adapt this technique to your specific growing conditions. For instance, if you live in a particularly hot climate, you might consider using a shade cloth in conjunction with this method to prevent overheating. Alternatively, if you’re growing your eggplants in containers, ensure you’re using a high-quality potting mix that provides excellent drainage and aeration. You could also try different types of organic fertilizers to further boost growth and fruit production.
Consider these variations:
* Grafting: For even more accelerated growth and disease resistance, explore grafting your eggplant seedlings onto a more vigorous rootstock. This is a more advanced technique, but the results can be truly remarkable.
* Companion Planting: Plant basil, marigolds, or other beneficial herbs and flowers near your eggplants to deter pests and attract pollinators. This creates a healthier ecosystem in your garden and can contribute to faster growth.
* Watering Techniques: Consistent and proper watering is crucial. Consider using a soaker hose or drip irrigation system to deliver water directly to the roots, minimizing water waste and promoting healthy growth.
* Foliar Feeding: Supplement your regular fertilization with occasional foliar feeding. This allows the plants to absorb nutrients directly through their leaves, providing a quick boost.
We are confident that this DIY trick will revolutionize your eggplant growing experience. It’s a small investment of time and effort that yields significant rewards. The key is to be patient, observant, and willing to adapt the technique to your specific needs.
Now, it’s your turn! We urge you to try this method and share your results with us. Let us know what worked well for you, what challenges you encountered, and any variations you discovered. Your feedback will help us refine this technique and make it even more effective for other gardeners. Share your photos and stories on our social media channels using #FasterEggplants and let’s build a community of thriving eggplant growers! We can’t wait to see your bountiful harvests!
Frequently Asked Questions
What exactly does this DIY trick entail?
The core of this DIY trick involves creating a warmer, more humid microclimate around your eggplant seedlings early in the growing season. This is typically achieved by using cloches, row covers, or even simple plastic bottles with the bottoms cut off to protect the young plants from cold temperatures and wind. The increased warmth and humidity stimulate faster growth and development. The specific method will depend on your local climate and available resources. We recommend starting seeds indoors 6-8 weeks before the last expected frost and then transplanting them outdoors under protection once the weather warms up slightly.
How much faster can I expect my eggplants to grow using this method?
While results can vary depending on factors such as climate, soil quality, and variety of eggplant, you can generally expect to see a noticeable difference in growth rate. Many gardeners report harvesting eggplants 2-4 weeks earlier than they would without using this technique. The key is to consistently maintain the warmer microclimate and provide adequate water and nutrients. Remember that consistent monitoring and adjustments are crucial for optimal results.
Is this trick suitable for all climates?
This trick is particularly beneficial in cooler climates or regions with short growing seasons. However, even in warmer climates, it can help to give your eggplants a head start and protect them from early-season pests and diseases. If you live in a very hot climate, be sure to monitor the temperature under the cloches or row covers and provide ventilation if necessary to prevent overheating. Shade cloth can also be used to mitigate excessive heat.
What type of cloche or row cover should I use?
The best type of cloche or row cover depends on your budget and available resources. Simple plastic bottles with the bottoms cut off are a cost-effective option for individual plants. For larger areas, you can use commercially available cloches or construct your own row covers using PVC pipes and plastic sheeting or garden fabric. The key is to choose a material that allows sunlight to penetrate while providing insulation and protection from wind and frost.
How long should I keep the cloches or row covers on my eggplants?
You should keep the cloches or row covers on your eggplants until the weather has consistently warmed up and the risk of frost has passed. This typically occurs a few weeks after the last expected frost date. Monitor the plants closely and remove the covers gradually to allow them to acclimate to the outdoor conditions. On particularly warm days, you may need to vent the covers to prevent overheating.
What kind of fertilizer should I use to promote faster growth?
Eggplants are heavy feeders and benefit from regular fertilization. Use a balanced fertilizer with a higher phosphorus content to promote root development and fruit production. You can also supplement with organic fertilizers such as compost tea or fish emulsion. Avoid over-fertilizing, as this can lead to excessive foliage growth and reduced fruit production. Follow the instructions on the fertilizer packaging and adjust the amount based on the size and age of your plants.
Are there any specific eggplant varieties that are better suited for this method?
While this method can be used with any eggplant variety, some varieties are naturally faster-growing and may benefit even more from this technique. Look for varieties that are specifically bred for early maturity or those that are known to be more productive in your region. Some popular early-maturing varieties include ‘Black Beauty’, ‘Ichiban’, and ‘Little Fingers’.
What are some common problems I might encounter, and how can I address them?
Some common problems you might encounter include overheating under the cloches or row covers, pest infestations, and fungal diseases. To prevent overheating, provide ventilation on warm days or use shade cloth. To control pests, use organic pest control methods such as insecticidal soap or neem oil. To prevent fungal diseases, ensure good air circulation and avoid overwatering. Regularly inspect your plants for signs of problems and address them promptly.
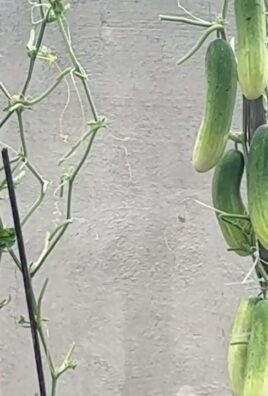
Can I use this method for other vegetables besides eggplants?
Yes, this method can be used for other vegetables that benefit from warmer temperatures and protection from frost, such as tomatoes, peppers, and cucumbers. The principles are the same: create a warmer microclimate around the plants to stimulate faster growth and development. Adjust the timing and materials based on the specific needs of each vegetable.
What if I don’t have a garden? Can I still use this trick in containers?
Absolutely! This trick works just as well in containers as it does in the ground. Choose a container that is large enough to accommodate the mature size of the eggplant plant and use a high-quality potting mix. Place the container in a sunny location and provide regular water and fertilizer. You can still use cloches or row covers to protect the plants from cold temperatures and wind. Container gardening allows you to control the growing environment more precisely and can be a great option for those with limited space.

Leave a Comment