

Start a vegetable garden today and unlock a world of fresh, flavorful possibilities right outside your door! Imagine stepping into your backyard and harvesting sun-ripened tomatoes, crisp lettuce, and fragrant herbs – all grown with your own two hands. Sounds dreamy, right? Well, it’s more achievable than you think, and this DIY guide is here to show you how.
For centuries, humans have cultivated their own food, from ancient kitchen gardens to the victory gardens of wartime. This connection to the earth is deeply ingrained in our history, and the satisfaction of nurturing plants from seed to table is truly rewarding. But in today’s fast-paced world, many of us have lost touch with this fundamental skill. That’s where these easy-to-follow tricks and hacks come in.
Why should you start a vegetable garden? Beyond the obvious benefit of fresh, organic produce, gardening is a fantastic stress reliever, a great way to get some exercise, and a wonderful learning experience for the whole family. Plus, you’ll know exactly what’s going into your food, avoiding harmful pesticides and supporting sustainable practices. I’m going to share some simple, budget-friendly DIY projects that will help you create a thriving vegetable garden, no matter how small your space or how green your thumb currently is. Let’s get growing!
Starting Your Dream Vegetable Garden: A DIY Guide
Okay, so you’re ready to dive into the wonderful world of growing your own veggies? Awesome! I’m so excited for you. There’s nothing quite like the taste of a tomato you’ve nurtured from a tiny seed. This guide will walk you through everything you need to know to get your vegetable garden up and running, even if you’ve never touched a trowel before. Let’s get our hands dirty!
Phase 1: Planning and Preparation
Before you even think about planting, a little planning goes a long way. Trust me, a well-thought-out garden is a happy garden (and a more productive one!).
Choosing the Right Location
* Sunlight is Key: Most vegetables need at least 6-8 hours of direct sunlight per day. Observe your yard throughout the day to see where the sun shines the longest. South-facing spots are usually ideal.
* Water Access: You’ll need a reliable water source nearby. Lugging watering cans across the yard gets old fast! Consider a hose or even a rain barrel system.
* Soil Quality: Good soil is the foundation of a healthy garden. We’ll talk about testing and amending your soil in the next section.
* Accessibility: Make sure your garden is easy to access for planting, weeding, and harvesting. You don’t want to be climbing over obstacles every time you need to tend to your plants.
* Consider Existing Structures: Be mindful of trees, fences, and buildings that might cast shadows or compete for resources.
Testing and Amending Your Soil
* The Importance of Soil Testing: Before you add anything to your soil, it’s crucial to know what you’re working with. A soil test will tell you the pH level and nutrient content of your soil. You can usually get a soil test kit from your local garden center or extension office.
* Understanding pH: Most vegetables prefer a slightly acidic soil with a pH between 6.0 and 7.0. If your soil is too acidic (below 6.0), you can add lime to raise the pH. If it’s too alkaline (above 7.0), you can add sulfur to lower the pH.
* Amending Your Soil: Based on your soil test results, you’ll likely need to add some amendments to improve the soil’s fertility and drainage.
* Compost: This is your best friend! Compost adds organic matter, improves drainage, and provides essential nutrients.
* Manure: Well-rotted manure is another excellent soil amendment. Be sure it’s fully composted to avoid burning your plants.
* Peat Moss: Peat moss helps retain moisture and improves drainage in heavy clay soils.
* Sand: Adding sand can improve drainage in clay soils, but be careful not to add too much, as it can create a concrete-like mixture.
* How to Amend: Spread a 2-3 inch layer of compost or other amendments over the soil surface and then till or dig it in to a depth of 6-8 inches.
Choosing Your Vegetables
* Consider Your Climate: Select vegetables that are well-suited to your local climate and growing season. Your local garden center or extension office can provide recommendations.
* Think About Your Preferences: Grow what you like to eat! There’s no point in growing a ton of kale if you don’t enjoy it.
* Start Small: If you’re a beginner, don’t try to grow everything at once. Start with a few easy-to-grow vegetables like tomatoes, zucchini, lettuce, and herbs.
* Consider Companion Planting: Some plants grow well together and can even benefit each other. For example, basil repels pests that attack tomatoes.
* Plan for Succession Planting: This involves planting crops at intervals throughout the growing season to ensure a continuous harvest. For example, you can plant lettuce every two weeks to have a steady supply.
Phase 2: Building Your Garden
Now that you’ve planned everything out, it’s time to get your hands dirty and build your garden!
Choosing Your Garden Style
* In-Ground Garden: This is the most traditional type of garden. Simply till or dig up the soil and plant your vegetables directly into the ground.
* Raised Beds: Raised beds are a great option if you have poor soil, limited space, or want to improve drainage. They also make gardening easier on your back!
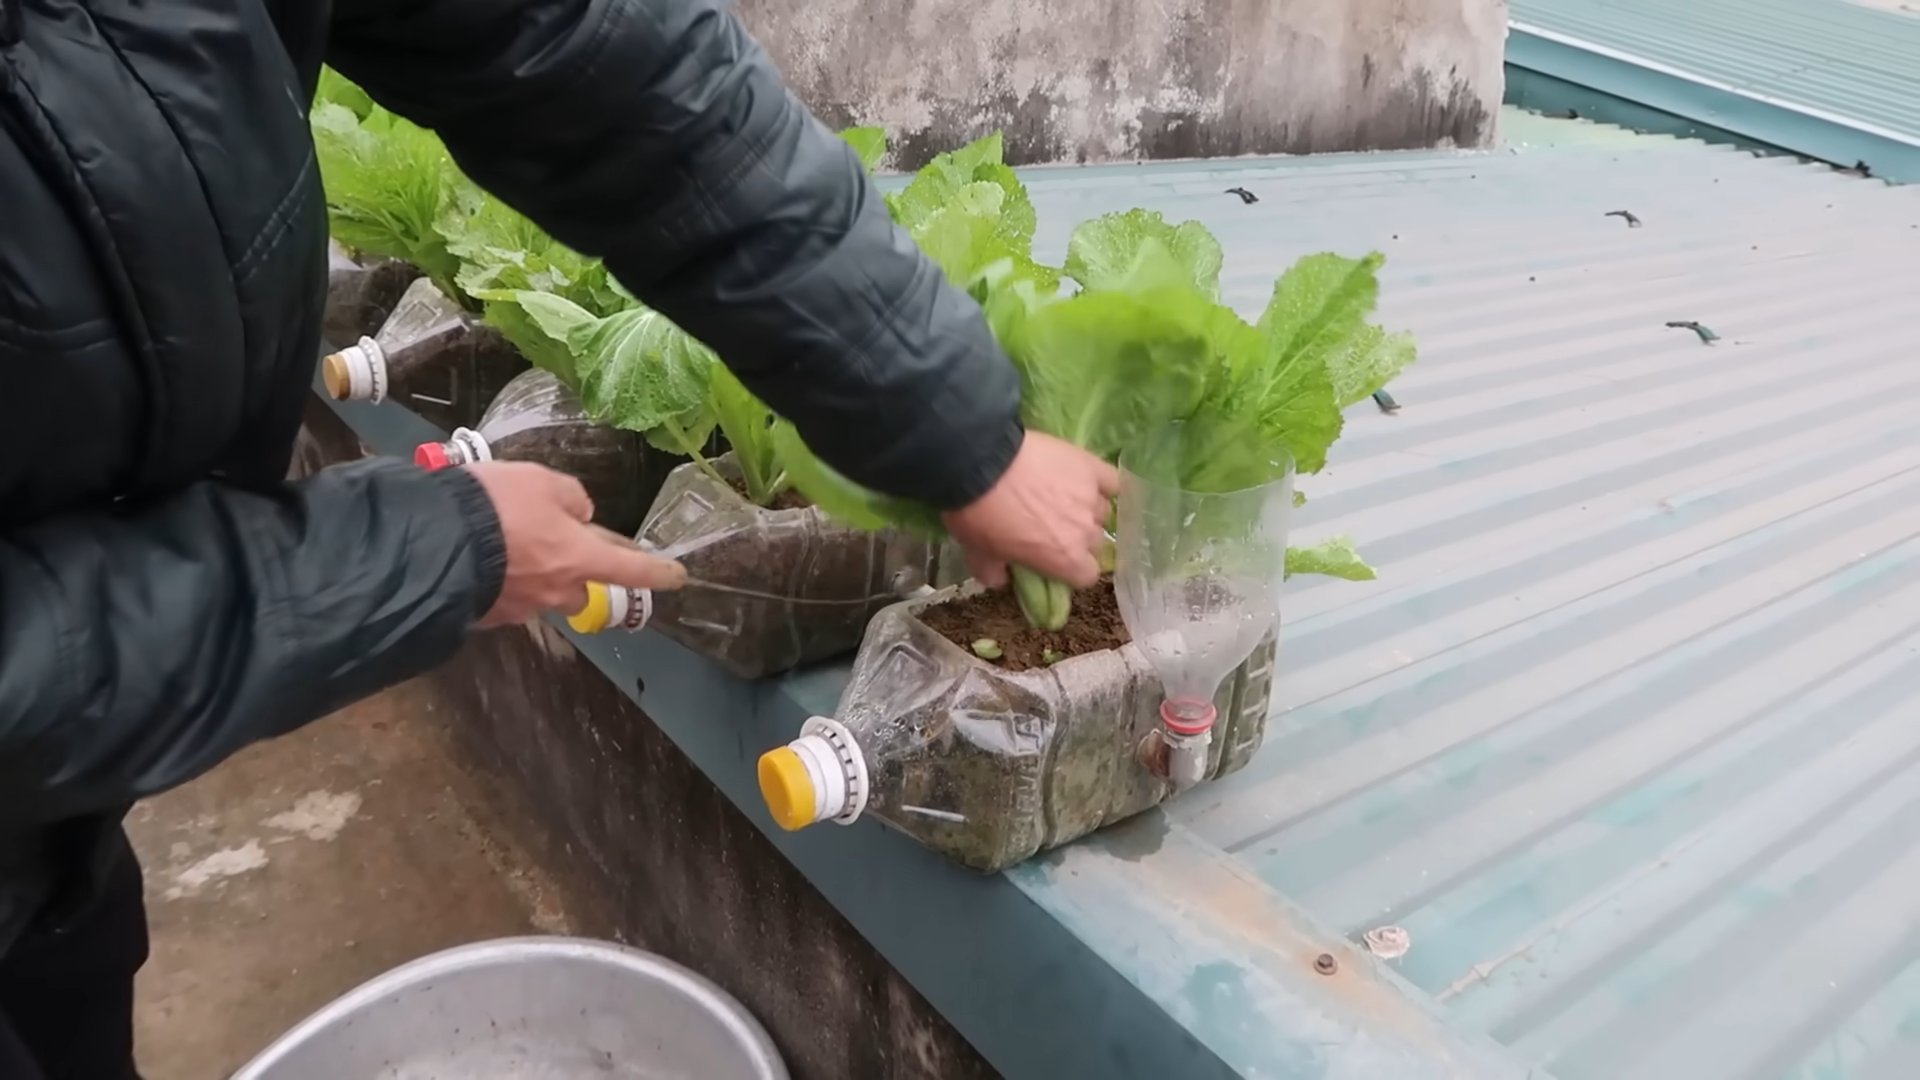
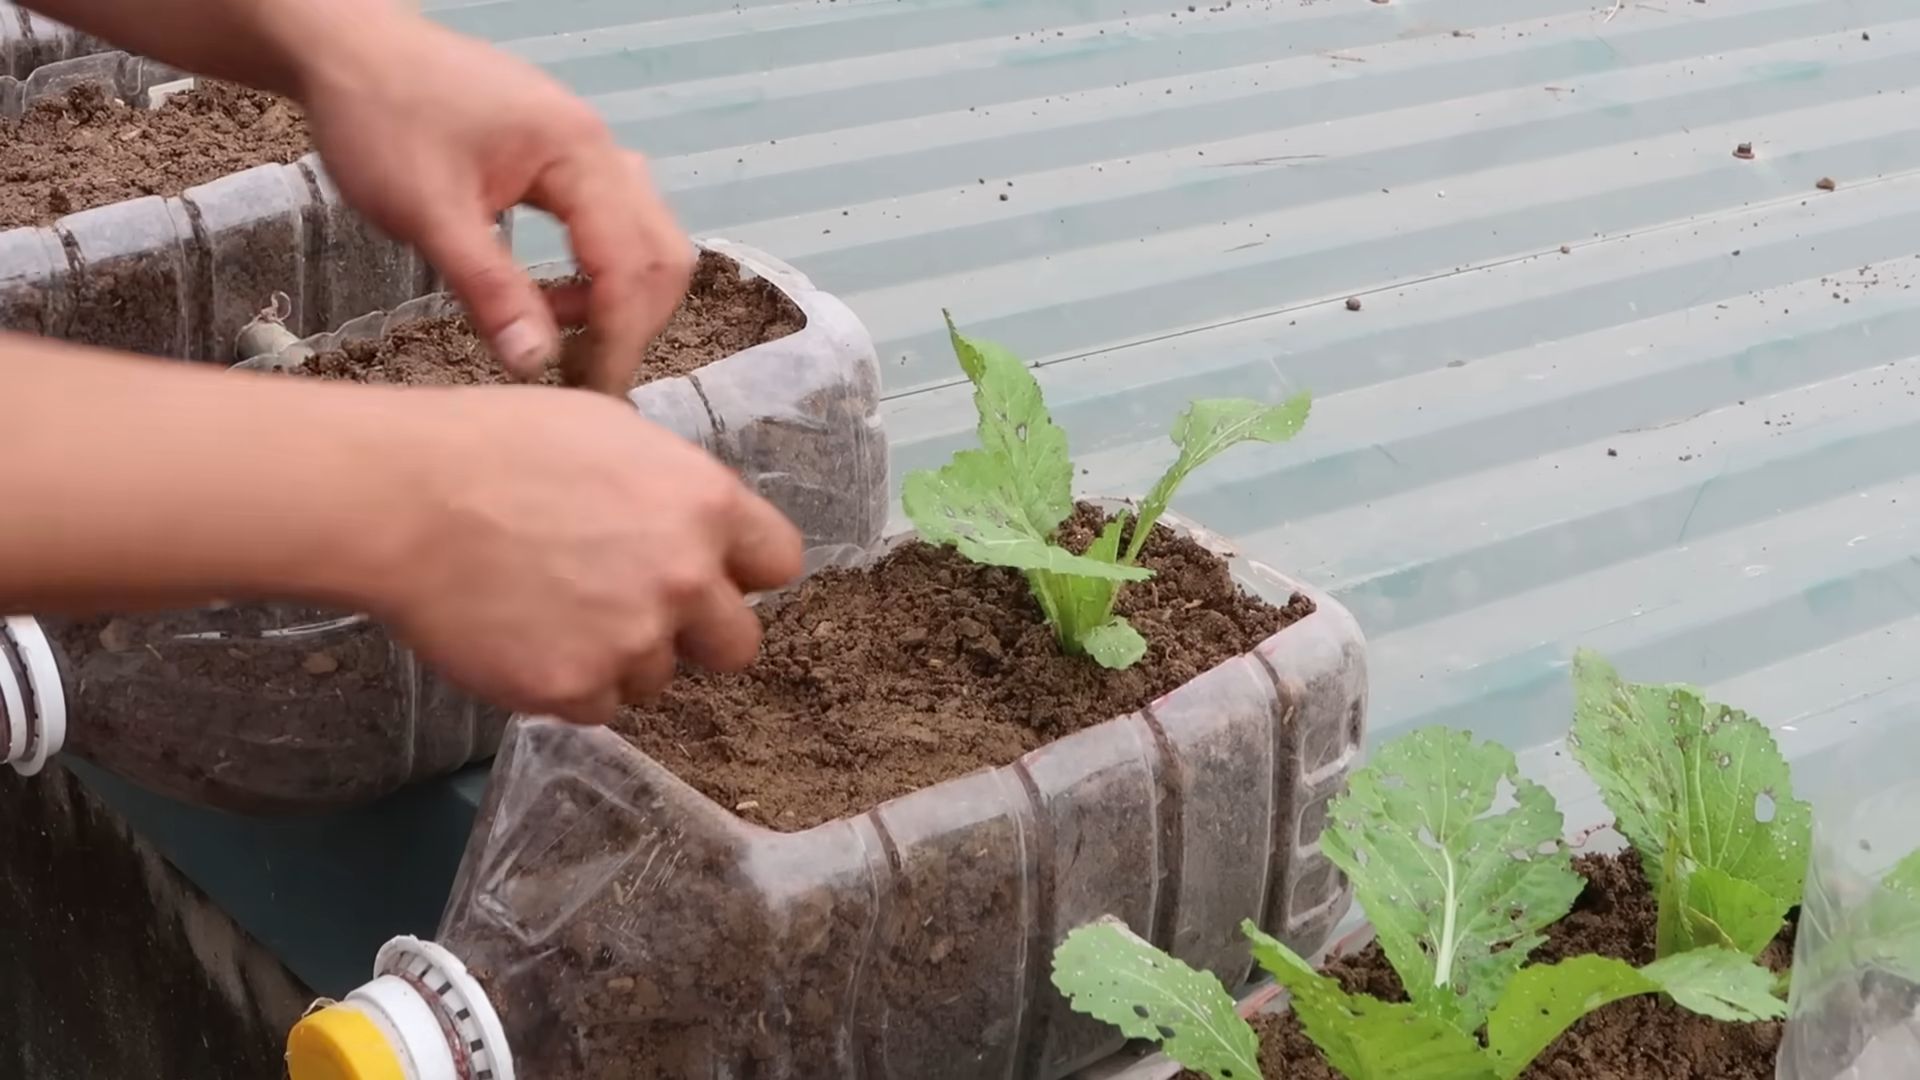
* Container Gardening: Container gardening is perfect for small spaces like patios or balconies. You can grow almost any vegetable in a container, as long as it’s large enough.
Building a Raised Bed (Optional)
If you’re opting for raised beds, here’s a simple guide:
1. Choose Your Materials: You can use wood (cedar is a good choice because it’s naturally rot-resistant), concrete blocks, or even repurposed materials like old pallets.
2. Decide on the Size: A good size for a raised bed is 4 feet wide by 8 feet long. This allows you to easily reach all parts of the bed. The height should be at least 12 inches.
3. Assemble the Bed: Cut your materials to the desired length and assemble the bed using screws or nails.
4. Line the Bed (Optional): You can line the bed with landscape fabric to prevent weeds from growing up from below.
5. Fill the Bed: Fill the bed with a mixture of topsoil, compost, and other amendments.
Preparing the Soil
Whether you’re planting in the ground or in a raised bed, you’ll need to prepare the soil.
1. Remove Weeds and Debris: Clear the area of any weeds, rocks, or other debris.
2. Till or Dig the Soil: Loosen the soil to a depth of 6-8 inches using a tiller or garden fork.
3. Incorporate Amendments: Add compost, manure, or other amendments as needed, and mix them thoroughly into the soil.
4. Rake the Soil Smooth: Rake the soil to create a smooth, even surface.
Phase 3: Planting and Growing
Alright, the moment we’ve been waiting for! Time to get those plants in the ground.
Starting Seeds Indoors (Optional)
* Why Start Seeds Indoors? Starting seeds indoors gives you a head start on the growing season, especially in colder climates. It also allows you to grow varieties that might not be available as transplants.
* When to Start Seeds: The timing depends on the vegetable and your local climate. Check the seed packet for specific instructions.
* What You’ll Need: Seed starting trays or pots, seed starting mix, a grow light, and a heat mat (optional).
* How to Start Seeds:
1. Fill the seed starting trays or pots with seed starting mix.
2. Moisten the mix with water.
3. Sow the seeds according to the instructions on the seed packet.
4. Cover the seeds with a thin layer of seed starting mix.
5. Place the trays or pots under a grow light and on a heat mat (if using).
6. Keep the soil moist but not soggy.
7. Once the seedlings have developed their first true leaves, transplant them into larger pots.
Transplanting Seedlings
1. Harden Off Seedlings: Before transplanting seedlings outdoors, you’ll need to harden them off. This involves gradually exposing them to outdoor conditions over a period of 7-10 days. Start by placing them in a sheltered spot for a few hours each day, gradually increasing the amount of time they spend outdoors.
2. Choose a Cloudy Day: Transplant seedlings on a cloudy day to minimize stress.
3. Dig a Hole: Dig a hole that’s slightly larger than the root ball of the seedling.
4. Remove the Seedling from the Pot: Gently remove the seedling from the pot, being careful not to damage the roots.
5. Place the Seedling in the Hole: Place the seedling in the hole and backfill with soil.
6. Water Thoroughly: Water the seedling thoroughly to help it settle in.
Direct Sowing Seeds
1. Prepare the Soil: Make sure the soil is loose and free of weeds.
2. Sow the Seeds: Sow the seeds according to the instructions on the seed packet.
3. Cover the Seeds: Cover the seeds with a thin layer of soil.
4. Water Gently: Water the seeds gently to avoid washing them away.
5. Keep the Soil Moist: Keep the soil moist until the seeds germinate.
Watering
* Water Deeply and Infrequently: Water deeply and infrequently, rather than shallowly
Conclusion
So, there you have it! Embarking on your own vegetable garden journey is more than just a trend; it’s a rewarding experience that connects you with nature, provides fresh, healthy produce, and empowers you to take control of your food source. We’ve covered the essential steps, from planning your garden layout and choosing the right location to understanding soil composition and selecting the perfect vegetables for your climate.
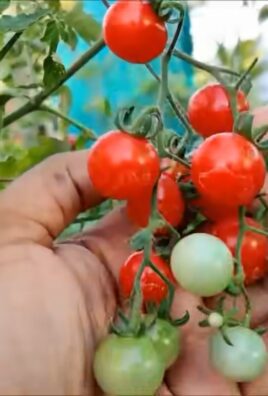
But why is starting a vegetable garden a must-try? It’s simple: the taste of homegrown tomatoes, the crispness of freshly picked lettuce, and the satisfaction of nurturing a plant from seed to harvest are unparalleled. Beyond the culinary delights, gardening offers therapeutic benefits, reducing stress and promoting physical activity. Plus, you’ll be contributing to a more sustainable lifestyle by reducing your reliance on commercially grown produce, which often involves long-distance transportation and potentially harmful pesticides.
Consider these variations to personalize your vegetable garden:
* Vertical Gardening: If you’re short on space, explore vertical gardening techniques using trellises, hanging baskets, or stacked planters. This is a fantastic way to maximize your yield in a small area.
* Container Gardening: Perfect for balconies, patios, or even indoor spaces, container gardening allows you to grow vegetables in pots and containers. Choose the right size container and potting mix for each vegetable.
* Companion Planting: Research companion planting strategies to maximize your garden’s health and productivity. Certain plants, like basil and tomatoes, can benefit each other when grown together.
* Herb Spiral: An herb spiral is a visually appealing and functional way to grow a variety of herbs in a small space. The spiral design creates different microclimates, allowing you to grow herbs with varying water and sunlight requirements.
Don’t be afraid to experiment and adapt these techniques to suit your specific needs and preferences. The beauty of gardening lies in its flexibility and the opportunity to learn and grow along with your plants.
We wholeheartedly encourage you to take the plunge and start your own vegetable garden. Even if you’re a complete beginner, the resources and information available are abundant. Start small, be patient, and don’t be discouraged by initial setbacks. Every gardener learns through trial and error.
Most importantly, we want to hear about your experiences! Share your successes, challenges, and tips in the comments below. Let’s create a community of passionate gardeners who support and inspire each other. Your insights could be invaluable to someone just starting out. So, grab your gardening gloves, get your hands dirty, and embark on this incredible journey of growing your own food. You won’t regret it!
Frequently Asked Questions (FAQ)
What is the best time of year to start a vegetable garden?
The best time to start a vegetable garden depends on your climate and the specific vegetables you want to grow. Generally, spring and fall are ideal seasons for planting. In warmer climates, you can often grow vegetables year-round. Research the planting times for your region and the specific vegetables you’re interested in. A local agricultural extension office is a great resource for this information. Consider starting seeds indoors a few weeks before the last expected frost to get a head start on the growing season.
What kind of soil is best for a vegetable garden?
The ideal soil for a vegetable garden is well-draining, nutrient-rich, and slightly acidic (pH between 6.0 and 7.0). Loamy soil, which is a mixture of sand, silt, and clay, is generally considered the best. However, you can improve the quality of your soil by adding organic matter such as compost, aged manure, or peat moss. A soil test can help you determine the pH level and nutrient content of your soil, allowing you to make necessary amendments.
How much sunlight do vegetables need?
Most vegetables require at least 6-8 hours of direct sunlight per day. Some leafy greens and root vegetables can tolerate partial shade (4-6 hours of sunlight). When planning your garden, consider the amount of sunlight your chosen location receives throughout the day. If you don’t have enough sunlight, you may need to supplement with grow lights.
How often should I water my vegetable garden?
The frequency of watering depends on the type of vegetables you’re growing, the weather conditions, and the soil type. Generally, vegetables need about 1 inch of water per week. Water deeply and less frequently, rather than shallowly and often. This encourages roots to grow deeper, making plants more drought-tolerant. Check the soil moisture regularly by sticking your finger about an inch into the soil. If it feels dry, it’s time to water.
What are some easy vegetables to grow for beginners?
Some easy vegetables to grow for beginners include:
* Lettuce
* Radishes
* Spinach
* Green beans
* Zucchini
* Tomatoes (choose determinate varieties)
* Peppers
* Cucumbers
These vegetables are relatively low-maintenance and can be grown in a variety of climates.
How do I deal with pests and diseases in my vegetable garden?
Prevention is key when it comes to pests and diseases. Choose disease-resistant varieties of vegetables, practice crop rotation, and keep your garden clean and free of weeds. Regularly inspect your plants for signs of pests or diseases. If you find any, take action immediately. Organic pest control methods include hand-picking pests, using insecticidal soap, and introducing beneficial insects like ladybugs. For diseases, remove infected plants and improve air circulation.
What is companion planting, and how can it benefit my vegetable garden?
Companion planting is the practice of growing different plants together that benefit each other. For example, basil repels pests that attack tomatoes, and carrots and onions deter each other’s pests. Companion planting can improve plant growth, deter pests and diseases, and attract pollinators. Research companion planting charts to find out which plants grow well together.
How do I harvest my vegetables at the right time?
Harvesting vegetables at the right time is crucial for optimal flavor and texture. Research the specific harvesting guidelines for each vegetable you’re growing. Generally, vegetables are ready to harvest when they are fully mature and have reached their peak size and color. Overripe vegetables can become tough or bitter.
Can I grow vegetables in containers?
Yes, you can absolutely grow vegetables in containers! Container gardening is a great option for people with limited space or poor soil. Choose containers that are large enough for the specific vegetables you want to grow. Use a high-quality potting mix and water regularly. Container-grown vegetables may need to be fertilized more frequently than those grown in the ground.
How can I extend the growing season in my vegetable garden?
There are several ways to extend the growing season in your vegetable garden:
* Start seeds indoors: Start seeds indoors a few weeks before the last expected frost to get a head start on the growing season.
* Use row covers: Row covers are lightweight fabrics that protect plants from frost and pests.
* Build a cold frame or greenhouse: Cold frames and greenhouses provide a sheltered environment for plants, allowing you to grow vegetables year-round in some climates.
* Choose cold-hardy vegetables: Some vegetables, like kale, spinach, and Brussels sprouts, can tolerate cold temperatures and can be grown throughout the winter in mild climates.
Leave a Comment