

Grow Taro at Home and unlock a world of culinary possibilities right in your backyard! Have you ever dreamed of harvesting your own exotic root vegetable, ready to be transformed into delicious poi, chips, or curries? Well, dream no more! This DIY guide is your passport to cultivating this fascinating plant, even if you’re a complete beginner.
Taro, also known as Kalo in Hawaiian culture, boasts a rich history deeply intertwined with Polynesian traditions. For centuries, it has been a staple food, revered not only for its nutritional value but also for its cultural significance. Imagine connecting with this ancient heritage by nurturing your own taro plant!
Why should you embark on this home gardening adventure? In today’s world, knowing where your food comes from is more important than ever. Growing your own taro allows you to control the quality, avoid harmful pesticides, and enjoy the unparalleled satisfaction of harvesting something you’ve nurtured from a humble corm. Plus, it’s a fantastic way to add a unique and eye-catching element to your garden. I’m excited to share my easy-to-follow tips and tricks, so you can grow taro at home successfully, regardless of your experience level. Let’s get our hands dirty and bring a touch of the tropics to your garden!
Growing Taro at Home: A Beginner’s Guide
Hey there, fellow plant enthusiasts! Ever thought about growing your own taro? It might seem a bit exotic, but trust me, it’s totally doable, even if you don’t have a sprawling garden. I’m going to walk you through everything you need to know to cultivate this delicious and nutritious root vegetable right in your own home. Let’s get our hands dirty!
Choosing Your Taro Variety
First things first, let’s talk taro varieties. Not all taro is created equal, and some are better suited for home growing than others. Here are a few popular choices:
* Bun Long: This is a classic variety, known for its large, flavorful corms (the edible root). It’s a good all-around choice.
* Dasheen: Another widely grown variety, Dasheen is prized for its starchy corms and adaptability.
* Eddoe: Eddoe produces smaller corms and cormels (smaller, secondary corms), making it a good option if you’re short on space.
* Black Magic: If you’re looking for something visually striking, Black Magic taro has dark purple to black leaves. It’s grown more for its ornamental value, but the corms are still edible.
I recommend starting with Bun Long or Dasheen, as they’re generally easier to find and grow.
Getting Started: Propagation Methods
There are a couple of ways to get your taro journey started: from corms or from cuttings.
* From Corms: This is the most common and straightforward method. You can usually find taro corms at Asian grocery stores or nurseries. Look for firm, healthy corms without any soft spots or signs of rot.
* From Cuttings: If you already have a taro plant, you can propagate it from stem cuttings. This involves taking a section of the stem with a few leaves and rooting it in water or soil.
I personally prefer starting with corms, as it’s a bit more reliable for beginners.
Planting Your Taro
Okay, now for the fun part: planting! Here’s a step-by-step guide:
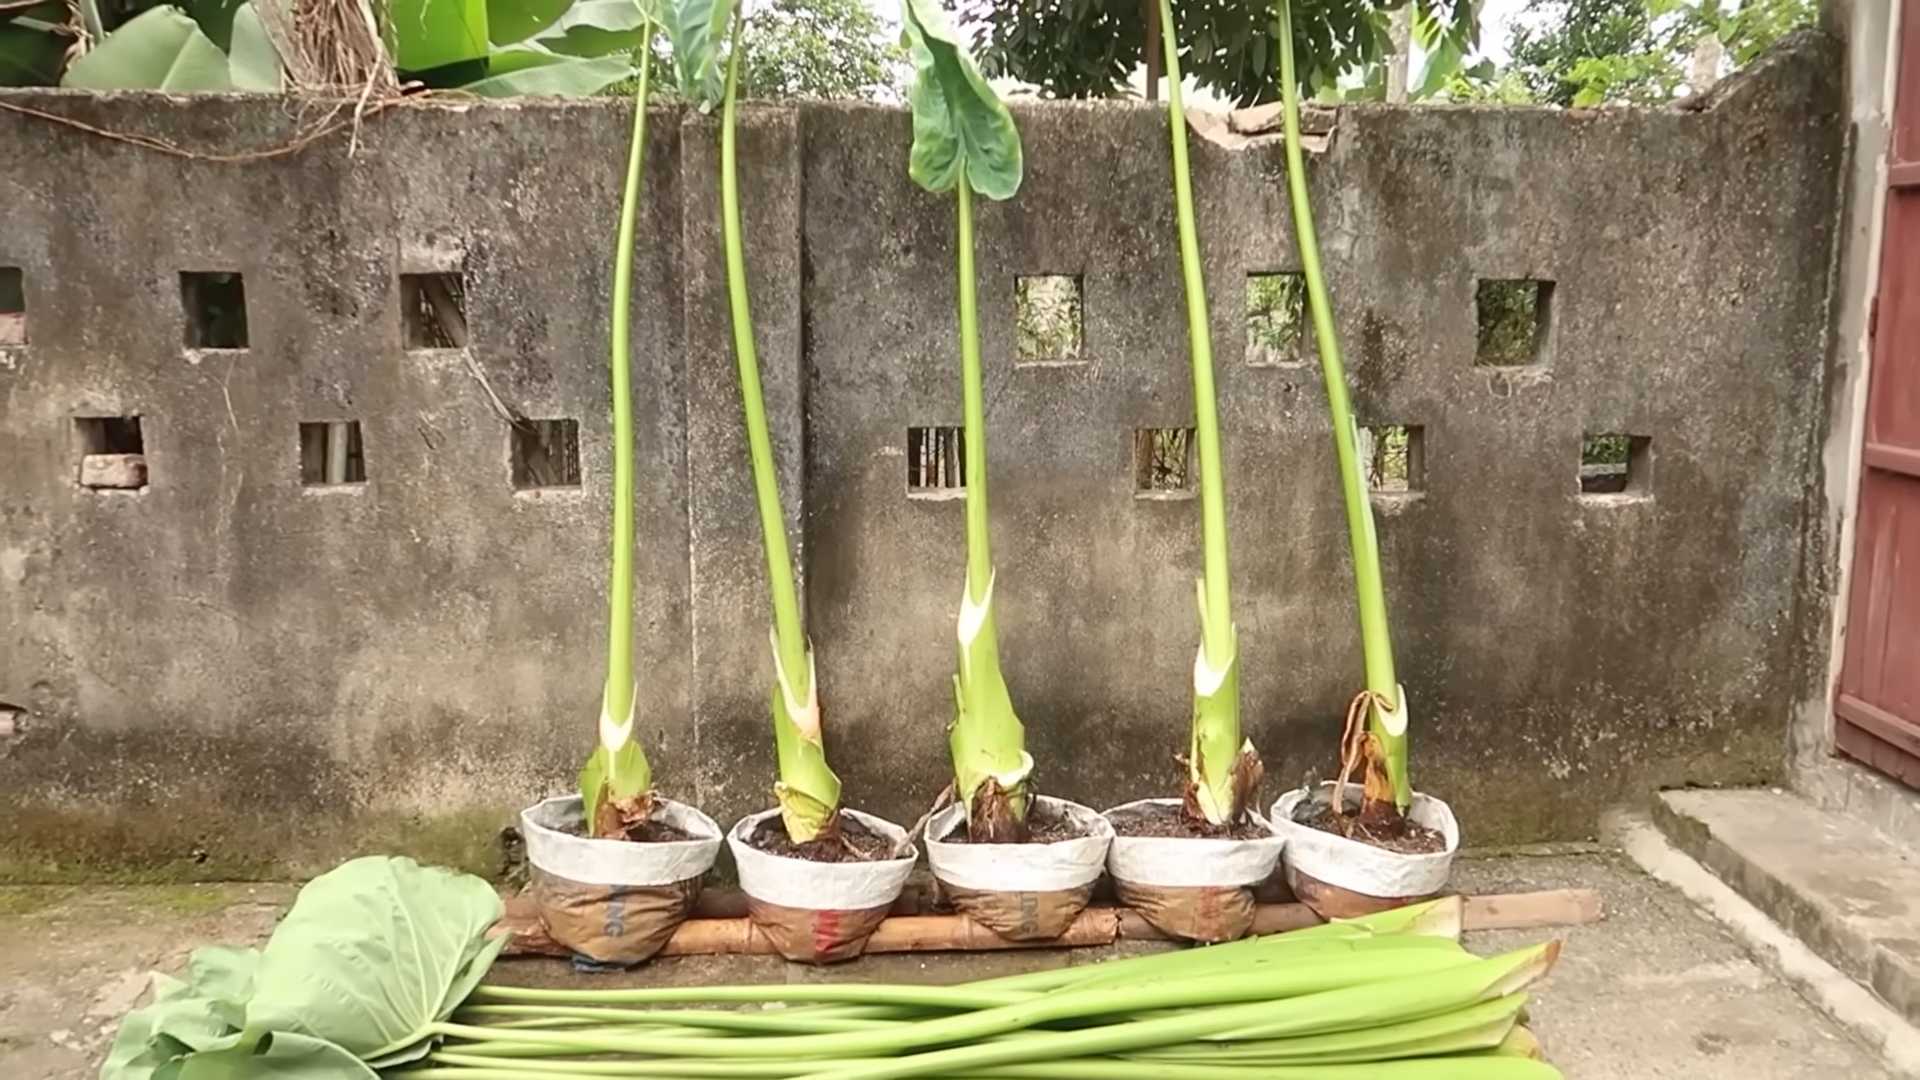
1. Prepare Your Container: Taro needs a large container, at least 15-20 gallons in size. Make sure it has drainage holes to prevent waterlogging. I like to use plastic tubs or large pots.
2. Choose Your Soil: Taro thrives in rich, well-draining soil. A mix of potting soil, compost, and perlite works well. I usually go for a ratio of 2:1:1 (potting soil:compost:perlite).
3. Plant the Corm: Fill the container with your soil mix, leaving a few inches of space at the top. Plant the taro corm about 4-6 inches deep, with the pointed end facing up.
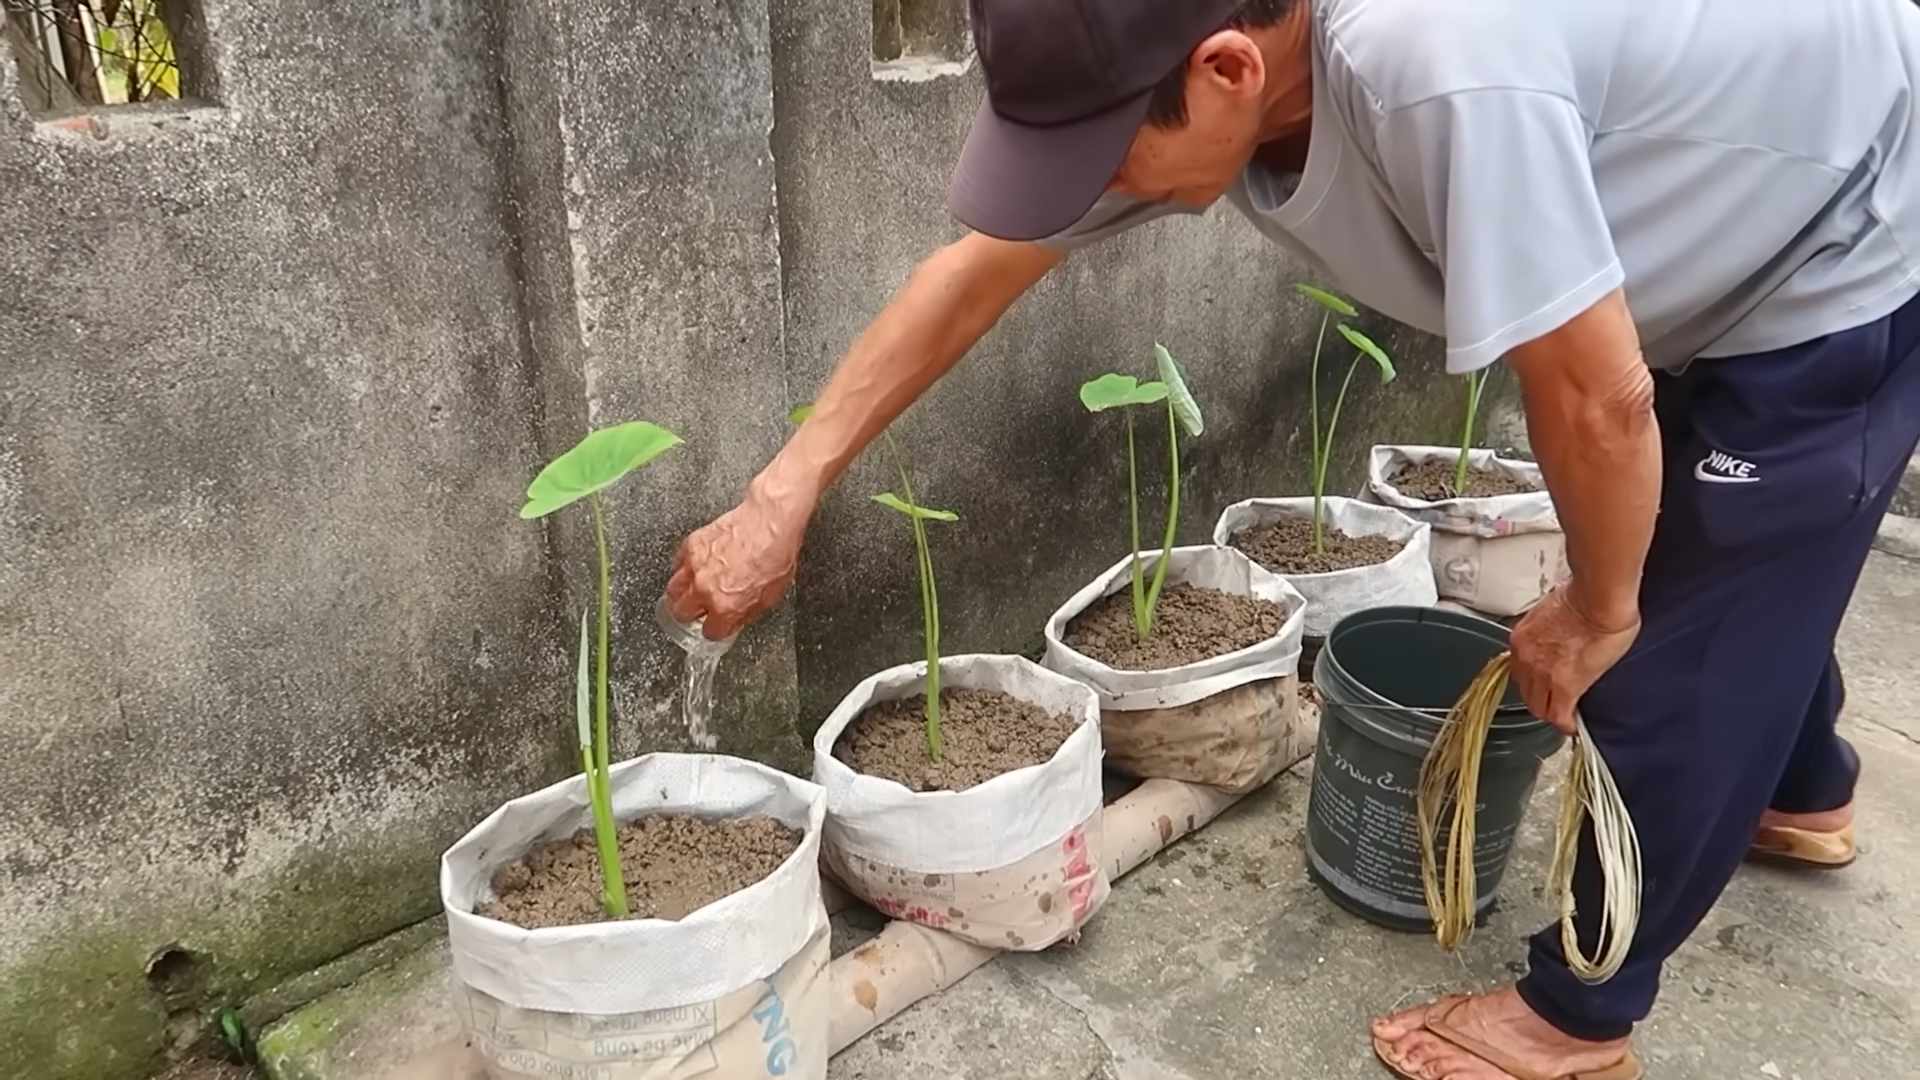
4. Water Thoroughly: After planting, water the soil thoroughly until water drains out of the bottom of the container.
5. Choose a Location: Taro loves sunlight! Place your container in a location that receives at least 6-8 hours of direct sunlight per day. A sunny patio or balcony is ideal.
6. Maintain Moisture: Taro needs consistently moist soil. Water regularly, especially during hot weather. You can even place a saucer of water under the container to help keep the soil moist.
Caring for Your Taro Plant
Once your taro plant is established, it’s time to focus on care. Here’s what you need to know:
* Watering: As I mentioned earlier, taro needs consistently moist soil. Check the soil moisture daily and water when the top inch feels dry. Don’t let the soil dry out completely, especially during the growing season.
* Fertilizing: Taro is a heavy feeder, so regular fertilization is essential. Use a balanced liquid fertilizer (e.g., 20-20-20) every 2-3 weeks during the growing season (spring and summer). Follow the instructions on the fertilizer label.
* Temperature: Taro prefers warm temperatures, ideally between 70-85°F (21-29°C). Protect your plant from frost and cold temperatures. If you live in a colder climate, you may need to bring your taro plant indoors during the winter.
* Pest Control: Taro can be susceptible to pests like aphids, spider mites, and mealybugs. Inspect your plant regularly for signs of infestation. If you find any pests, treat them with insecticidal soap or neem oil.
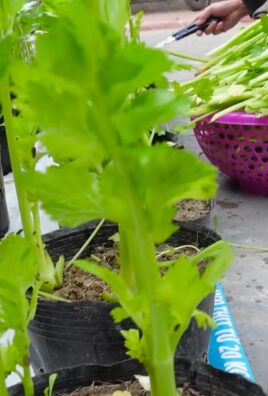
* Pruning: Remove any yellowing or dead leaves to keep your plant healthy and attractive.
Harvesting Your Taro
The moment we’ve all been waiting for: harvesting! Here’s how to know when your taro is ready:
* Timing: Taro typically takes 7-12 months to mature, depending on the variety and growing conditions.
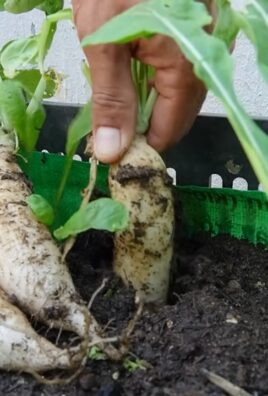
* Signs of Maturity: The leaves will start to turn yellow and die back, indicating that the corm is ready for harvest.
* Harvesting Process: Gently dig around the base of the plant and lift the corm out of the soil. Be careful not to damage the corm.
* Cleaning: Wash the corm thoroughly to remove any soil.
Preparing and Cooking Taro
Important Note: Raw taro contains calcium oxalate crystals, which can cause irritation and itching. It’s essential to cook taro thoroughly before eating it.
Here are a few ways to prepare and cook taro:
* Boiling: Peel the taro corm and cut it into chunks. Boil the chunks in water until they are tender, about 20-30 minutes.
* Steaming: Steam the taro corm until it is tender, about 30-40 minutes.
* Roasting: Peel the taro corm and cut it into chunks. Toss the chunks with oil and seasonings, and roast them in the oven at 400°F (200°C) until they are tender and slightly browned, about 30-40 minutes.
* Frying: Peel the taro corm and slice it thinly. Fry the slices in oil until they are crispy and golden brown.
Taro can be used in a variety of dishes, such as stews, soups, curries, and desserts. It has a slightly sweet and nutty flavor that pairs well with both savory and sweet ingredients.
Troubleshooting Common Problems
Even with the best care, you might encounter some problems along the way. Here are a few common issues and how to address them:
* Yellowing Leaves: This could be a sign of overwatering, underwatering, nutrient deficiency, or pest infestation. Check the soil moisture, fertilize regularly, and inspect for pests.
* Slow Growth: This could be due to insufficient sunlight, poor soil, or lack of fertilizer. Make sure your plant is getting enough sunlight, use a rich soil mix, and fertilize regularly.
* Root Rot: This is caused by overwatering and poor drainage. Make sure your container has drainage holes and avoid overwatering. If you suspect root rot, repot your plant in fresh soil.
* Pest Infestation: As mentioned earlier, taro can be susceptible to pests. Treat infestations with insecticidal soap or neem oil.
Extra Tips for Success
Here are a few extra tips to help you succeed in growing taro at home:
* Use a large container: Taro needs plenty of space to grow, so use a container that is at least 15-20 gallons in size.
* Provide consistent moisture: Taro needs consistently moist soil, so water regularly, especially during hot weather.
* Fertilize regularly: Taro is a heavy feeder, so fertilize every 2-3 weeks during the growing season.
* Protect from frost: Taro is sensitive to frost, so protect your plant from cold temperatures.
* Be patient: Taro takes time to mature, so be patient and don’t expect to harvest your corms overnight.
Enjoy Your Homegrown Taro!
Growing taro at home can be a rewarding experience. With a little care and attention, you can enjoy fresh, delicious taro from your own garden. So, go ahead and give it a try! I’m sure you’ll be amazed at what you can grow. Happy gardening!
Conclusion
So, there you have it! Growing taro at home, while it might seem daunting at first, is entirely achievable and incredibly rewarding. We’ve walked you through the process, from selecting the right taro variety to nurturing it through its various growth stages. But why should you even bother?
The answer is multifaceted. First and foremost, you gain access to fresh, organically grown taro, free from the pesticides and herbicides often used in commercial farming. This means you’re not only enjoying a delicious and versatile ingredient but also contributing to a healthier lifestyle for yourself and your family. Secondly, growing your own taro connects you to the earth in a profound way. There’s something deeply satisfying about nurturing a plant from a humble corm to a thriving specimen, harvesting its bounty, and sharing it with loved ones.
Beyond the practical benefits, growing taro at home offers a unique opportunity to experiment and personalize your gardening experience. Consider these variations:
* **Container Gardening:** If you’re short on space, don’t despair! Taro thrives in large containers, making it perfect for patios, balconies, or even indoor spaces with sufficient sunlight. Just ensure the container has adequate drainage and is large enough to accommodate the plant’s root system.
* **Hydroponic Taro:** For the more adventurous gardener, hydroponic taro cultivation is an exciting option. This method involves growing taro in nutrient-rich water without soil, offering faster growth and greater control over environmental factors.
* **Ornamental Taro Varieties:** While we’ve focused on edible taro, remember that many ornamental varieties boast stunning foliage in shades of purple, black, and green. These can add a touch of tropical elegance to your garden or home.
* **Companion Planting:** Experiment with companion plants like basil, mint, or marigolds to deter pests and enhance the overall health of your taro plants.
The key to successful taro cultivation is patience and observation. Pay close attention to your plants, monitor their growth, and adjust your care routine as needed. Don’t be afraid to experiment and learn from your mistakes. Every gardener, regardless of experience, encounters challenges along the way. The important thing is to persevere and enjoy the journey.
We firmly believe that anyone can successfully grow taro at home with a little knowledge and dedication. The rewards – fresh, delicious taro, a deeper connection to nature, and the satisfaction of nurturing a plant from seed to harvest – are well worth the effort.
So, what are you waiting for? Grab a taro corm, prepare your soil (or hydroponic setup!), and embark on this exciting gardening adventure. We’re confident that you’ll be amazed by the results.
And most importantly, we want to hear about your experience! Share your tips, tricks, and triumphs with us in the comments below. Let’s build a community of taro enthusiasts and learn from each other. Did you try a specific variety? Did you encounter any unexpected challenges? What are your favorite ways to prepare and enjoy your homegrown taro? Your insights will be invaluable to other aspiring taro growers. Let’s get growing!
Frequently Asked Questions (FAQ)
What is the best time of year to plant taro?
The ideal time to plant taro is during the late spring or early summer, after the last frost has passed. Taro thrives in warm temperatures and requires a long growing season of at least 7-9 months. Planting during this period ensures that the plant has ample time to mature and produce a good harvest before the onset of colder weather. If you live in a region with mild winters, you may be able to extend the growing season or even grow taro year-round. However, in colder climates, it’s essential to start taro indoors or in a greenhouse to give it a head start.
How much sunlight does taro need?
Taro prefers partial shade to full sun, depending on the climate. In hotter regions, providing some afternoon shade can prevent the leaves from scorching. In cooler climates, taro can tolerate full sun, but it’s still important to monitor the plant for signs of stress. Aim for at least 6 hours of sunlight per day for optimal growth. If you’re growing taro indoors, place it near a sunny window or supplement with artificial grow lights.
What kind of soil is best for growing taro?
Taro thrives in rich, well-draining soil that is high in organic matter. The ideal soil pH is between 5.5 and 6.5. Before planting, amend the soil with compost, aged manure, or other organic materials to improve its fertility and drainage. If you’re growing taro in containers, use a high-quality potting mix that is specifically formulated for vegetables or tropical plants. Avoid using heavy clay soils, as they can become waterlogged and lead to root rot.
How often should I water my taro plants?
Taro requires consistent moisture to thrive. Water deeply and regularly, especially during hot and dry periods. The soil should be kept consistently moist but not waterlogged. Check the soil moisture regularly by sticking your finger into the soil. If the top inch feels dry, it’s time to water. Reduce watering during the cooler months when the plant’s growth slows down. If you are growing taro in a pond or boggy area, the soil will naturally stay moist.
How do I fertilize my taro plants?
Taro is a heavy feeder and benefits from regular fertilization. Use a balanced fertilizer with a ratio of 10-10-10 or 14-14-14, following the instructions on the label. Apply fertilizer every 4-6 weeks during the growing season. You can also supplement with organic fertilizers such as compost tea or fish emulsion. Avoid over-fertilizing, as this can lead to excessive foliage growth at the expense of corm development.
How do I know when my taro is ready to harvest?
Taro is typically ready to harvest 7-9 months after planting. The leaves will start to turn yellow and die back, indicating that the corm is mature. To harvest, carefully dig up the plant, being careful not to damage the corm. Remove the leaves and roots, and wash the corm thoroughly. The size of the corm will vary depending on the variety and growing conditions.
Are taro leaves edible?
Yes, taro leaves are edible, but they must be cooked thoroughly to remove calcium oxalate crystals, which can cause irritation to the mouth and throat. Boil the leaves for at least 30 minutes or steam them until they are tender. Taro leaves can be used in a variety of dishes, such as stews, soups, and curries. In Hawaii, taro leaves are used to make laulau, a traditional dish of pork and taro leaves wrapped in ti leaves and steamed.
How do I store taro corms?
Store taro corms in a cool, dry, and well-ventilated place. They can be stored for several weeks or even months if properly stored. Avoid storing taro corms in the refrigerator, as this can cause them to become mushy. You can also freeze cooked taro for longer storage.
What are some common pests and diseases that affect taro?
Common pests that affect taro include aphids, spider mites, and taro hornworms. These pests can be controlled with insecticidal soap, neem oil, or by handpicking them off the plants. Diseases that can affect taro include root rot, leaf blight, and taro mosaic virus. Root rot can be prevented by ensuring good drainage and avoiding overwatering. Leaf blight can be controlled with fungicides. Taro mosaic virus is a viral disease that can cause stunted growth and yellowing of the leaves. There is no cure for taro mosaic virus, so it’s important to remove and destroy infected plants to prevent the spread of the disease.
Is growing taro at home difficult?
No, growing taro at home is not difficult, but it does require some attention and care. With the right conditions and a little patience, anyone can successfully grow taro in their garden or even in containers. The key is to provide the plant with plenty of sunlight, moisture, and nutrients. Don’t be afraid to experiment and learn from your mistakes. The rewards of growing your own taro are well worth the effort.
Leave a Comment