

Grow Peppers at Home – and unlock a world of flavor and vibrant color right outside your door! Have you ever dreamed of plucking a perfectly ripe, sun-kissed pepper straight from the vine? Imagine the satisfaction of adding that homegrown goodness to your favorite dishes. Well, dream no more! This article is your ultimate guide to mastering the art of growing peppers at home, even if you’re a complete beginner.
Peppers have a rich history, dating back thousands of years in South America, where they were first cultivated. They quickly spread across the globe, becoming a staple in cuisines worldwide. From the fiery heat of a habanero to the sweet crunch of a bell pepper, these versatile fruits (yes, they’re technically fruits!) offer something for everyone.
But why should you bother growing your own when you can buy them at the store? Simple: flavor, freshness, and control! Store-bought peppers often lack the intense flavor of homegrown varieties. Plus, you have complete control over what goes into your peppers – no harmful pesticides or chemicals. And let’s be honest, there’s nothing quite like the pride of harvesting your own food. I’m going to show you some simple, yet effective, DIY tricks and hacks that will have you harvesting a bumper crop of delicious peppers in no time. So, let’s get our hands dirty and learn how to grow peppers at home like a pro!
Growing Peppers at Home: A Beginner’s Guide to a Bountiful Harvest
Hey there, fellow gardening enthusiasts! I’m so excited to share my tried-and-true method for growing peppers right in your own backyard (or even on your balcony!). Peppers are such a versatile and rewarding crop, adding a spicy kick to your meals and a vibrant splash of color to your garden. Don’t be intimidated – with a little patience and these simple steps, you’ll be harvesting your own delicious peppers in no time!
Choosing Your Pepper Varieties
Before we dive into the nitty-gritty, let’s talk about pepper varieties. The world of peppers is vast and exciting, ranging from sweet bell peppers to fiery habaneros. Consider your taste preferences and growing conditions when making your selection.
* Sweet Peppers: These are your bell peppers (red, yellow, green, orange), banana peppers, and pimentos. They’re mild and perfect for salads, stuffing, and roasting.
* Mildly Spicy Peppers: Think jalapeños, poblanos, and Anaheim peppers. They offer a gentle heat that adds a nice flavor dimension to dishes.
* Hot Peppers: This category includes serranos, cayenne peppers, and Thai chilies. They pack a significant punch and are great for adding heat to sauces and salsas.
* Super-Hot Peppers: Proceed with caution! Habaneros, scotch bonnets, ghost peppers, and Carolina reapers are intensely hot and should be handled with care.
I personally love growing a mix of sweet bell peppers and jalapeños. It gives me a good balance for cooking. Remember to check the seed packet or plant label for information on the pepper’s heat level (measured in Scoville Heat Units or SHU) and its specific growing requirements.
Starting Your Peppers: Seeds vs. Seedlings
You have two main options for starting your pepper plants: from seeds or from seedlings (small plants you buy at a nursery). Starting from seeds gives you more control over the varieties you grow and can be more cost-effective, but it requires more time and effort. Buying seedlings is quicker and easier, but you’ll have fewer variety choices.
Starting from Seeds (My Preferred Method!)
I find starting from seeds incredibly rewarding. Here’s how I do it:
1. Gather Your Supplies: You’ll need pepper seeds, seed starting trays or small pots, seed starting mix (a light, sterile soil mix), a spray bottle, a heat mat (optional but helpful), and a grow light (also optional but highly recommended).
2. Sow the Seeds: Fill your seed starting trays or pots with seed starting mix. Moisten the mix with the spray bottle until it’s damp but not soggy. Sow the pepper seeds about ¼ inch deep, placing 2-3 seeds per cell or pot. Gently cover the seeds with more seed starting mix.
3. Provide Warmth and Light: Peppers need warmth to germinate. Place the seed starting trays on a heat mat if you have one. Cover the trays with a clear plastic dome or plastic wrap to create a humid environment. Place the trays under a grow light or in a warm, sunny location.
4. Keep the Soil Moist: Check the soil moisture daily and mist with the spray bottle as needed to keep it consistently moist. Avoid overwatering, which can lead to fungal diseases.
5. Wait for Germination: Pepper seeds can take anywhere from 7 to 21 days to germinate, depending on the variety and temperature. Be patient!
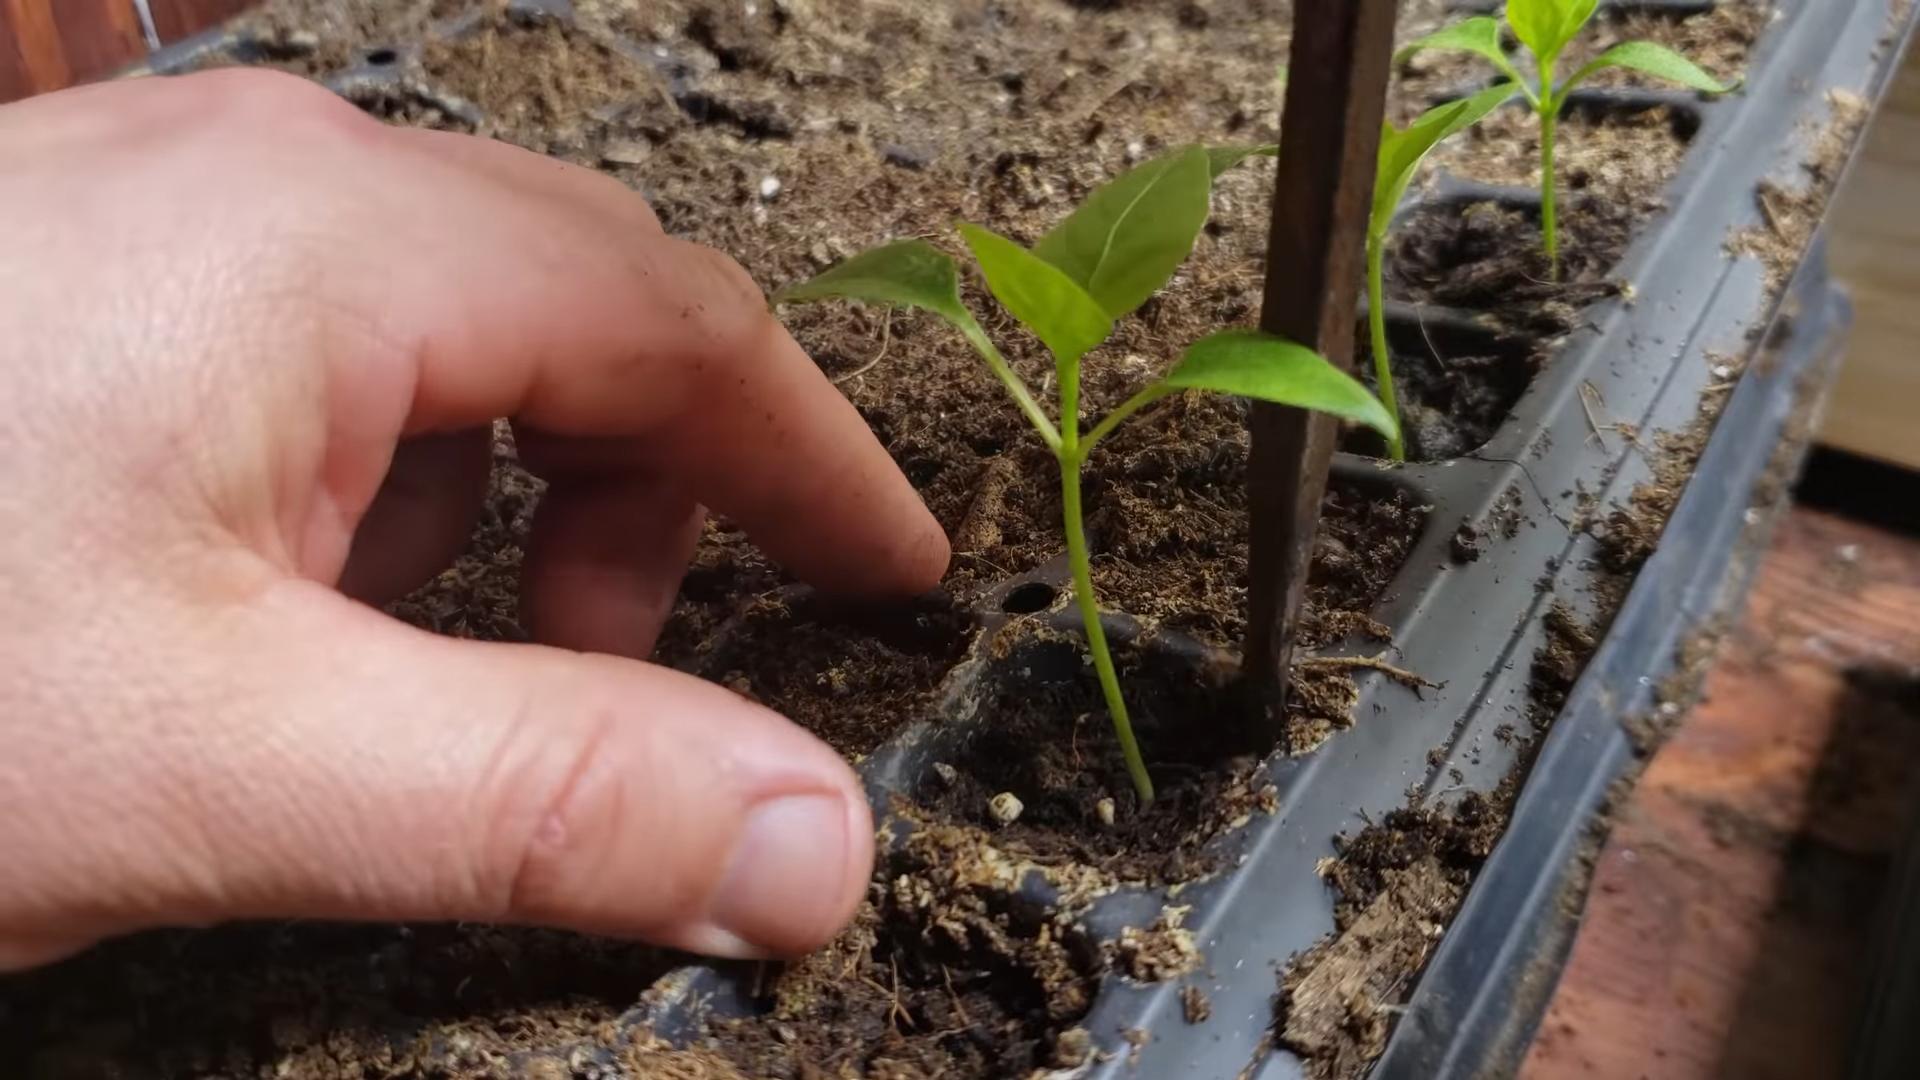
6. Thin the Seedlings: Once the seedlings have emerged and have their first set of true leaves (the leaves that look like miniature pepper leaves), thin them to one seedling per cell or pot. Choose the strongest, healthiest-looking seedling and snip off the others at the soil line with scissors.
7. Harden Off the Seedlings: Before transplanting the seedlings outdoors, you need to “harden them off.” This means gradually exposing them to outdoor conditions over a period of 7-10 days. Start by placing the seedlings in a sheltered location outdoors for an hour or two each day, gradually increasing the amount of time they spend outside. This helps them acclimate to the sun, wind, and temperature changes.
Buying Seedlings
If you’re buying seedlings, choose plants that are healthy, stocky, and have a good green color. Avoid plants that are leggy, yellowed, or have signs of pests or diseases.
Transplanting Your Peppers
Whether you started your peppers from seeds or bought seedlings, it’s time to transplant them into their final growing location.
1. Choose the Right Location: Peppers need at least 6-8 hours of sunlight per day. Choose a location that gets plenty of sun and has well-drained soil.
2. Prepare the Soil: Peppers prefer slightly acidic soil with a pH of 6.0-6.8. Amend the soil with compost or other organic matter to improve drainage and fertility.
3. Dig the Holes: Dig holes that are slightly larger than the root balls of the pepper plants. Space the plants about 18-24 inches apart, depending on the variety. Check the plant label for specific spacing recommendations.
4. Transplant the Peppers: Gently remove the pepper plants from their containers. If the roots are pot-bound (tightly circling the root ball), gently loosen them with your fingers. Place the plants in the holes and backfill with soil, gently firming the soil around the base of the plants.
5. Water Thoroughly: Water the newly transplanted peppers thoroughly to help them settle in.
6. Add Mulch: Apply a layer of mulch around the base of the plants to help retain moisture, suppress weeds, and regulate soil temperature. I like to use straw or wood chips.
Caring for Your Pepper Plants
Once your peppers are transplanted, it’s important to provide them with the care they need to thrive.
1. Watering: Water your pepper plants regularly, especially during hot, dry weather. Aim to keep the soil consistently moist but not waterlogged. Water deeply and less frequently, rather than shallowly and more often.
2. Fertilizing: Peppers are heavy feeders and benefit from regular fertilization. Use a balanced fertilizer (e.g., 10-10-10) or a fertilizer specifically formulated for peppers and tomatoes. Follow the instructions on the fertilizer label. I like to use a liquid fertilizer every 2-3 weeks.
3. Pruning: Pruning peppers can help improve air circulation and encourage bushier growth. Remove any suckers (small shoots that grow from the base of the plant) and any yellowed or diseased leaves.
4. Supporting: As pepper plants grow, they may need support to prevent them from toppling over, especially when they’re loaded with fruit. Use stakes, cages, or trellises to support the plants.
5. Pest and Disease Control: Keep an eye out for pests and diseases. Common pepper pests include aphids, whiteflies, and spider mites. Common diseases include blossom end rot, fungal leaf spots, and viruses. Treat any problems promptly with appropriate organic or chemical controls. I prefer to use organic methods whenever possible, such as insecticidal soap or neem oil.
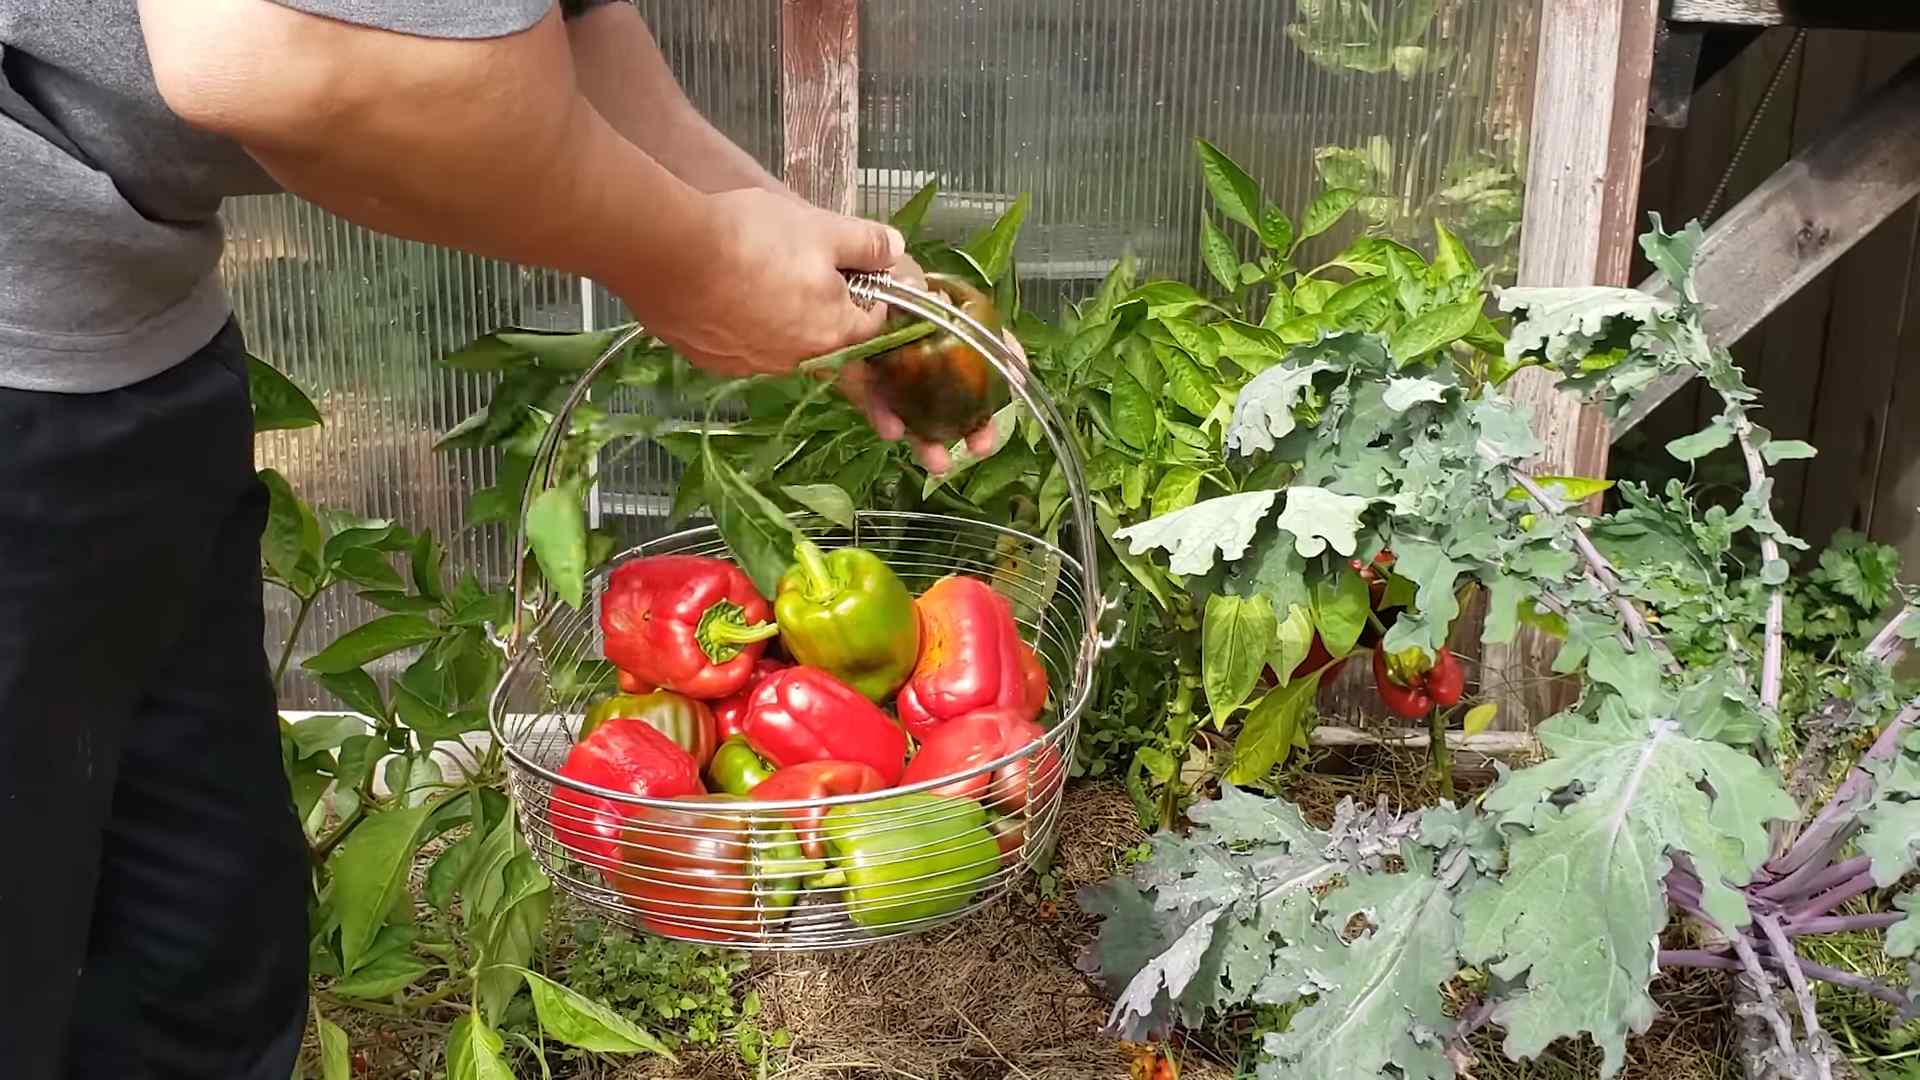
Harvesting Your Peppers
The moment you’ve been waiting for! Harvesting your peppers is the most rewarding part of the process.
1. When to Harvest: The timing of harvest depends on the pepper variety and your personal preference. Sweet peppers are typically harvested when they’re fully colored and firm. Hot peppers can be harvested when they’re green or when they’ve turned their mature color (usually red, orange, or yellow).
2. How to Harvest: Use pruning shears or a sharp knife to cut the peppers from the plant, leaving a short stem attached.
3. Enjoy Your Harvest: Use your freshly harvested peppers in your favorite recipes, or preserve them by pickling, drying, or freezing.
Troubleshooting Common Pepper Problems
Even with the best care, you may encounter some problems when growing peppers. Here are a few common issues and how to address them:
* Blossom End Rot: This is a condition where the bottom of the pepper develops a dark, sunken spot. It’s caused by a calcium deficiency, usually due to inconsistent watering. Ensure consistent watering and consider adding calcium to the soil.
* Aphids: These tiny insects suck sap from the plants, causing them to weaken and distort. Spray the plants with insecticidal soap or neem oil.
* Fungal Leaf Spots: These are caused by fungal diseases that thrive in humid conditions. Improve air circulation by pruning the plants and avoid overhead watering. Treat with a fungicide if necessary.
* Lack of Fruit Set: If your pepper plants are flowering but not producing fruit, it could be due to temperature stress (too hot or too cold) or lack of pollination. Ensure the plants are getting adequate sunlight and water. You can also try hand-pollinating the flowers by gently shaking the plants or using a small paintbrush to transfer pollen from one flower to another.
Growing peppers at home
Conclusion
So, there you have it! Growing peppers at home, especially with this simple DIY trick, is not just a gardening project; it’s an investment in flavor, freshness, and a rewarding connection to your food. We’ve walked through the process, highlighting how easy and accessible it is to cultivate your own vibrant pepper patch, even if you’re a complete beginner.
Why is this DIY approach a must-try? Because it empowers you to take control of your pepper supply. No more bland, overpriced peppers from the grocery store! Imagine the satisfaction of harvesting plump, juicy peppers bursting with flavor, knowing you nurtured them from seed to table. This method also minimizes your environmental impact by reducing transportation and packaging waste. Plus, it’s incredibly cost-effective in the long run.
But the real magic lies in the customization. Feel free to experiment with different pepper varieties. From the fiery heat of habaneros to the sweet crunch of bell peppers, the possibilities are endless. Consider growing your peppers in raised beds for improved drainage or using companion planting techniques to deter pests naturally. You can even try different soil amendments to tailor the nutrient profile to your chosen pepper variety. For example, adding bone meal can encourage blossom development, leading to more abundant fruit.
Don’t be afraid to get creative with your pepper growing setup. If you’re short on space, container gardening is an excellent option. Choose pots that are at least 12 inches in diameter to provide ample room for root growth. You can also explore vertical gardening techniques to maximize your growing area.
Beyond the practical benefits, growing peppers at home is a therapeutic and enjoyable hobby. It’s a chance to connect with nature, learn new skills, and witness the miracle of plant growth firsthand. The vibrant colors and spicy aromas of your pepper plants will add beauty and zest to your garden or balcony.
We wholeheartedly encourage you to give this DIY pepper growing trick a try. It’s a simple, rewarding, and delicious way to enhance your culinary creations and connect with the natural world. And most importantly, we want to hear about your experiences! Share your photos, tips, and challenges in the comments below. Let’s build a community of home pepper growers and inspire others to embark on this flavorful journey. What are you waiting for? Get your hands dirty and start growing peppers at home today! You’ll be amazed at the results.
Frequently Asked Questions (FAQs)
What is the best time of year to start growing peppers at home?
The ideal time to start growing peppers depends on your climate. In general, peppers need warm weather to thrive. If you live in a region with a short growing season, it’s best to start your pepper seeds indoors 6-8 weeks before the last expected frost. This will give your seedlings a head start and ensure they have enough time to mature and produce fruit. If you live in a warmer climate with a longer growing season, you can start your seeds directly in the ground after the last frost. However, starting indoors still provides a significant advantage.
What kind of soil is best for growing peppers?
Peppers prefer well-draining soil that is rich in organic matter. A slightly acidic soil pH of 6.0 to 6.8 is ideal. You can amend your soil with compost, aged manure, or other organic materials to improve its drainage and fertility. Avoid heavy clay soils, as they can become waterlogged and suffocate the roots. If you’re growing peppers in containers, use a high-quality potting mix specifically formulated for vegetables.
How much sunlight do peppers need?
Peppers need at least 6-8 hours of direct sunlight per day to thrive. Choose a sunny location in your garden or on your balcony where your pepper plants will receive plenty of sunlight. If you’re growing peppers indoors, you may need to supplement with grow lights, especially during the winter months. Insufficient sunlight can lead to leggy growth, reduced flowering, and smaller fruit.
How often should I water my pepper plants?
Water your pepper plants regularly, especially during hot, dry weather. The soil should be kept consistently moist, but not waterlogged. Water deeply and thoroughly, allowing the water to soak into the soil. Avoid overhead watering, as this can promote fungal diseases. A good rule of thumb is to water when the top inch of soil feels dry to the touch. Mulching around your pepper plants can help to retain moisture and suppress weeds.
What are some common pests and diseases that affect pepper plants?
Pepper plants can be susceptible to a variety of pests and diseases, including aphids, whiteflies, spider mites, blossom end rot, and fungal diseases. Regularly inspect your plants for signs of pests or diseases. If you detect any problems, take action immediately. You can use insecticidal soap or neem oil to control pests. To prevent fungal diseases, ensure good air circulation around your plants and avoid overhead watering. Blossom end rot is caused by a calcium deficiency and can be prevented by adding calcium to the soil or using a calcium-rich fertilizer.
How do I know when my peppers are ripe?
The color of the pepper is the most obvious indicator of ripeness. Most peppers will change color from green to red, yellow, orange, or purple when they are ripe. However, some peppers are ripe when they are still green. Check the seed packet or plant tag for specific information about the pepper variety you are growing. Ripe peppers will also feel firm and slightly heavy for their size. Gently twist the pepper from the plant when it is ripe.
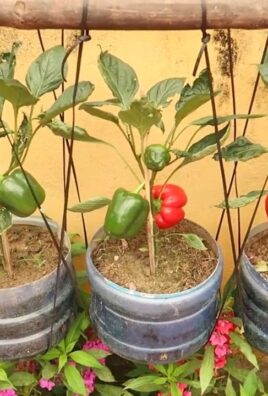
Can I grow peppers in containers?
Yes, peppers grow very well in containers. Choose pots that are at least 12 inches in diameter to provide ample room for root growth. Use a high-quality potting mix specifically formulated for vegetables. Make sure the pots have drainage holes to prevent waterlogging. Container-grown peppers may need to be watered more frequently than those grown in the ground, especially during hot weather.
How can I encourage more pepper production?
To encourage more pepper production, make sure your plants are getting enough sunlight, water, and nutrients. Fertilize your pepper plants regularly with a balanced fertilizer or a fertilizer specifically formulated for vegetables. Pruning your pepper plants can also help to increase fruit production. Pinch off the suckers that grow between the main stem and the branches to encourage the plant to focus its energy on producing fruit.
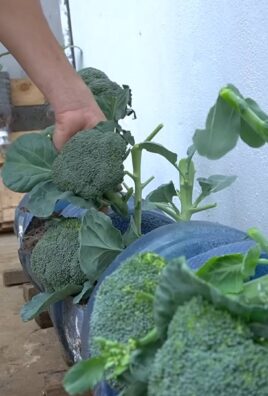
What are some good companion plants for peppers?
Several plants can benefit peppers when planted nearby. Basil is a great companion plant for peppers, as it repels pests and improves the flavor of the peppers. Marigolds also repel pests and attract beneficial insects. Carrots, onions, and garlic are also good companion plants for peppers. Avoid planting peppers near fennel, as it can inhibit their growth.
How do I save seeds from my peppers?
Saving seeds from your peppers is a great way to ensure you have a supply of seeds for next year’s garden. Choose ripe peppers that are free from disease. Cut the peppers open and remove the seeds. Spread the seeds out on a paper towel to dry completely. Once the seeds are dry, store them in an airtight container in a cool, dark place. Properly stored pepper seeds can remain viable for several years.

Leave a Comment