

Grow Chives Kitchen: Imagine snipping fresh, flavorful chives right from your kitchen windowsill to sprinkle on your morning eggs or garnish your evening soup. Sounds dreamy, right? Well, it’s not just a dream – it’s an achievable reality with a little DIY know-how! For centuries, chives have been a culinary staple, adding a delicate oniony zest to dishes across cultures. From ancient Rome, where they were believed to ward off evil spirits, to modern-day kitchens worldwide, chives have proven their enduring appeal.
But why should you bother growing your own? Let’s face it, store-bought herbs can be expensive and often wilt before you even get a chance to use them. Plus, there’s something incredibly satisfying about nurturing your own food, even if it’s just a small pot of chives. This DIY guide will provide you with simple, effective tricks and hacks to grow chives kitchen, regardless of your gardening experience. I’m going to show you how to have a constant supply of fresh chives, adding a burst of flavor to your meals and a touch of green to your home. Get ready to unleash your inner gardener and enjoy the delicious rewards!
Growing Chives Indoors: A Beginner’s Guide to Fresh Herbs Year-Round
Hey there, fellow herb enthusiasts! I’m so excited to share my tried-and-true method for growing chives indoors. Forget those sad, wilted bunches from the grocery store – with a little effort, you can have fresh, flavorful chives right at your fingertips, all year long. This guide will walk you through every step, from choosing the right container to harvesting your bounty. Let’s get started!
What You’ll Need
Before we dive in, let’s gather our supplies. Here’s a list of everything you’ll need to successfully grow chives indoors:
* **Chive Seeds or a Chive Plant:** You can start from seeds, which is more economical, or purchase a small chive plant from a nursery for faster results. I personally prefer starting from seeds; it’s so rewarding to watch them sprout!
* **Potting Mix:** Use a well-draining potting mix specifically designed for herbs or vegetables. Avoid using garden soil, as it can become compacted and doesn’t drain well in containers.
* **Container:** Choose a pot that’s at least 6 inches in diameter and 6 inches deep. Make sure it has drainage holes to prevent waterlogging. Terra cotta pots are great because they allow the soil to breathe.
* **Watering Can or Spray Bottle:** For gentle watering.
* **Grow Light (Optional):** If you don’t have a sunny windowsill, a grow light will provide the necessary light for your chives to thrive.
* **Small Shovel or Trowel:** For planting.
* **Scissors or Kitchen Shears:** For harvesting.
* **Patience:** Growing anything takes a little time and care!
Choosing Your Chives: Seeds vs. Plant
Deciding whether to start from seeds or buy a plant is a personal choice. Here’s a quick breakdown to help you decide:
* **Seeds:**
* **Pros:** More economical, wider variety of chive types available, rewarding to watch them grow from scratch.
* **Cons:** Takes longer to harvest, requires more patience.
* **Plant:**
* **Pros:** Faster harvest, already established, less initial effort.
* **Cons:** More expensive, limited variety, may need repotting soon after purchase.
I usually opt for seeds because I enjoy the process, but if you’re eager to have chives quickly, a plant is a great option.
Planting Your Chives
Now for the fun part – getting those chives planted!
Starting from Seeds
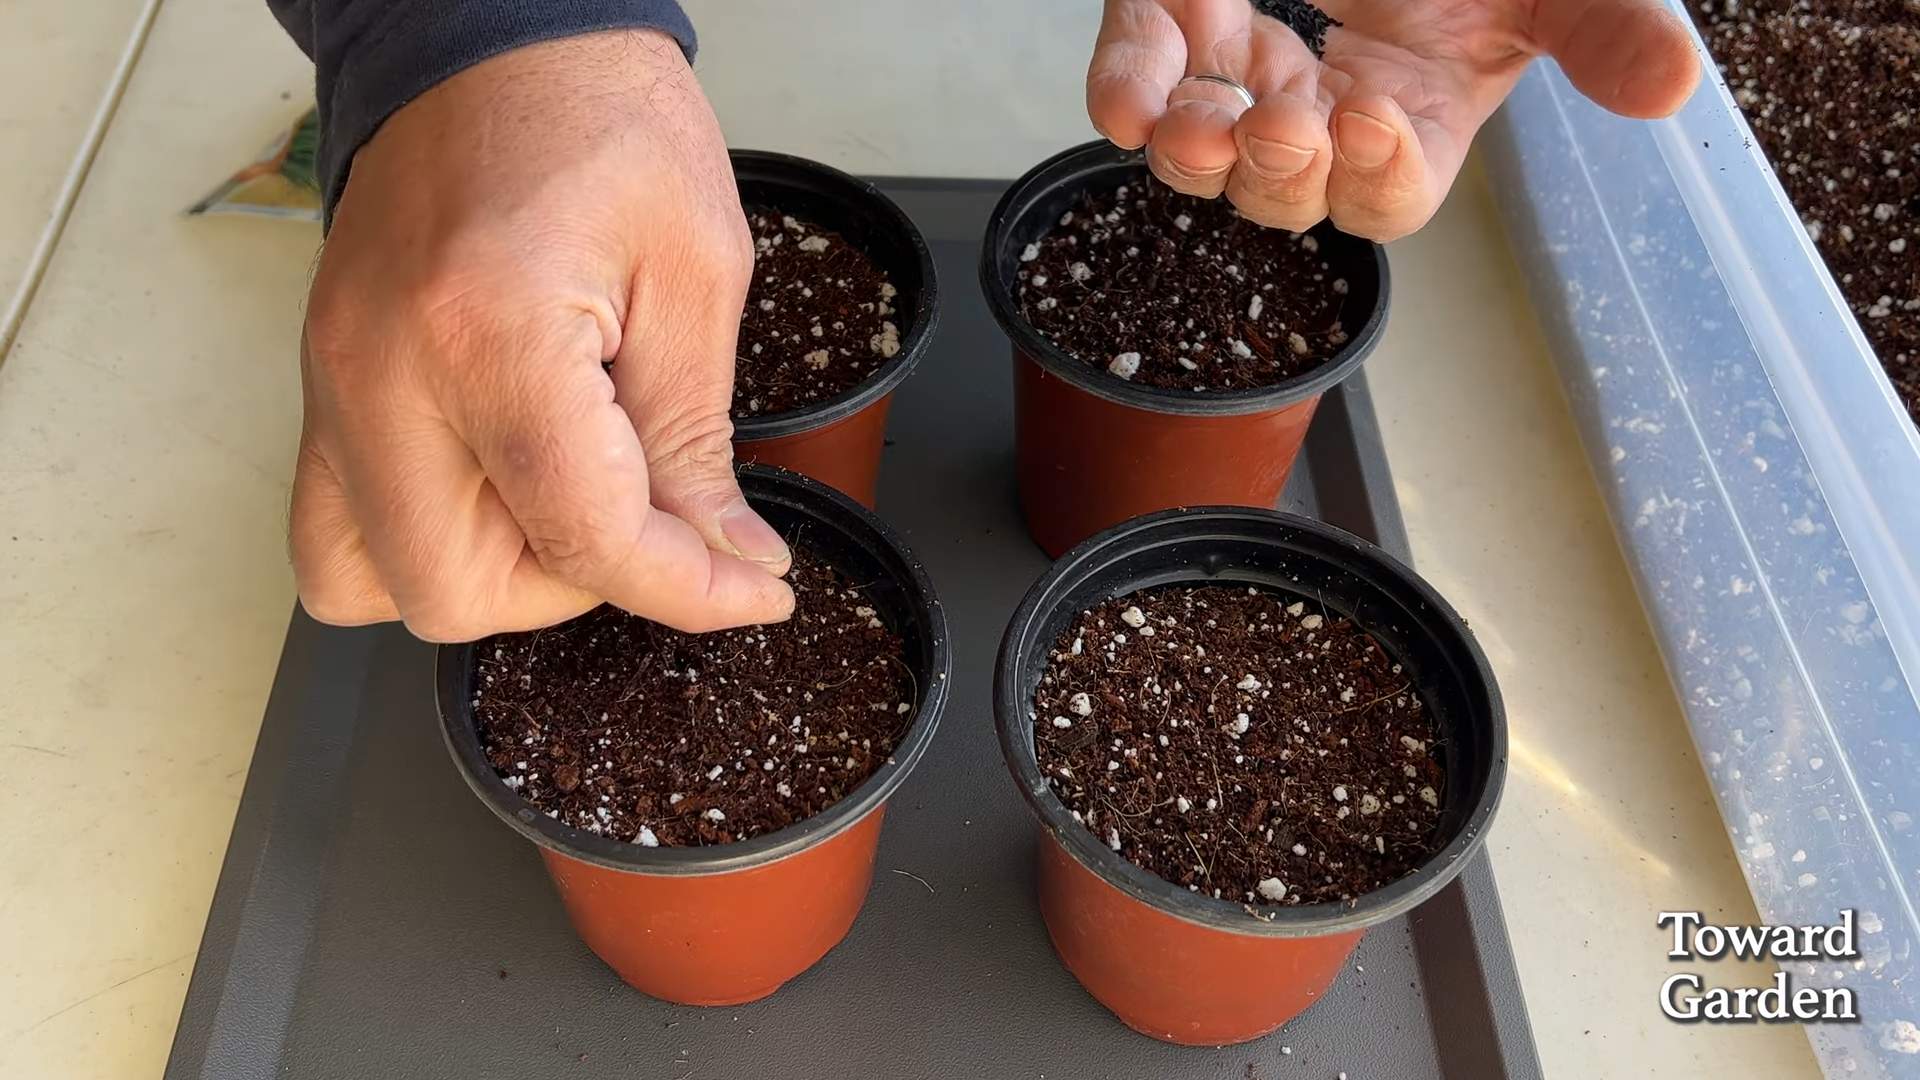
1. **Prepare the Pot:** Fill your chosen container with potting mix, leaving about an inch of space at the top. Gently pat down the soil to remove any large air pockets.
2. **Sow the Seeds:** Sprinkle the chive seeds evenly over the surface of the soil. You don’t need to bury them too deep; just lightly press them into the soil. I usually aim for about 10-15 seeds per pot.
3. **Cover the Seeds:** Sprinkle a very thin layer of potting mix over the seeds, just enough to cover them.
4. **Water Gently:** Use a watering can or spray bottle to gently moisten the soil. Avoid overwatering, as this can cause the seeds to rot. The soil should be damp, not soggy.
5. **Provide Light and Warmth:** Place the pot in a warm, sunny location, such as a windowsill that receives at least 6 hours of sunlight per day. If you don’t have enough natural light, use a grow light. Chives germinate best at temperatures between 60-70°F (15-21°C).
6. **Keep the Soil Moist:** Check the soil daily and water as needed to keep it consistently moist. Don’t let it dry out completely.
7. **Wait for Germination:** Chive seeds typically germinate in 1-2 weeks. Be patient!
8. **Thin Seedlings (Optional):** Once the seedlings have emerged and have a few sets of leaves, you can thin them out if they’re too crowded. This will give the remaining plants more room to grow. I usually thin them to about 2-3 inches apart.
Planting a Chive Plant
1. **Prepare the Pot:** If your chive plant is root-bound (the roots are tightly packed in the pot), gently loosen them before planting.
2. **Dig a Hole:** Dig a hole in the potting mix that’s large enough to accommodate the root ball of the chive plant.
3. **Place the Plant:** Carefully remove the chive plant from its original container and place it in the hole. Make sure the top of the root ball is level with the surrounding soil.
4. **Fill the Hole:** Fill in the hole with potting mix, gently patting it down around the plant.
5. **Water Thoroughly:** Water the plant thoroughly until water drains out of the drainage holes.
6. **Provide Light:** Place the pot in a sunny location or under a grow light.
Caring for Your Chives
Once your chives are planted, proper care is essential for healthy growth and abundant harvests.
* **Watering:** Water your chives regularly, keeping the soil consistently moist but not soggy. Overwatering can lead to root rot. Check the soil moisture by sticking your finger about an inch into the soil. If it feels dry, it’s time to water.
* **Light:** Chives need at least 6 hours of sunlight per day. If you don’t have a sunny windowsill, use a grow light.
* **Fertilizing:** Feed your chives with a balanced liquid fertilizer every 2-4 weeks during the growing season (spring and summer). Follow the instructions on the fertilizer label. I like to use a diluted fish emulsion fertilizer.
* **Temperature:** Chives prefer temperatures between 60-70°F (15-21°C). Avoid exposing them to extreme temperatures.
* **Pruning:** Regularly prune your chives to encourage new growth. Snip off any yellowing or dead leaves.
* **Repotting:** If your chives become root-bound, you may need to repot them into a larger container. You’ll know it’s time to repot when the roots start to circle around the inside of the pot.
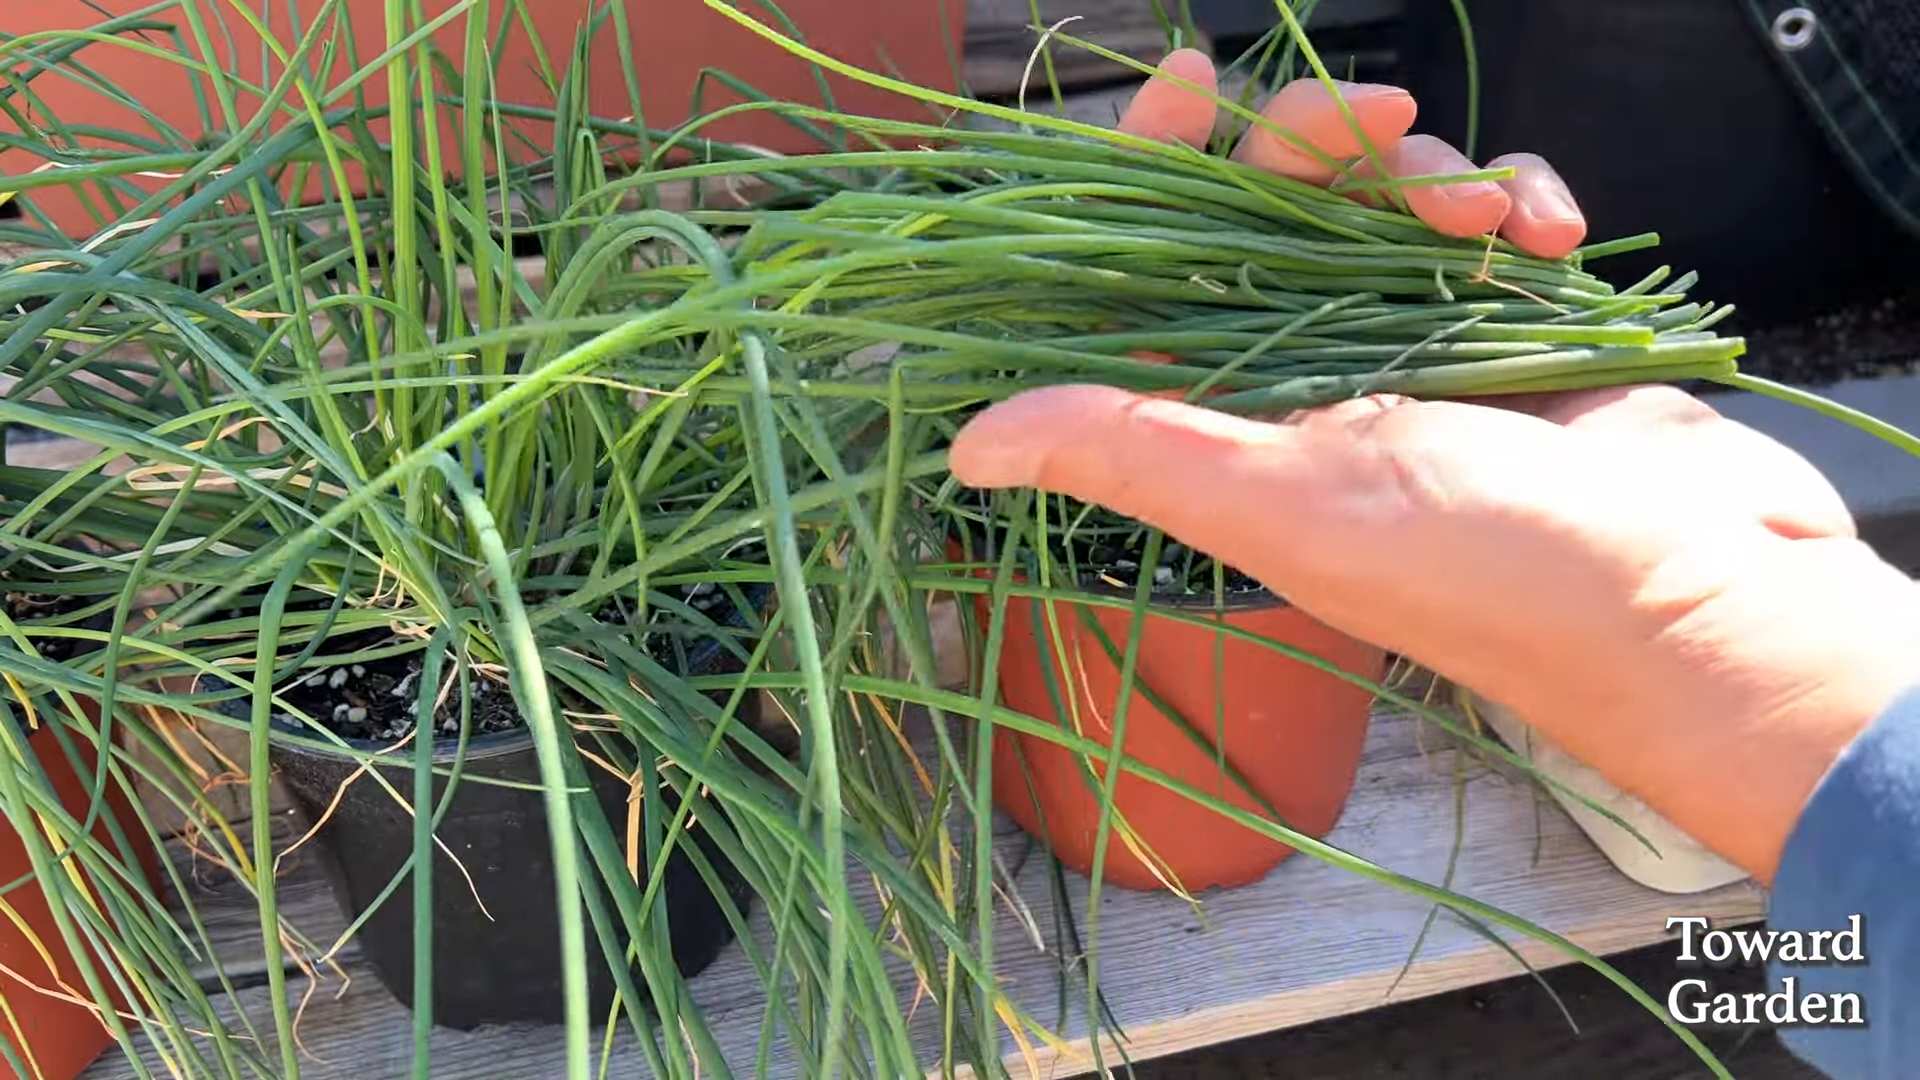
Harvesting Your Chives
The best part of growing your own chives is, of course, harvesting them!
* **When to Harvest:** You can start harvesting chives when they are about 6 inches tall.
* **How to Harvest:** Use scissors or kitchen shears to snip off the chives about 1-2 inches above the soil level. This will encourage new growth.
* **Harvesting Frequency:** You can harvest chives regularly throughout the growing season. Just be sure to leave at least 2 inches of growth so the plant can continue to thrive.
* **Using Your Harvest:** Freshly harvested chives are best used immediately. You can add them to salads, soups, omelets, dips, and many other dishes. They add a delicious oniony flavor.
* **Storing Chives:** If you have more chives than you can use right away, you can store them in the refrigerator. Wrap them in a damp paper towel and place them in a plastic bag. They should last for about a week. You can also freeze chives for longer storage. Chop them up and place them in an ice cube tray with water or olive oil. Once frozen, transfer the cubes to a freezer bag.
Troubleshooting
Even with the best care, you may encounter some problems while growing chives indoors. Here are some common issues and how to address them:
* **Yellowing Leaves:** This can be caused by overwatering, underwatering, or lack of nutrients. Adjust your watering schedule and fertilize your chives if needed.
* **Leggy Growth:** This is usually caused by insufficient light. Move your chives to a sunnier location or use a grow light.
* **Pests:** Chives are generally pest-resistant, but they can occasionally be affected by aphids or spider mites. If you notice any pests, spray your chives with insecticidal soap.
* **Root Rot:** This is caused by overwatering. Make sure your pot has drainage holes and avoid letting the soil stay soggy.
Enjoy Your Homegrown Chives!
Growing chives indoors is a rewarding and easy way to add fresh flavor to your meals. With a little care and attention, you can enjoy a continuous supply of these delicious herbs all year long. I hope this guide has been helpful. Happy gardening!
Conclusion
So, there you have it! A simple, effective, and incredibly rewarding way to grow chives in your kitchen. Forget those sad, wilted bunches from the grocery store. Imagine snipping fresh, vibrant chives right from your windowsill whenever you need them. The flavor difference alone is worth the minimal effort involved.
This isn’t just about saving money; it’s about connecting with your food, experiencing the joy of nurturing something from seed (or transplant), and adding a touch of green to your indoor space. Plus, having fresh chives on hand elevates even the simplest dishes. Think creamy scrambled eggs sprinkled with freshly chopped chives, a vibrant garnish for baked potatoes, or a flavorful addition to your favorite dips and sauces. The possibilities are endless!
But don’t stop there! Experiment with different varieties of chives. Garlic chives offer a milder garlic flavor, while common chives provide that classic oniony bite. You can even try growing them in different containers – from repurposed yogurt cups to stylish terracotta pots – to find what works best for your space and aesthetic. Consider companion planting your chives with other herbs like parsley or basil for a mini indoor herb garden.
We’ve covered the basics, but the real magic happens when you personalize this process. Maybe you’ll discover a unique watering schedule that works perfectly for your climate, or perhaps you’ll find that your chives thrive best in a specific type of potting mix. The beauty of DIY is the opportunity to learn and adapt.
Don’t be intimidated if you’ve never grown anything before. Growing chives in your kitchen is a fantastic starting point. It’s forgiving, relatively low-maintenance, and provides quick results, making it incredibly satisfying.
We wholeheartedly encourage you to give this a try. Take the plunge, plant those seeds (or transplant those seedlings), and experience the joy of harvesting your own fresh chives. And most importantly, share your experiences with us! We’d love to hear about your successes, your challenges, and any tips or tricks you discover along the way. Post photos of your thriving chive gardens on social media using #KitchenChives or leave a comment below. Let’s create a community of indoor gardeners and inspire others to bring the freshness of the garden into their homes. Happy growing!
Frequently Asked Questions (FAQ)
1. What kind of soil is best for growing chives indoors?
The best soil for growing chives indoors is a well-draining potting mix. Avoid using garden soil, as it can become compacted and doesn’t drain well in containers. Look for a potting mix that contains ingredients like peat moss, perlite, and vermiculite. These components help to retain moisture while also providing good aeration for the roots. You can also amend a standard potting mix with compost to add extra nutrients and improve drainage. A slightly acidic to neutral pH (around 6.0 to 7.0) is ideal for chives.
2. How much sunlight do chives need when grown indoors?
Chives need at least 6 hours of sunlight per day to thrive. A south-facing window is usually the best option, as it provides the most direct sunlight. If you don’t have a south-facing window, an east- or west-facing window can also work, but you may need to supplement with artificial light. If your chives are not getting enough sunlight, they may become leggy and pale. You can use a grow light to provide supplemental light, especially during the winter months. Place the grow light a few inches above the plants and keep it on for 12-14 hours per day.
3. How often should I water my indoor chives?
Water your chives when the top inch of soil feels dry to the touch. Avoid overwatering, as this can lead to root rot. When you water, water thoroughly until water drains out of the bottom of the pot. Make sure the pot has drainage holes to prevent water from sitting in the bottom. During the growing season (spring and summer), you may need to water more frequently than during the dormant season (fall and winter). Check the soil moisture regularly and adjust your watering schedule accordingly.
4. How do I harvest chives without killing the plant?
The key to harvesting chives without harming the plant is to cut the leaves from the outside of the clump, leaving the inner leaves to continue growing. Use sharp scissors or pruning shears to cut the leaves about an inch above the soil line. Avoid cutting all the leaves at once, as this can weaken the plant. Regular harvesting will actually encourage the plant to produce more leaves. You can harvest chives several times throughout the growing season.
5. Can I grow chives from seed indoors?
Yes, you can definitely grow chives from seed indoors. Start by sowing the seeds in a seed-starting tray or small pots filled with seed-starting mix. Keep the soil moist but not soggy, and provide plenty of light. The seeds should germinate in about 7-14 days. Once the seedlings have developed a few sets of true leaves, you can transplant them into larger pots. Alternatively, you can directly sow the seeds into the pot where you want them to grow.
6. What are some common problems when growing chives indoors and how can I fix them?
Some common problems include:
* Yellowing leaves: This can be caused by overwatering, underwatering, or a lack of nutrients. Adjust your watering schedule and fertilize with a balanced liquid fertilizer.
* Leggy growth: This is usually caused by a lack of sunlight. Move your chives to a sunnier location or supplement with a grow light.
* Pests: Chives can be susceptible to pests like aphids and spider mites. Inspect your plants regularly and treat any infestations with insecticidal soap or neem oil.
* Root rot: This is caused by overwatering and poor drainage. Make sure your pot has drainage holes and avoid overwatering. If root rot is severe, you may need to repot your chives in fresh soil.
7. Can I freeze or dry chives for later use?
Yes, you can freeze or dry chives to preserve them for later use. To freeze chives, wash and chop them, then spread them out on a baking sheet and freeze for a few hours. Once frozen, transfer them to a freezer bag or container. To dry chives, spread them out on a baking sheet and dry them in a low oven (170°F) or a dehydrator until they are brittle. You can also air-dry chives by hanging them upside down in a cool, dry place. Store dried chives in an airtight container.
8. Are there any companion plants that grow well with chives indoors?
Yes, chives are known to be good companion plants for many other herbs and vegetables. They can help to repel pests and improve the flavor of nearby plants. Some good companion plants for chives include:
* Basil: Chives can help to repel aphids and other pests that can attack basil.
* Parsley: Chives and parsley both thrive in similar conditions and can be grown together in the same pot.
* Tomatoes: Chives can help to repel pests that can damage tomato plants.
* Carrots: Chives can help to deter carrot root flies.
9. How often should I fertilize my indoor chives?
Fertilize your indoor chives every 2-4 weeks during the growing season (spring and summer) with a balanced liquid fertilizer. Follow the instructions on the fertilizer label. Avoid fertilizing during the dormant season (fall and winter), as the plants don’t need as many nutrients during this time.
10. My chives are flowering. Should I cut off the flowers?
Chive flowers are edible and have a mild onion flavor. However, if you want to encourage more leaf growth, you can cut off the flowers. Cutting off the flowers will also prevent the plant from going to seed, which can weaken the plant.

Leave a Comment