

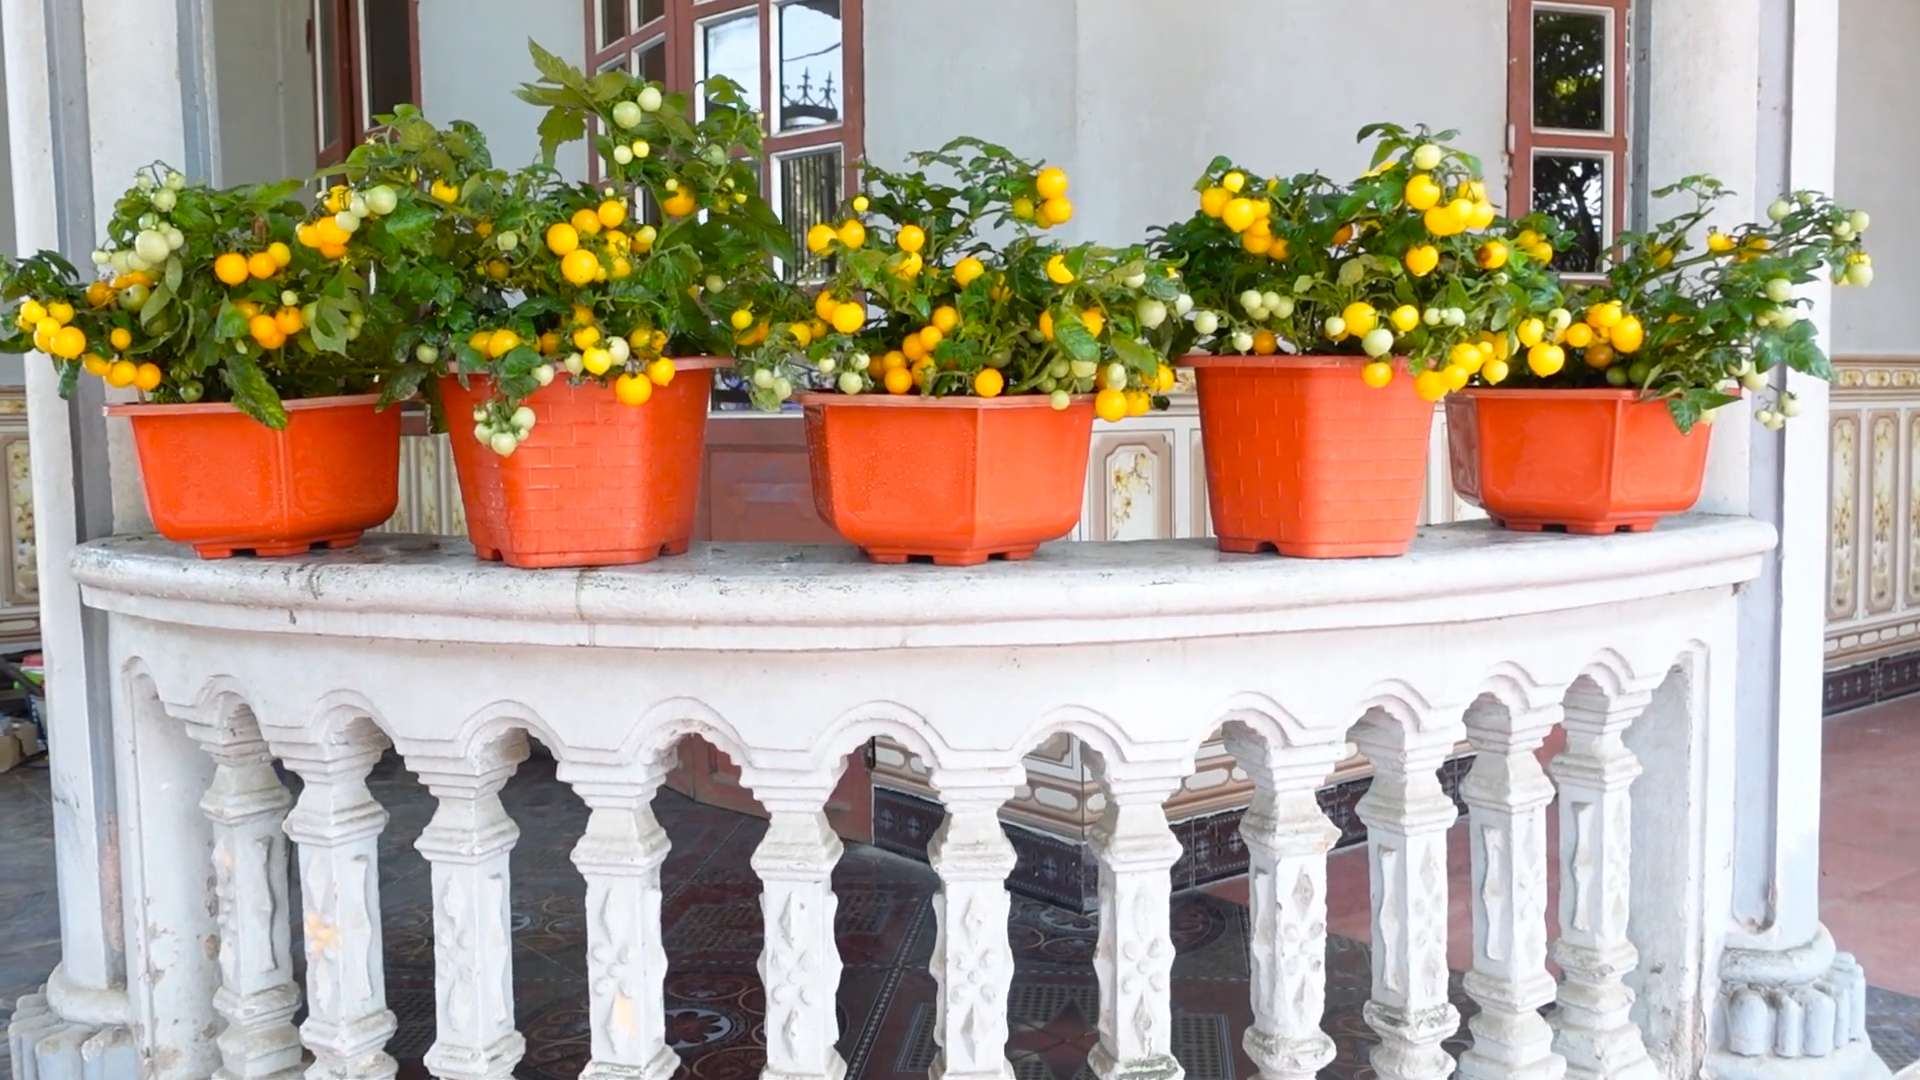
Balcony Cherry Tomatoes: Imagine stepping onto your balcony and plucking a handful of sweet, juicy cherry tomatoes, bursting with flavor, all grown by your own hand. Sounds idyllic, right? Well, it doesn’t have to be just a dream! For centuries, people have cultivated small gardens in limited spaces, from window boxes in bustling cities to rooftop oases. This tradition speaks to our innate connection with nature and the satisfaction of nurturing life.
But let’s be honest, not everyone has a sprawling backyard for a traditional garden. That’s where the magic of DIY comes in! Growing Balcony Cherry Tomatoes is not only possible, but it’s also incredibly rewarding. In this article, I’m going to share some simple yet effective DIY tricks and hacks that will transform your balcony into a thriving mini-farm.
Why do you need these tricks? Because store-bought tomatoes simply can’t compare to the taste of homegrown, sun-ripened goodness. Plus, gardening is a fantastic stress reliever, a fun hobby, and a way to connect with nature, even in the heart of the city. So, let’s ditch the bland supermarket varieties and embark on a journey to cultivate your own delicious balcony cherry tomatoes!
Growing Cherry Tomatoes on Your Balcony: A DIY Guide
Hey there, fellow balcony gardeners! I’m so excited to share my tried-and-true method for growing delicious, juicy cherry tomatoes right on your balcony. Trust me, there’s nothing quite like popping a sun-warmed, homegrown tomato straight into your mouth. It’s easier than you think, and I’m going to walk you through every step.
Choosing the Right Cherry Tomato Variety
First things first, let’s talk tomatoes! Not all cherry tomato varieties are created equal, especially when it comes to container gardening. You want something compact and productive. Here are a few of my favorites:
* ‘Tiny Tim’: This is a super compact variety, perfect for small balconies. It produces loads of tiny, sweet tomatoes.
* ‘Tumbling Tom’: As the name suggests, this variety is designed to cascade over the edges of a hanging basket or container. It’s beautiful and prolific.
* ‘Sweet Million’: A classic choice! ‘Sweet Million’ produces long trusses of incredibly sweet, bite-sized tomatoes. It might need a bit more support than the others.
* ‘Sungold’: If you like a tangy, almost citrusy flavor, ‘Sungold’ is the way to go. These golden-orange tomatoes are addictive!
Gathering Your Supplies
Okay, now that we’ve picked our tomato stars, let’s gather the supplies we’ll need. This is where the “DIY” part really kicks in!
* Large Containers: This is crucial! Cherry tomatoes need plenty of space for their roots to grow. I recommend containers that are at least 12 inches in diameter and 12 inches deep. Bigger is always better!
* High-Quality Potting Mix: Don’t skimp on the potting mix! Use a well-draining mix specifically formulated for containers. Avoid using garden soil, as it can compact and suffocate the roots.
* Tomato Cages or Stakes: Most cherry tomato varieties will need some support as they grow. Tomato cages are easy to use, or you can use sturdy stakes and tie the plants to them.
* Slow-Release Fertilizer: This will provide your plants with a steady supply of nutrients throughout the growing season. Look for a fertilizer specifically formulated for tomatoes.
* Watering Can or Hose: You’ll need a way to water your plants regularly. A watering can with a gentle rose head is ideal, or you can use a hose with a spray nozzle.
* Hand Trowel: For planting and transplanting.
* Gardening Gloves: To keep your hands clean and protected.
* Optional: Mulch (straw, wood chips, or shredded leaves) to help retain moisture and suppress weeds.
Step-by-Step Planting Guide
Alright, let’s get our hands dirty! Here’s how to plant your cherry tomato seedlings:
1. Prepare the Containers: Fill your containers with the high-quality potting mix, leaving a few inches of space at the top.
2. Add Slow-Release Fertilizer: Sprinkle the slow-release fertilizer evenly over the surface of the potting mix, following the instructions on the package. Gently mix it in.
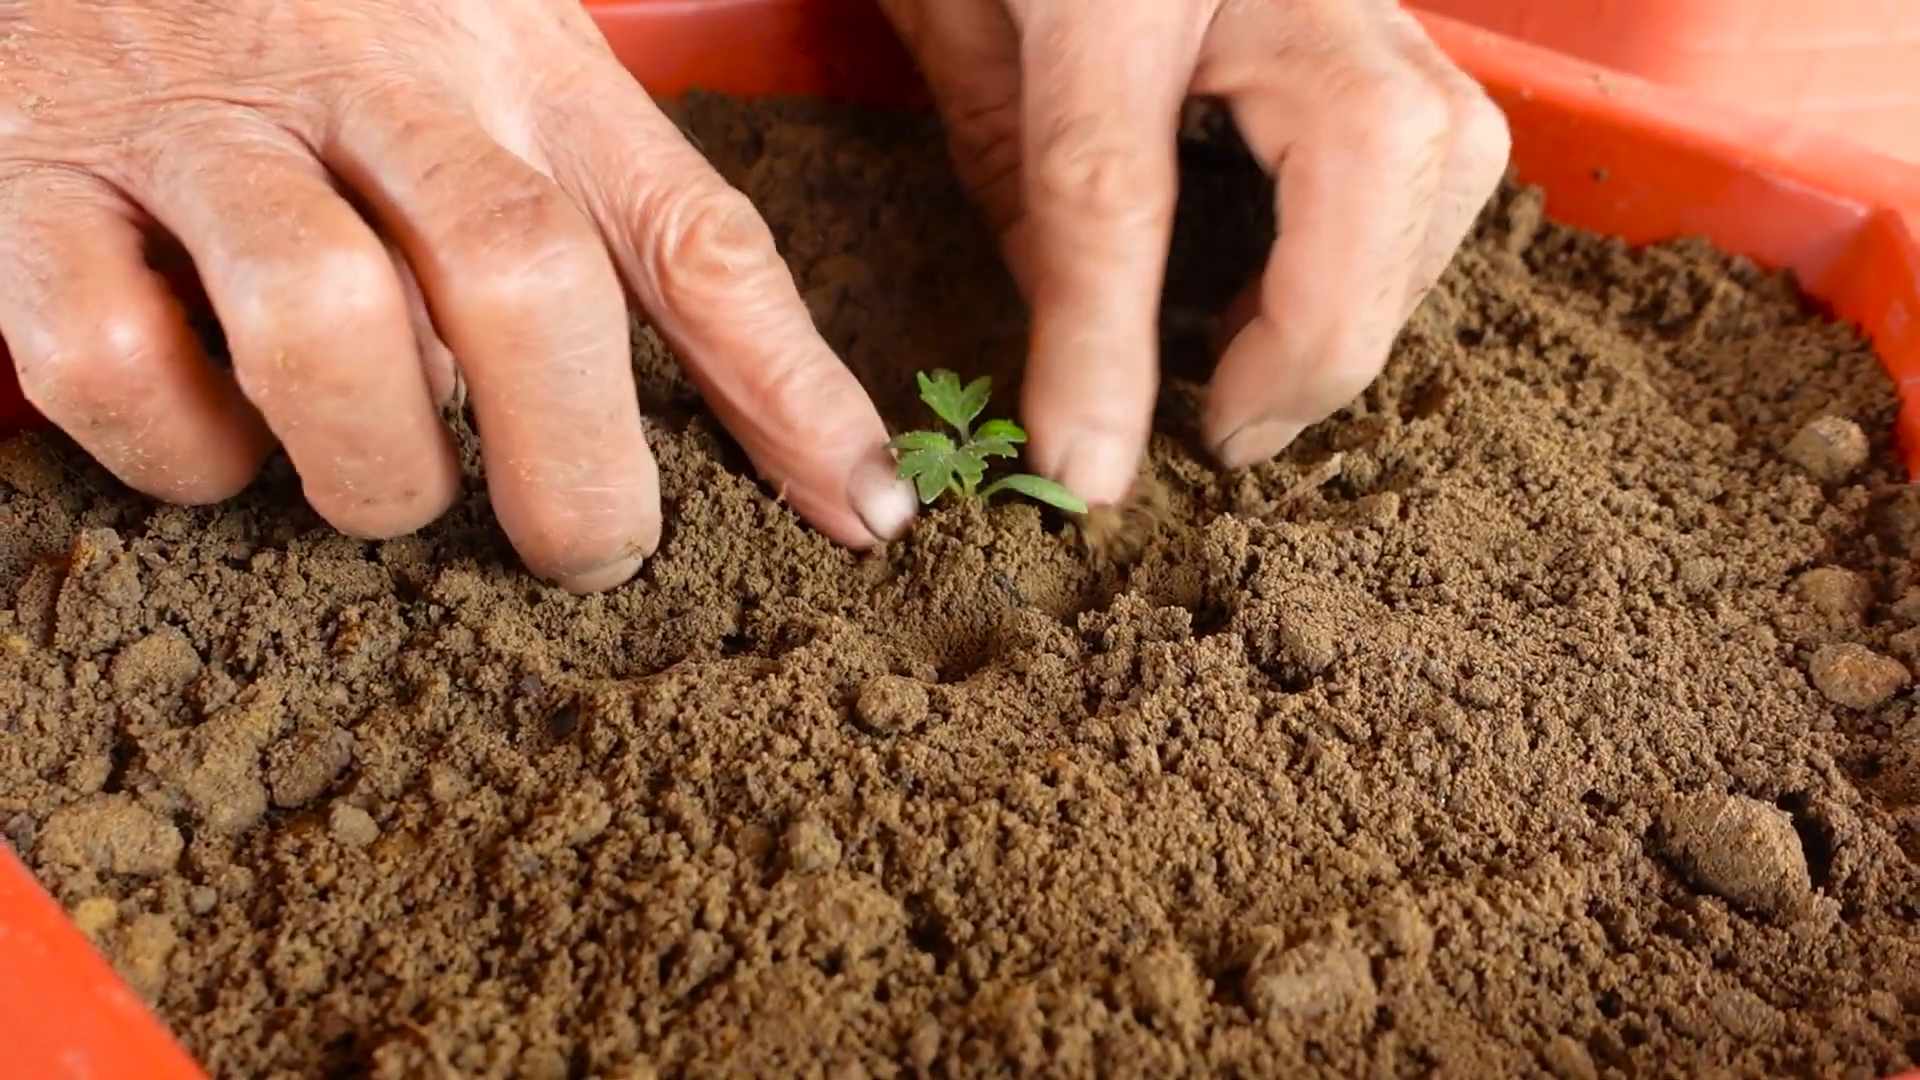
3. Dig a Hole: Dig a hole in the center of each container that’s large enough to accommodate the root ball of your tomato seedling.
4. Remove the Seedling: Gently remove the tomato seedling from its nursery pot. If the roots are tightly bound, gently loosen them with your fingers.
5. Plant the Seedling: Place the seedling in the hole, making sure the top of the root ball is level with the surface of the potting mix. You can even bury the stem a bit; tomatoes will grow roots from the buried stem, making them stronger.
6. Fill and Water: Fill in the hole with potting mix, gently firming it around the base of the plant. Water thoroughly until the water drains out of the bottom of the container.
7. Add Support: Install your tomato cage or stakes now, before the plant gets too big. This will help prevent damage to the roots.
8. Mulch (Optional): Add a layer of mulch around the base of the plant to help retain moisture and suppress weeds.
Caring for Your Cherry Tomato Plants
Planting is just the beginning! Here’s how to keep your cherry tomato plants happy and healthy:
1. Watering: Water your plants regularly, especially during hot, dry weather. The soil should be consistently moist, but not soggy. Check the soil moisture by sticking your finger into the soil. If the top inch feels dry, it’s time to water. Water deeply, allowing the water to soak into the soil. Avoid watering the foliage, as this can encourage fungal diseases.
2. Sunlight: Cherry tomatoes need at least 6-8 hours of sunlight per day. Choose a sunny spot on your balcony for your plants. If your balcony doesn’t get enough sunlight, you may need to supplement with grow lights.
3. Fertilizing: In addition to the slow-release fertilizer you added at planting, you may need to fertilize your plants periodically throughout the growing season. Use a liquid fertilizer specifically formulated for tomatoes, following the instructions on the package. I like to fertilize every 2-3 weeks.
4. Pruning: Pruning can help improve air circulation and encourage fruit production. Remove any suckers (small shoots that grow between the main stem and the branches) that appear. You can also remove any yellowing or diseased leaves.
5. Pest and Disease Control: Keep an eye out for pests and diseases. Common tomato pests include aphids, whiteflies, and tomato hornworms. Common diseases include early blight, late blight, and blossom end rot. If you spot any problems, take action immediately. There are many organic pest and disease control options available. Neem oil is a great all-purpose solution.
6. Pollination: While tomatoes are self-pollinating, sometimes they need a little help, especially if you live in an area with limited bee activity. You can hand-pollinate your tomatoes by gently shaking the flowers or using a small paintbrush to transfer pollen from one flower to another.
7. Support: As your plants grow, make sure they have adequate support. Tie the stems to the stakes or cage as needed.
Harvesting Your Cherry Tomatoes
This is the best part! Harvesting your own homegrown cherry tomatoes is incredibly rewarding.
1. When to Harvest: Cherry tomatoes are ready to harvest when they are fully colored and slightly soft to the touch. They should easily detach from the vine.
2. How to Harvest: Gently twist or snip the tomatoes from the vine.
3. Enjoy! Eat your cherry tomatoes fresh, add them to salads, or use them in your favorite recipes.
Troubleshooting Common Problems
Even with the best care, you might encounter some problems along the way. Here are a few common issues and how to address them:
* Blossom End Rot: This is a condition where the bottom of the tomato turns black and leathery. It’s usually caused by a calcium deficiency, which can be due to inconsistent watering. Make sure you’re watering your plants regularly and deeply. You can also add calcium to the soil by mixing in some crushed eggshells or bone meal.
* Yellowing Leaves: Yellowing leaves can be a sign of several problems, including nutrient deficiencies, overwatering, or underwatering. Check the soil moisture and adjust your watering accordingly. You may also need to fertilize your plants.
* Pests: As mentioned earlier, keep an eye out for pests. If you spot any, take action immediately.
* Lack of Fruit: If your plants are not producing fruit, it could be due to a lack of pollination, insufficient sunlight, or extreme temperatures. Make sure your plants are getting enough sunlight and try hand-pollinating the flowers.
Extending the Growing Season
Want to enjoy fresh cherry tomatoes for as long as possible? Here are a few tips for extending the growing season:
* Start Seeds Indoors: Start your tomato seeds indoors 6-8 weeks before the last expected frost. This will give you a head start on the growing season.
* Use Row Covers: Row covers can protect your plants from frost and extend the growing season in the fall.
* Choose Early-Maturing Varieties: Select cherry tomato varieties that mature quickly.
Final Thoughts
Growing cherry tomatoes on your balcony is a fun and rewarding experience. With a little bit of care and attention, you can enjoy a bountiful harvest of delicious, homegrown tomatoes. Don’t be afraid to experiment and try different varieties. Happy gardening! I hope this guide helps you have a successful and delicious tomato season!
Conclusion
So, there you have it! Growing your own balcony cherry tomatoes is not only achievable, even in the smallest of spaces, but it’s also incredibly rewarding. Imagine stepping onto your balcony and plucking sun-ripened, bursting-with-flavor cherry tomatoes straight from the vine. Forget those bland, store-bought imitations – this is the real deal. This DIY project transforms your outdoor space into a miniature edible garden, providing you with fresh, organic produce right at your fingertips.
But why is this DIY trick a must-try? It’s simple: control. You control the soil, the watering, the sunlight, and everything else that goes into nurturing your plants. This level of control translates directly into the quality and taste of your tomatoes. Plus, it’s a fantastic way to reduce your carbon footprint by minimizing your reliance on commercially grown produce that travels long distances.
Beyond the basic method, there’s plenty of room for experimentation. Consider adding companion plants like basil or marigolds to your tomato containers. Basil is known to improve the flavor of tomatoes and deter pests, while marigolds help repel nematodes in the soil. You could also try different varieties of cherry tomatoes. Yellow pear tomatoes offer a sweet and mild flavor, while black cherry tomatoes provide a rich, earthy taste. Don’t be afraid to mix and match to find your perfect combination.
Another variation to consider is vertical gardening. If you’re truly limited on space, explore options like hanging baskets or stacked planters. These methods allow you to maximize your growing area and create a stunning visual display. You can even train your tomato plants to climb a trellis or support structure, adding a touch of elegance to your balcony garden.
For those looking to take their balcony cherry tomato game to the next level, consider investing in a small greenhouse or cold frame. This will extend your growing season, allowing you to harvest tomatoes earlier in the spring and later in the fall. It also provides protection from harsh weather conditions, ensuring a more consistent yield.
And let’s not forget the sheer joy of watching your plants grow and thrive. There’s something incredibly satisfying about nurturing a tiny seed into a bountiful plant that provides you with delicious food. It’s a connection to nature that can be incredibly grounding and therapeutic, especially in the midst of a busy urban life.
We wholeheartedly encourage you to give this DIY trick a try. It’s easier than you might think, and the rewards are well worth the effort. Start small, experiment with different techniques, and most importantly, have fun! Once you’ve harvested your first batch of homegrown balcony cherry tomatoes, you’ll be hooked.
Don’t keep your success (or your challenges!) to yourself. We want to hear about your experience! Share your photos, tips, and questions in the comments section below. Let’s create a community of balcony gardeners who are passionate about growing their own food and sharing their knowledge with others. Together, we can transform our balconies into thriving edible oases, one cherry tomato at a time. So, grab your seeds, soil, and containers, and get ready to embark on a delicious and rewarding gardening adventure. Your balcony cherry tomatoes await!
Frequently Asked Questions (FAQ)
What kind of soil should I use for my balcony cherry tomatoes?
The best soil for balcony cherry tomatoes is a well-draining potting mix specifically formulated for containers. Avoid using garden soil, as it tends to be too heavy and compact, which can hinder root growth and drainage. Look for a potting mix that contains ingredients like peat moss, perlite, and vermiculite, which provide good aeration and moisture retention. You can also amend your potting mix with compost to add nutrients and improve soil structure.
How much sunlight do balcony cherry tomatoes need?
Cherry tomatoes need at least 6-8 hours of direct sunlight per day to thrive. Choose a location on your balcony that receives ample sunlight throughout the day. If your balcony is shaded for part of the day, try to position your tomato plants so that they receive the most sunlight possible. You can also supplement with grow lights if necessary, especially if you live in an area with limited sunlight.
How often should I water my balcony cherry tomatoes?
Water your balcony cherry tomatoes regularly, especially during hot and dry weather. The frequency of watering will depend on factors like the size of your container, the type of soil, and the weather conditions. A good rule of thumb is to water when the top inch of soil feels dry to the touch. Water deeply, until water drains out of the bottom of the container. Avoid overwatering, as this can lead to root rot.
What kind of fertilizer should I use for my balcony cherry tomatoes?
Cherry tomatoes are heavy feeders and require regular fertilization to produce a bountiful harvest. Use a balanced fertilizer specifically formulated for tomatoes, following the instructions on the package. You can also use organic fertilizers like compost tea or fish emulsion. Fertilize your tomato plants every 2-3 weeks during the growing season.
How do I prevent pests and diseases from affecting my balcony cherry tomatoes?
To prevent pests and diseases from affecting your balcony cherry tomatoes, start by choosing disease-resistant varieties. Inspect your plants regularly for signs of pests or diseases, such as aphids, whiteflies, or tomato blight. If you spot any problems, take action immediately. You can use organic pest control methods like insecticidal soap or neem oil to control pests. For diseases, remove affected leaves and stems and apply a fungicide if necessary. Good air circulation and proper watering practices can also help prevent diseases.
How do I support my balcony cherry tomato plants?
Cherry tomato plants can become quite large and heavy, so it’s important to provide them with adequate support. You can use stakes, cages, or trellises to support your plants. Insert the support structure into the container when you plant your tomatoes to avoid damaging the roots later on. As your plants grow, tie the stems to the support structure using soft twine or plant ties.
When should I harvest my balcony cherry tomatoes?
Harvest your balcony cherry tomatoes when they are fully ripe and have reached their mature color. The color will depend on the variety you are growing. Gently twist the tomatoes off the vine, being careful not to damage the plant. Ripe cherry tomatoes should be slightly soft to the touch and easily detach from the stem.
Can I grow balcony cherry tomatoes in hanging baskets?
Yes, you can definitely grow balcony cherry tomatoes in hanging baskets. Choose a compact or trailing variety that is well-suited for hanging baskets. Use a lightweight potting mix and water regularly, as hanging baskets tend to dry out quickly. Make sure the hanging basket is strong enough to support the weight of the mature plant and the tomatoes.
What are some good companion plants for balcony cherry tomatoes?
Some good companion plants for balcony cherry tomatoes include basil, marigolds, onions, garlic, and carrots. Basil is said to improve the flavor of tomatoes and deter pests, while marigolds help repel nematodes in the soil. Onions and garlic can also deter pests, and carrots can help improve soil drainage.
Can I grow balcony cherry tomatoes indoors?
While it’s possible to grow balcony cherry tomatoes indoors, it can be challenging to provide them with the amount of sunlight they need. If you want to grow tomatoes indoors, you’ll need to supplement with grow lights. Choose a sunny location near a window and use grow lights to provide at least 12-14 hours of light per day. You’ll also need to pollinate the flowers manually, as there won’t be any bees or other pollinators indoors.


Leave a Comment