

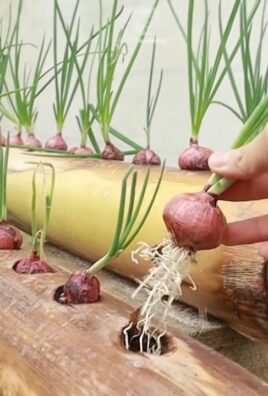
Rooftop Corn Growing Guide: Imagine stepping onto your rooftop and harvesting fresh, juicy corn – right in the heart of the city! Sounds like a dream, doesn’t it? Well, it doesn’t have to be! For centuries, humans have cultivated corn, or maize, in various ways, from sprawling fields to ingenious vertical gardens. Now, I’m here to show you how to bring that agricultural heritage to your own urban oasis with a comprehensive rooftop corn growing guide.
Why should you consider growing corn on your roof? Well, beyond the sheer novelty and bragging rights, it’s a fantastic way to maximize space, enjoy fresh, homegrown produce, and even contribute to a greener city. Plus, let’s be honest, who wouldn’t love the satisfaction of biting into a sweet ear of corn that they nurtured from a tiny seed? This DIY guide will provide you with all the essential tips and tricks to successfully cultivate corn on your rooftop, from choosing the right varieties and containers to mastering pollination and pest control. Get ready to transform your rooftop into a miniature cornfield!
Rooftop Corn Growing: A DIY Guide to Urban Farming
Hey there, fellow urban gardeners! Ever dreamed of harvesting your own sweet corn right in the heart of the city? Well, dream no more! I’m going to walk you through a complete guide on how to grow corn on your rooftop. It might seem a little unconventional, but with the right setup and a little bit of love, you can enjoy fresh, homegrown corn without ever leaving your building. Let’s get started!
Choosing the Right Corn Variety
First things first, you need to pick the right corn variety. Not all corn is created equal, especially when it comes to container gardening. You’ll want to choose a variety that’s relatively short and sturdy, and one that matures quickly. Here are a few of my favorites:
* ‘On Deck’ Hybrid: This is a super-sweet variety specifically bred for container growing. It’s compact and matures in about 75 days.
* ‘Trinity’ Hybrid: Another great choice for containers, ‘Trinity’ produces multiple ears per stalk and matures in around 70 days.
* ‘Golden Bantam’: A classic heirloom variety that’s relatively short and matures in about 80 days. It’s known for its delicious flavor.
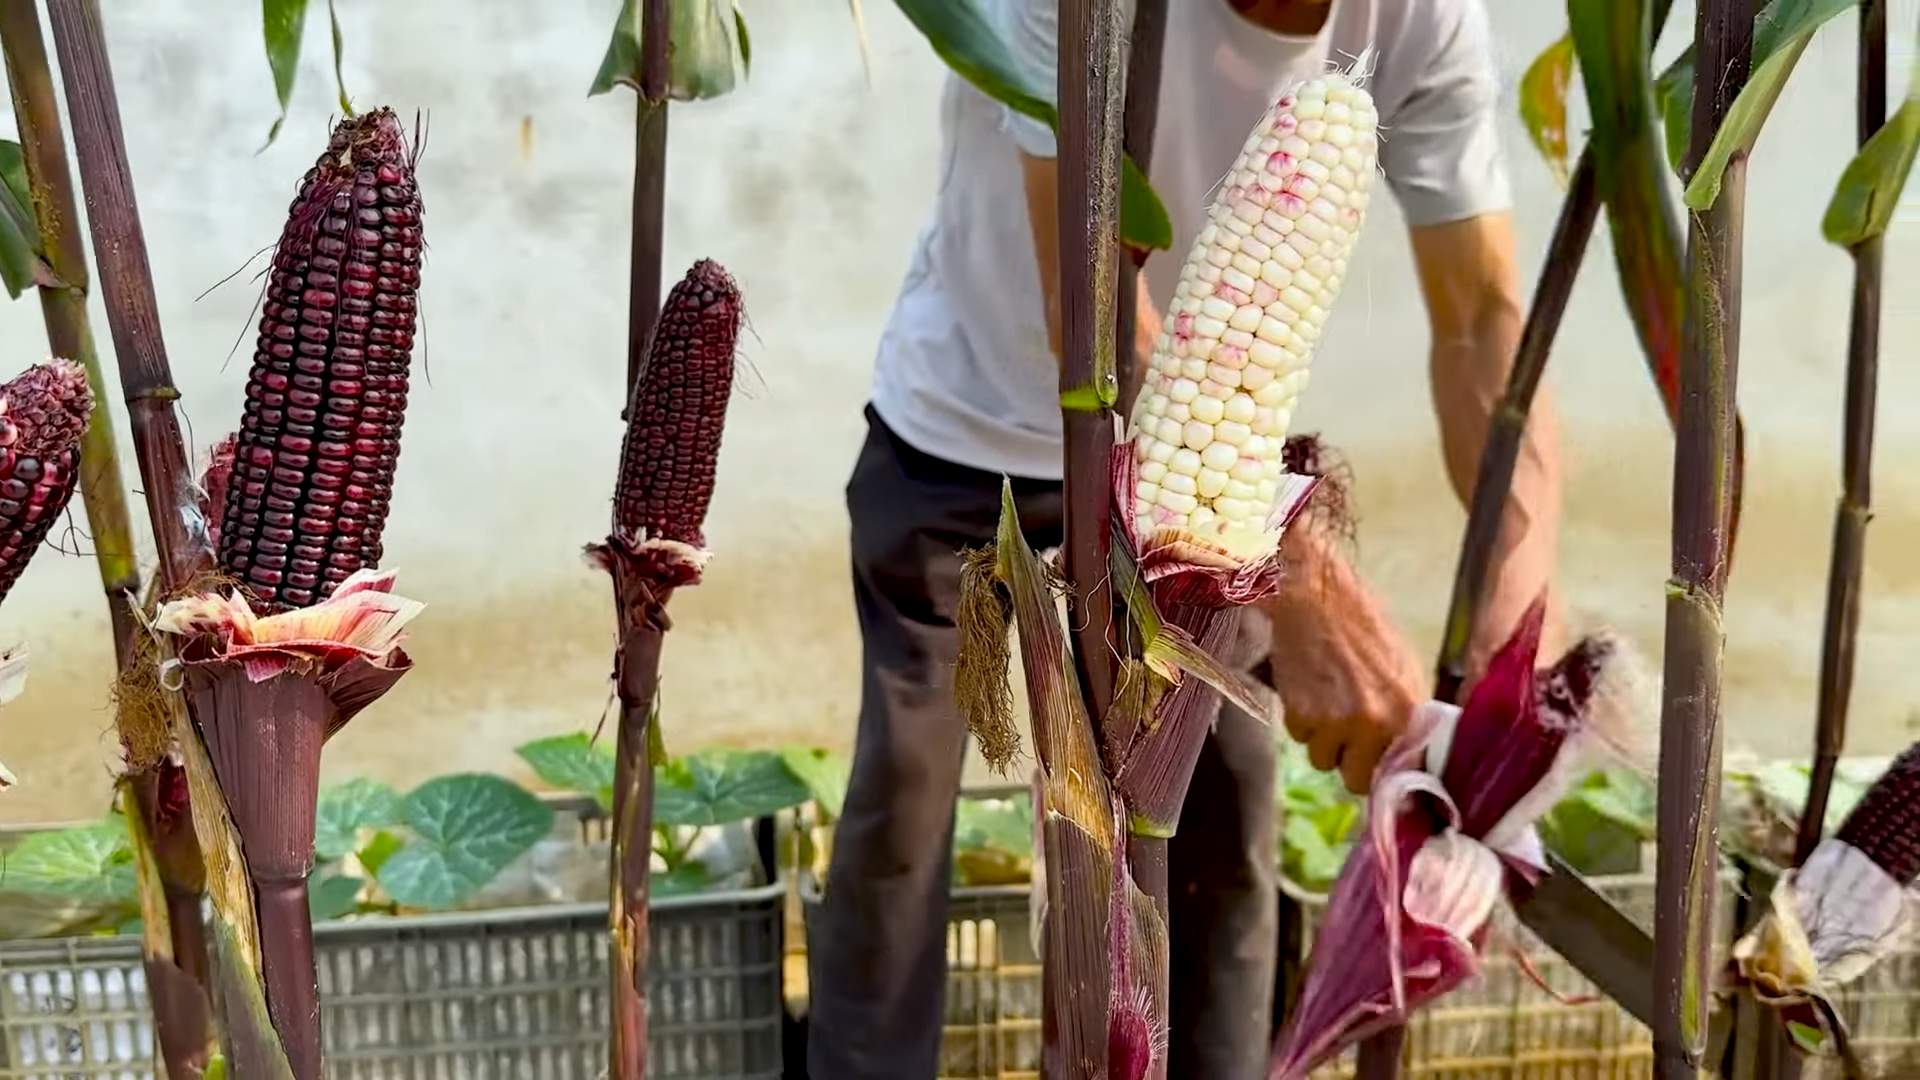
* ‘Blue Hopi’: If you’re feeling adventurous, try growing ‘Blue Hopi’ corn. It’s a beautiful blue corn variety that’s drought-tolerant and matures in about 90 days.
Gathering Your Supplies
Before you start planting, you’ll need to gather all your supplies. Here’s a checklist to make sure you have everything you need:
* Large Containers: Corn needs plenty of space for its roots to grow. I recommend using containers that are at least 24 inches in diameter and 24 inches deep. The bigger, the better!
* Potting Mix: Don’t use garden soil! It’s too heavy and doesn’t drain well. Use a high-quality potting mix that’s specifically designed for containers.
* Corn Seeds: Choose your desired corn variety and purchase seeds from a reputable source.
* Slow-Release Fertilizer: Corn is a heavy feeder, so you’ll need to provide it with plenty of nutrients. A slow-release fertilizer will provide a steady supply of nutrients throughout the growing season.
* Watering Can or Hose: You’ll need to water your corn regularly, especially during hot weather.
* Trowel or Shovel: For planting and transplanting.
* Mulch: Mulch helps to retain moisture in the soil and suppress weeds. Straw, wood chips, or shredded bark are all good options.
* Stakes or Trellis (Optional): If you live in a windy area, you may need to stake your corn plants to prevent them from falling over.
* Bird Netting (Optional): Birds love to eat corn seeds and young seedlings, so you may want to protect your plants with bird netting.
Preparing Your Containers
Now that you have all your supplies, it’s time to prepare your containers.
1. Clean Your Containers: Make sure your containers are clean and free of any debris. You can wash them with soap and water if necessary.
2. Add Drainage Holes: If your containers don’t already have drainage holes, you’ll need to drill some. Corn needs well-draining soil, so drainage holes are essential.
3. Fill with Potting Mix: Fill your containers with potting mix, leaving about an inch or two of space at the top.
4. Water the Soil: Water the potting mix thoroughly until it’s evenly moist.
Planting Your Corn Seeds
Now comes the fun part – planting your corn seeds!
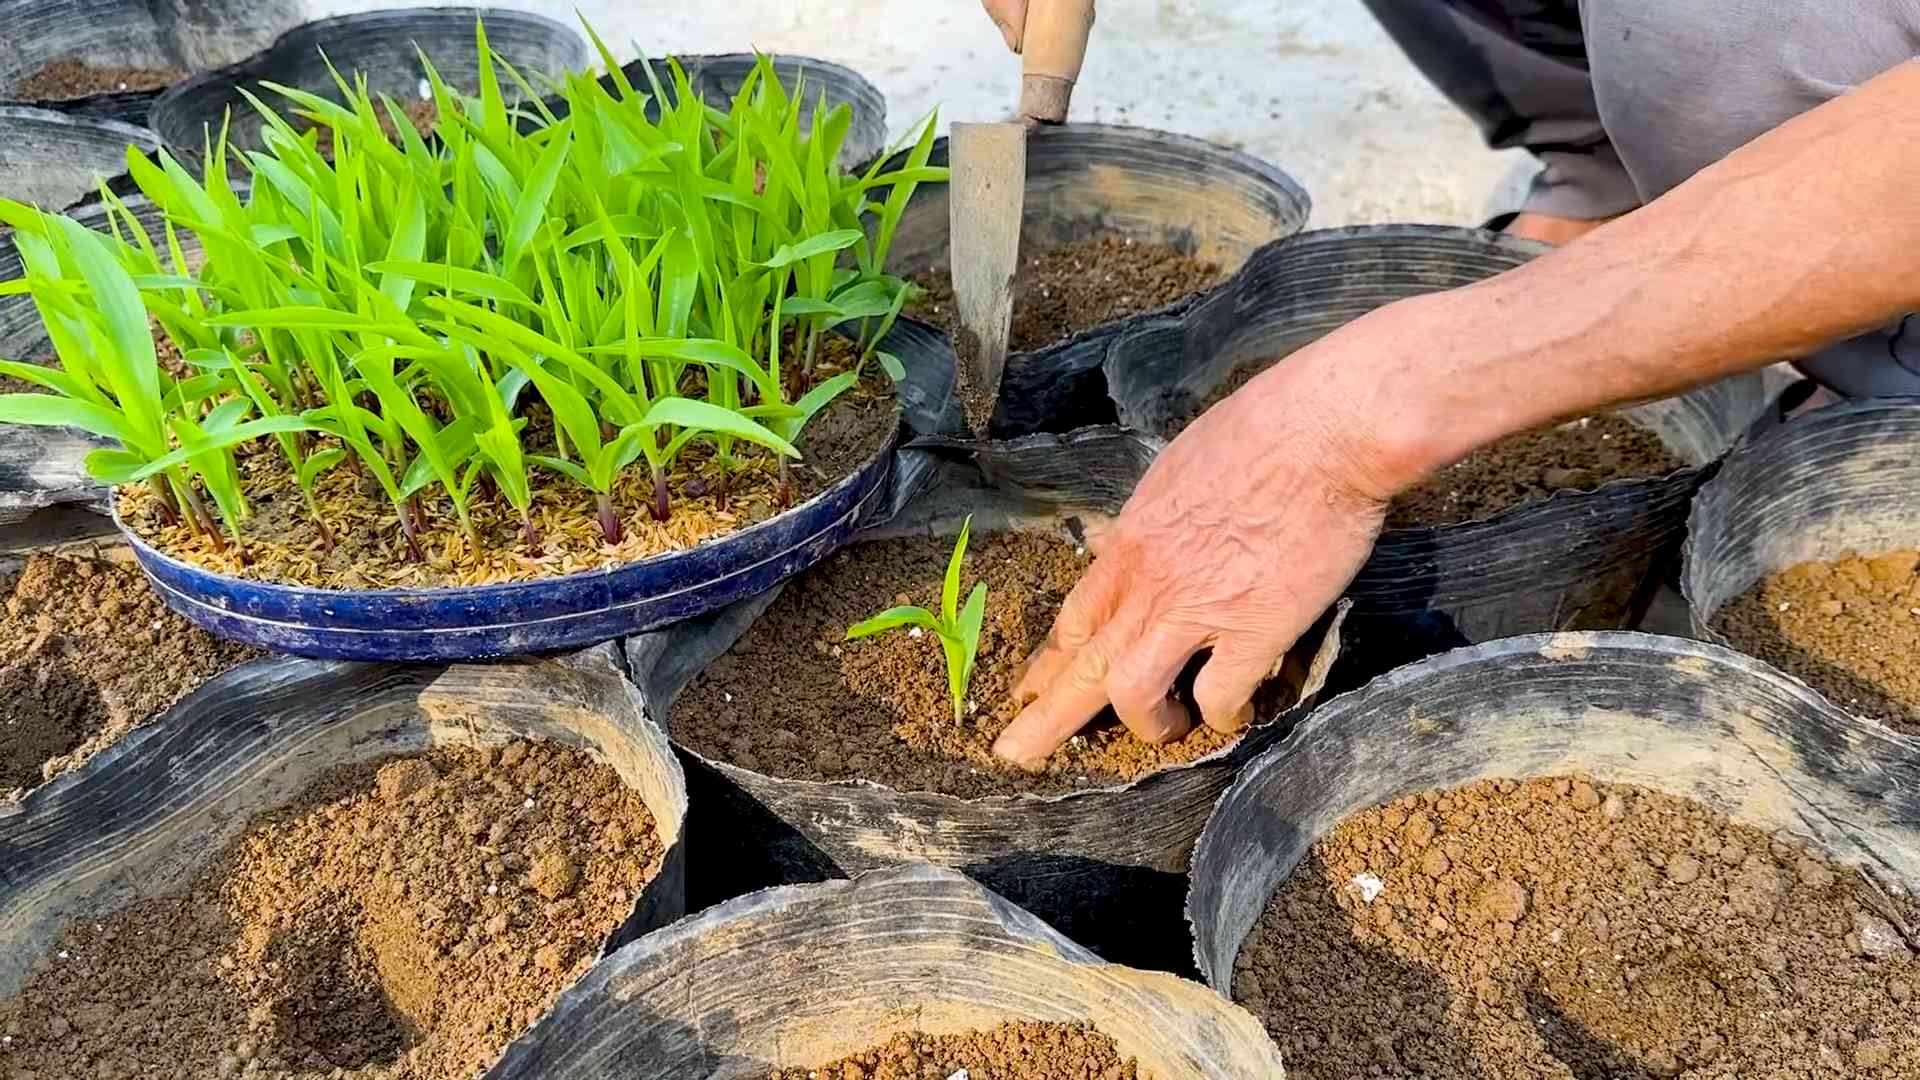
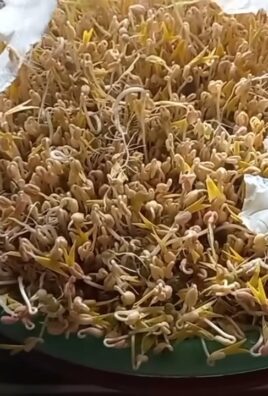
1. Sow the Seeds: Plant your corn seeds about 1 inch deep and 4-6 inches apart. I usually plant 3-4 seeds per container and then thin them out later, keeping the strongest seedling.
2. Cover with Soil: Cover the seeds with potting mix and gently pat down the soil.
3. Water Gently: Water the soil gently to avoid disturbing the seeds.
4. Label Your Containers: Label your containers with the corn variety and the date you planted them. This will help you keep track of your progress.
Caring for Your Corn Plants
Once your corn seeds have sprouted, it’s important to provide them with the care they need to thrive.
1. Water Regularly: Corn needs plenty of water, especially during hot weather. Water your plants deeply whenever the top inch of soil feels dry to the touch. Aim for early morning watering to minimize evaporation.
2. Fertilize Regularly: Corn is a heavy feeder, so you’ll need to fertilize it regularly. Apply a slow-release fertilizer according to the package directions. You can also supplement with liquid fertilizer every few weeks.
3. Thin Seedlings: Once your seedlings are a few inches tall, thin them out to one plant per container. Choose the strongest seedling and snip off the others at the soil line.
4. Provide Support: If you live in a windy area, you may need to stake your corn plants to prevent them from falling over. You can use bamboo stakes or a trellis to provide support.
5. Pollination: Corn is wind-pollinated, so you’ll need to help it along if you’re growing it in a confined space. When the tassels (the male flowers at the top of the plant) start to shed pollen, gently shake the plants to distribute the pollen to the silks (the female flowers that emerge from the ears of corn). You can also hand-pollinate by collecting pollen from the tassels with a small brush and applying it to the silks.
6. Watch for Pests and Diseases: Keep an eye out for pests and diseases. Common corn pests include corn earworms, aphids, and spider mites. Common corn diseases include rust and smut. Treat any problems promptly with appropriate organic pesticides or fungicides.
7. Mulch: Apply a layer of mulch around your corn plants to help retain moisture in the soil and suppress weeds.
Harvesting Your Corn
Harvesting your corn is the most rewarding part of the process!
1. Check for Ripeness: Corn is usually ready to harvest about 20-25 days after the silks emerge. The silks will turn brown and dry, and the ears will feel plump and full.
2. Test for Ripeness: To test for ripeness, peel back a small portion of the husk and puncture a kernel with your fingernail. If the liquid that comes out is milky, the corn is ready to harvest. If the liquid is clear, the corn needs more time to ripen.
3. Harvest the Ears: To harvest the ears, grasp them firmly and twist them downward. The ears should snap off easily.
4. Enjoy Your Harvest: Enjoy your fresh, homegrown corn! You can eat it right off the cob, grill it, or use it in your favorite recipes.
Troubleshooting
Even with the best planning, things can sometimes go wrong. Here are a few common problems you might encounter and how to fix them:
* Poor Germination: If your corn seeds don’t germinate, it could be due to several factors, such as cold soil, poor-quality seeds, or overwatering. Make sure the soil temperature is at least 60 degrees Fahrenheit before planting. Use fresh, high-quality seeds and avoid overwatering.
* Yellow Leaves: Yellow leaves can be a sign of nutrient deficiency. Make sure you’re fertilizing your corn plants regularly with a balanced fertilizer.
* Stunted Growth: Stunted growth can be caused by a variety of factors, such as poor soil, lack of water, or pests and diseases. Make sure your corn plants have well-draining soil, plenty of water, and are free from pests and diseases.
* Poor Pollination: If your corn ears are not filling out properly, it could be due to poor pollination. Hand-pollinate your corn plants to ensure that the silks are properly pollinated.
* Pests and Diseases: Keep an eye out for pests and diseases and treat any problems promptly with appropriate organic pesticides or fungicides.
Additional Tips for Rooftop Corn Growing
Here are a few extra tips to help you succeed with rooftop corn growing:
* Choose a Sunny Location: Corn needs at least 6-8 hours of sunlight per day, so choose a sunny location for your containers.
* Protect from Wind: If your rooftop is windy, protect your corn plants from the wind by placing them near a wall or fence. You can also use stakes or a trellis to provide support.
* Consider the Weight: Remember that containers filled with soil and water can be heavy, so make sure your rooftop can support the weight.
* Check Local Regulations: Before you start growing corn on your rooftop, check your local regulations to make sure it’s allowed.
* Succession
Conclusion
So, there you have it – a comprehensive guide to transforming your rooftop into a thriving cornfield! We’ve explored everything from selecting the right varieties to ensuring proper pollination, all within the unique environment of an elevated garden. But why should you even consider embarking on this slightly unconventional agricultural adventure?
Simply put, growing corn on your rooftop offers a unique blend of benefits. It’s a fantastic way to maximize space, especially if you’re living in an urban environment with limited or no yard. Imagine the satisfaction of harvesting your own fresh, sweet corn, knowing you nurtured it from seed to cob, right above your head! Beyond the fresh produce, rooftop gardening contributes to a greener environment, helps insulate your home, and provides a fascinating hobby.
This isn’t just about growing corn; it’s about embracing a sustainable lifestyle and connecting with nature in an unexpected way. The process itself is incredibly rewarding, offering a hands-on learning experience about plant life cycles, soil health, and the delicate balance of ecosystems. Plus, think of the bragging rights! You’ll be the talk of the neighborhood with your rooftop corn patch.
But the real magic lies in the taste. Freshly picked, homegrown corn surpasses anything you can find in a grocery store. The sweetness is unparalleled, the texture is perfect, and the flavor is simply bursting with sunshine. And let’s not forget the versatility of corn. From classic corn on the cob to creamy corn chowder, the culinary possibilities are endless.
Don’t be afraid to experiment with different varieties of corn to find what thrives best in your specific rooftop conditions. Consider adding companion plants like beans and squash to create a mini-ecosystem that benefits all three crops. You could even try succession planting, staggering your planting dates to ensure a continuous harvest throughout the growing season. For a fun twist, explore growing ornamental corn varieties for their beautiful colored kernels, adding a visual appeal to your rooftop garden.
We understand that rooftop gardening presents unique challenges, from weight limitations to wind exposure. But with careful planning, proper soil management, and a little bit of ingenuity, you can overcome these obstacles and create a flourishing rooftop corn garden. Remember to prioritize safety, ensuring your rooftop structure can handle the weight of the soil and plants, and always use appropriate safety measures when working at heights.
This DIY rooftop corn growing guide is more than just instructions; it’s an invitation. An invitation to connect with nature, to challenge yourself, and to experience the joy of growing your own food in an unexpected place. So, gather your supplies, choose your corn variety, and get ready to transform your rooftop into a corn-filled paradise.
We’re confident that you’ll find the experience incredibly rewarding. And we can’t wait to hear about your success! Share your photos, tips, and challenges with us in the comments below. Let’s build a community of rooftop corn growers and inspire others to embrace this unique and sustainable gardening practice. Let us know what kind of rooftop corn you grew!
Frequently Asked Questions (FAQ)
Q: Is my roof strong enough to support a corn garden?
A: This is the most crucial question to address before starting any rooftop garden. Consult with a qualified structural engineer or architect to assess your roof’s load-bearing capacity. They can determine the maximum weight your roof can safely support per square foot. Remember that soil, especially when wet, is heavy. Plan your garden accordingly, using lightweight containers and soil mixes if necessary. Consider spreading the weight evenly across the roof surface rather than concentrating it in one area. If your roof isn’t strong enough for traditional soil-based gardening, explore alternative options like hydroponics or aeroponics, which are significantly lighter.
Q: What kind of soil should I use for rooftop corn?
A: Drainage is key for rooftop gardens. Use a well-draining potting mix specifically designed for containers. Avoid using garden soil, as it can become compacted and heavy in containers, hindering drainage and root growth. Look for a mix that contains ingredients like peat moss, perlite, vermiculite, and compost. These components provide good drainage, aeration, and nutrient retention. You can also create your own mix by combining equal parts of these ingredients. Consider adding slow-release fertilizer to the mix to provide a steady supply of nutrients to your corn plants. Regularly amend the soil with compost to replenish nutrients and improve soil structure.
Q: How much sunlight does rooftop corn need?
A: Corn requires at least 6-8 hours of direct sunlight per day to thrive. Choose a location on your rooftop that receives ample sunlight throughout the growing season. If your rooftop is partially shaded, consider using reflective materials like white paint or aluminum foil to bounce sunlight onto your plants. You can also supplement natural sunlight with grow lights, especially during periods of cloudy weather. Monitor your plants closely for signs of insufficient sunlight, such as leggy growth or pale leaves.
Q: How often should I water my rooftop corn?
A: Rooftop gardens tend to dry out quickly due to wind and sun exposure. Water your corn plants regularly, especially during hot and dry weather. Check the soil moisture daily by sticking your finger into the soil. If the top inch feels dry, it’s time to water. Water deeply, ensuring that the water reaches the roots. Avoid overwatering, as this can lead to root rot. Consider using a drip irrigation system or soaker hoses to deliver water directly to the roots, minimizing water waste and reducing the risk of fungal diseases.
Q: How do I pollinate my rooftop corn?
A: Corn is wind-pollinated, meaning that pollen needs to be transferred from the tassels (male flowers) to the silks (female flowers) by the wind. In a rooftop garden, natural wind pollination may be limited. To ensure proper pollination, you can hand-pollinate your corn plants. Gently shake the tassels to release pollen, and then brush the pollen onto the silks. Repeat this process every day for several days to ensure that all the silks are pollinated. You can also collect pollen from the tassels in a container and then use a small brush to apply it to the silks.
Q: What are some common pests and diseases that affect rooftop corn?
A: Common pests that may affect rooftop corn include aphids, corn earworms, and spider mites. Regularly inspect your plants for signs of infestation and take appropriate action. You can use organic pest control methods like insecticidal soap, neem oil, or diatomaceous earth to control pests. Common diseases that may affect rooftop corn include rust and smut. Ensure good air circulation around your plants to prevent fungal diseases. Remove any infected leaves or plants promptly to prevent the spread of disease.
Q: How do I harvest my rooftop corn?
A: Corn is typically ready to harvest about 20-30 days after the silks emerge. The silks will turn brown and dry, and the kernels will be plump and milky. To check for ripeness, peel back a portion of the husk and puncture a kernel with your fingernail. If the liquid is milky, the corn is ready to harvest. If the liquid is clear, the corn needs more time to ripen. To harvest, grasp the ear firmly and twist it downward.
Q: Can I grow other vegetables alongside my rooftop corn?
A: Yes! Companion planting can be beneficial for rooftop corn. Beans and squash are excellent companions for corn, as they provide nitrogen to the soil and help suppress weeds. Other good companions include cucumbers, melons, and herbs like basil and oregano. Avoid planting tomatoes or brassicas (cabbage, broccoli, cauliflower) near corn, as they can compete for nutrients.
Q: What if I don’t have a lot of space on my rooftop?
A: Even with limited space, you can still grow corn on your rooftop. Choose dwarf or compact corn varieties that are specifically bred for container gardening. Use smaller containers and plant fewer plants per container. Consider vertical gardening techniques, such as trellising or stacking containers, to maximize space. You can also grow corn in raised beds or grow bags, which are lightweight and easy to move.
Leave a Comment