

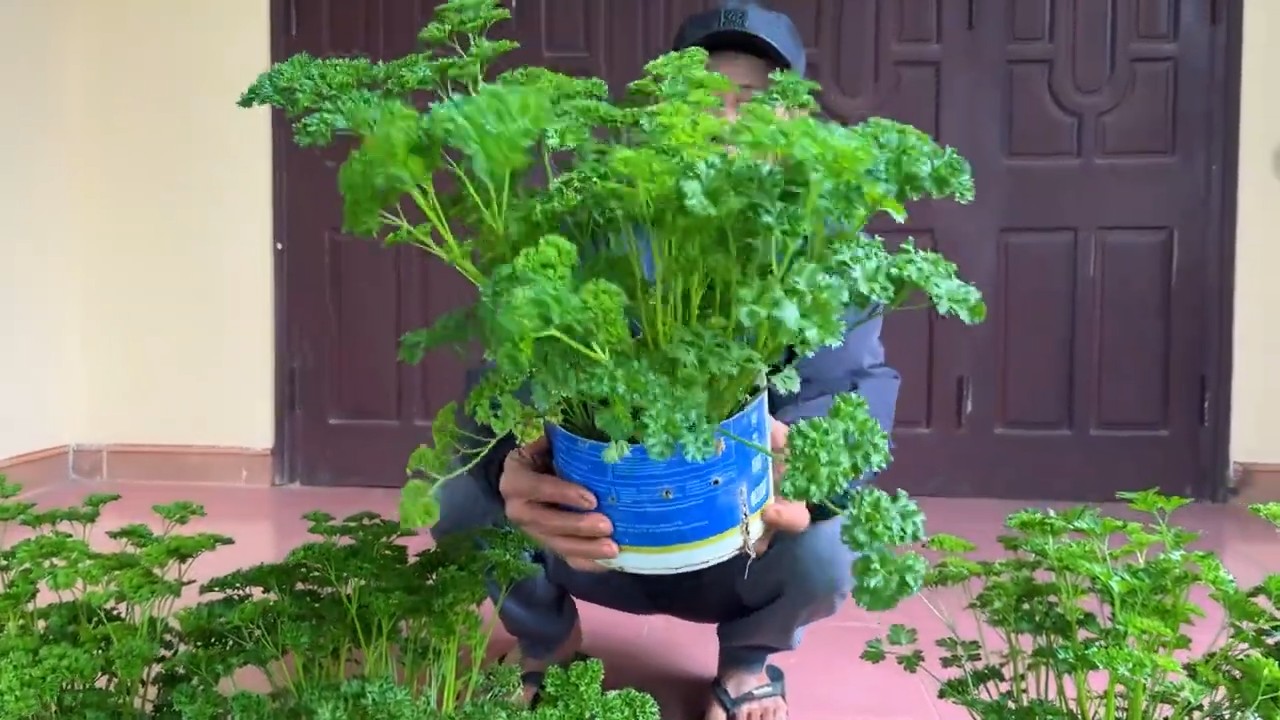
Grow parsley indoors and unlock a world of fresh, vibrant flavor right at your fingertips! Have you ever been mid-recipe, only to realize you’re missing that crucial sprig of parsley? Or perhaps you’re tired of buying bunches that wilt away in the fridge before you can use them? I know I have! That’s where the magic of indoor gardening comes in, and trust me, it’s easier than you think.
Parsley, a humble herb with a rich history, has been cultivated for centuries. The ancient Greeks and Romans revered it, not only for its culinary uses but also for its medicinal properties and symbolic significance. They even used it to crown victors in athletic competitions! While we might not be crowning anyone today, bringing this versatile herb into our homes allows us to connect with that history and enjoy its benefits year-round.
But why should you bother learning how to grow parsley indoors? Well, beyond the convenience of having fresh herbs on demand, it’s also a fantastic way to add a touch of green to your living space, boost your mood, and even reduce your carbon footprint by cutting down on trips to the grocery store. Plus, it’s a rewarding and surprisingly simple DIY project that anyone can tackle, regardless of their gardening experience. So, let’s dive in and discover the secrets to cultivating your own thriving indoor parsley patch!
Successfully Growing Parsley Indoors: Your Comprehensive DIY Guide
Hello, dear gardening friends! Are you also tired of wilted parsley from the supermarket? I’ll show you how you can easily grow fresh, aromatic parsley in your apartment. It’s easier than you think and brings a touch of spring into your kitchen – all year round!
What You Need: The Right Equipment for Your Indoor Parsley Garden
Before we get started, here is a list of the things you will need. Don’t worry, you probably have most of them at home already!
- Seeds: Choose high-quality parsley seeds. Flat-leaf parsley often germinates faster than curly-leaf parsley.
- Seedling pots or trays: Small pots or trays with drainage holes are ideal for starting.
- Potting soil: Use a high-quality, well-draining potting mix. Seed starting mix is optimal for germination.
- A larger pot: A pot with a diameter of at least 15 cm for later transplanting.
- Water: Room temperature water is best.
- Spray bottle: For moistening the soil.
- Grow light (optional): If you have little natural light, a grow light is a great investment.
- Fertilizer (optional): An organic liquid fertilizer for herbs.
Step-by-Step Guide: How to Grow Your Own Parsley
Here comes the detailed guide with which you are guaranteed success. I have described each step as precisely as possible so that even beginners can easily follow along.
1. Preparation: Soaking Seeds (Optional, but Recommended)
- Why soak? Parsley seeds can sometimes be slow to germinate. Soaking helps to speed up germination.
- How to do it: Place the seeds in a glass of lukewarm water for 24 hours. The water should completely cover the seeds.
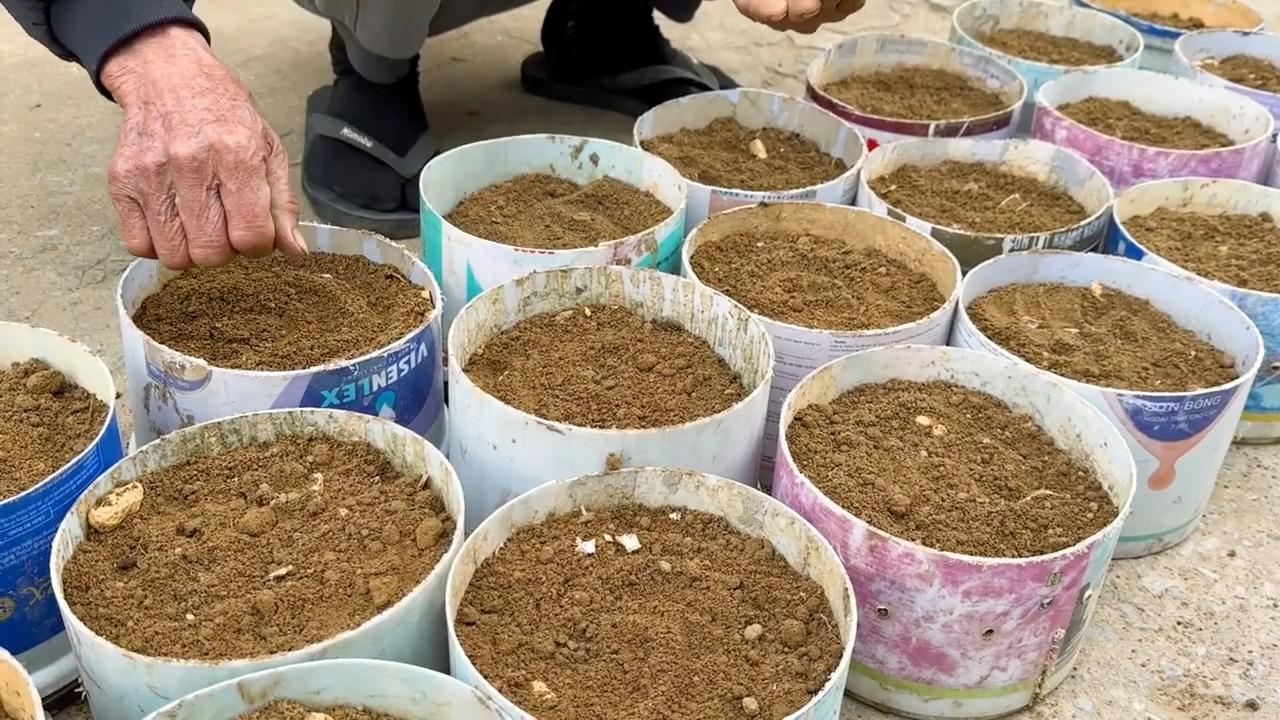
2. Sowing: The Foundation for Your Parsley Garden
- The right soil: Fill your seedling pots or trays with seed starting mix. Press the soil down lightly.
- Sow the seeds: Distribute the seeds evenly on the soil. Press them down lightly, but do not cover them too deeply. A thin layer of soil (about 0.5 cm) is sufficient.
- Moisten: Gently spray the soil with water until it is moist, but not wet.
- Cover (optional): Cover the pots with plastic wrap or a clear plastic dome. This creates a humid climate and speeds up germination. Don’t forget to ventilate regularly to prevent mold.
3. Germination: Patience is Required
- The right location: Place the pots in a warm, bright place. Direct sunlight is not yet necessary at this stage.
- Moisture: Keep the soil moist, but not wet. Spray it regularly with water.
- Waiting time: Parsley seeds need some time to germinate. Expect 2-4 weeks. Be patient!
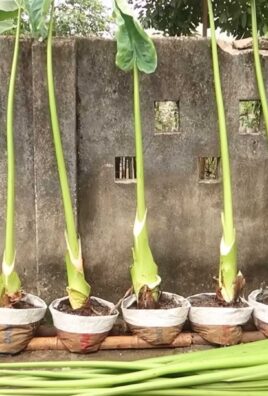
4. Transplanting: Giving the Small Plants More Space
- When to transplant? Once the seedlings have developed a few true leaves (not just the cotyledons), it’s time to transplant.
- Preparation: Fill the larger pot with potting soil.
- Transplanting: Carefully lift the seedlings out of the seedling pots. Be careful not to damage the roots. Place the seedlings in the larger pot and fill it with soil. Press the soil down lightly.
- Watering: Water the plants thoroughly after transplanting.
5. Care: Keeping Your Parsley Healthy and Strong
- The right location: Parsley needs a lot of light. Place the pot in a bright spot, e.g., on a windowsill. If you have little natural light, use a grow light.
- Watering: Water the parsley regularly, but avoid waterlogging. The soil should always be slightly moist.
- Fertilizing (optional): Fertilize the parsley every few weeks with an organic liquid fertilizer for herbs.
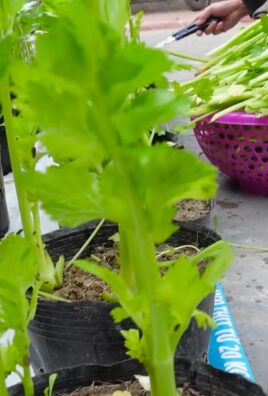
- Harvesting: Harvest the parsley regularly by cutting the outer leaves. This encourages the growth of new leaves.
- Remove flowers: When parsley bolts (flowers), the leaves become bitter. Remove the flower stalks to promote leaf production.
Additional Tips and Tricks for a Bountiful Harvest
Here are a few more tips that will help you take the best care of your parsley:
- Rotate the pot regularly: This ensures all sides of the plant get even light.
- Ventilation: Ensure good air circulation to prevent mold.
- Pests: Regularly check the plants for pests. If necessary, you can use organic pesticides.
- Overwintering: Parsley is a biennial. In the first year, it produces leaves; in the second year, it flowers and then dies. You can bring your parsley indoors in winter to protect it from frost.
Common Problems and Solutions
Problems can also arise when growing parsley. Here are some of the most common problems and how to solve them:
- Yellow leaves: Yellow leaves can be a sign of overwatering, nutrient deficiency, or too little light. Check your watering habits, fertilize the plant, and move it to a brighter location.
- Mold: Mold can be caused by too high humidity and lack of ventilation. Ensure good ventilation and reduce humidity.
- Pests: Aphids and other pests can infest parsley. Use organic pesticides or rinse the pests off with water.
The Harvest: Finally, Fresh Parsley!
- When to harvest? You can harvest the parsley as soon as the leaves are large enough.
- How to harvest? Cut the outer leaves with a pair of scissors. Leave the inner leaves in place so the plant can continue to grow.
- Use: Use the fresh parsley immediately or store it in the refrigerator. You can also freeze or dry it.
Conclusion: Your Own Herb Garden is Within Reach
With this guide, you should be able to successfully grow fresh parsley in your apartment. It’s a great feeling to harvest your own herbs and use them to flavor your dishes. Happy gardening! And remember: patience and proper care are the keys to success.
Conclusion
So, there you have it! Mastering the art of growing parsley indoors is not only achievable, but it’s also a game-changer for any home cook or gardening enthusiast. Imagine having fresh, vibrant parsley readily available, regardless of the season, to elevate your culinary creations. No more last-minute trips to the grocery store or settling for dried herbs that lack the punch of fresh flavor. This DIY trick empowers you to cultivate your own supply of this versatile herb, adding a touch of freshness and vibrancy to your dishes year-round.
But the benefits extend beyond mere convenience. Growing your own parsley indoors allows you to control the growing environment, ensuring that your herbs are free from harmful pesticides and chemicals. You’ll be able to nurture your plants with organic methods, resulting in healthier and more flavorful parsley. Plus, there’s a certain satisfaction that comes from watching your plants thrive under your care. It’s a rewarding experience that connects you to the natural world, even within the confines of your home.
Don’t be afraid to experiment with different varieties of parsley. Curly parsley is a classic choice, known for its decorative appeal and slightly peppery flavor. Flat-leaf parsley, also known as Italian parsley, boasts a more robust and intense flavor that’s perfect for sauces, soups, and salads. Try growing both varieties to discover your personal preference and expand your culinary horizons.
Consider using different types of containers to suit your space and aesthetic. Terracotta pots offer excellent drainage and a rustic charm, while self-watering planters can simplify the watering process. You can even repurpose old jars or containers to create a unique and eco-friendly herb garden.
To further enhance your indoor parsley growing experience, consider companion planting. Basil, tomatoes, and carrots are known to thrive alongside parsley, creating a mutually beneficial relationship. These companion plants can help deter pests, improve soil health, and enhance the overall flavor of your parsley.
We understand that embarking on a new gardening venture can be daunting, but we assure you that growing parsley indoors is a relatively simple and rewarding process. With a little patience, attention, and the right guidance, you’ll be harvesting your own fresh parsley in no time.
We wholeheartedly encourage you to give this DIY trick a try. It’s an investment in your culinary skills, your health, and your connection to nature. And most importantly, we want to hear about your experiences! Share your tips, successes, and challenges in the comments below. Let’s create a community of indoor parsley growers and learn from each other. Your insights could inspire others to embark on their own gardening journey. So, grab your seeds, pots, and potting mix, and get ready to experience the joy of growing parsley indoors. You won’t regret it!
Frequently Asked Questions (FAQ)
What kind of soil is best for growing parsley indoors?
Parsley thrives in well-draining soil that is rich in organic matter. A good potting mix specifically formulated for herbs or vegetables is ideal. You can also create your own mix by combining equal parts of potting soil, compost, and perlite or vermiculite. The compost provides essential nutrients, while the perlite or vermiculite improves drainage and aeration. Avoid using garden soil, as it can be too heavy and may contain pests or diseases.
How much sunlight does indoor parsley need?
Parsley requires at least 6-8 hours of direct sunlight per day to thrive. If you don’t have a sunny windowsill, you can supplement with a grow light. Place the grow light about 6-12 inches above the plants and keep it on for 12-14 hours per day. Rotate the plants regularly to ensure that all sides receive adequate light. Insufficient light can lead to leggy growth and reduced flavor.
How often should I water my indoor parsley?
Water your parsley when the top inch of soil feels dry to the touch. Avoid overwatering, as this can lead to root rot. Ensure that your pot has drainage holes to allow excess water to escape. Water deeply, until water drains out of the bottom of the pot. Reduce watering during the winter months when the plant’s growth slows down.
How do I fertilize my indoor parsley?
Parsley benefits from regular fertilization, especially during the growing season. Use a balanced liquid fertilizer diluted to half strength every 2-4 weeks. Alternatively, you can use a slow-release fertilizer at the time of planting. Avoid over-fertilizing, as this can burn the roots. Look for fertilizers specifically formulated for herbs or vegetables.
How do I harvest parsley from my indoor plant?
Harvest parsley by snipping off the outer stems near the base of the plant. This encourages new growth from the center. Avoid cutting more than one-third of the plant at a time. Regular harvesting will keep your parsley plant bushy and productive. You can use scissors or pruning shears to harvest the stems.
What are some common problems when growing parsley indoors?
Some common problems include yellowing leaves, leggy growth, and pest infestations. Yellowing leaves can be caused by overwatering, underwatering, or nutrient deficiencies. Leggy growth is usually a sign of insufficient light. Pests such as aphids and spider mites can be controlled with insecticidal soap or neem oil. Ensure good air circulation to prevent fungal diseases.
Can I grow parsley from seed indoors?
Yes, you can grow parsley from seed indoors. Start seeds 6-8 weeks before the last expected frost. Soak the seeds in water for 24 hours before planting to improve germination. Sow the seeds ¼ inch deep in a seed-starting mix. Keep the soil moist and warm (around 70-75°F). Germination can take up to 3 weeks. Once the seedlings have a few sets of true leaves, transplant them into individual pots.
How long does it take for parsley to grow indoors?
Parsley typically takes 70-90 days to mature from seed. However, you can start harvesting leaves as soon as the plant has reached a reasonable size. If you purchase a starter plant from a nursery, you can begin harvesting immediately.
Can I overwinter parsley indoors?
Yes, parsley can be overwintered indoors. Bring your outdoor parsley plant indoors before the first frost. Place it in a sunny location and provide adequate water and fertilizer. Parsley is a biennial plant, meaning it will flower and set seed in its second year. However, you can prolong its life by pinching off the flower buds.
Is parsley safe for pets?
Parsley is generally considered safe for pets in small quantities. However, large amounts can cause digestive upset. If you have pets that are prone to nibbling on plants, it’s best to keep your parsley plant out of their reach.

Leave a Comment