

DIY Carpet Cleaner: Are you tired of stubborn stains and lingering odors ruining the look and feel of your carpets? I know I am! Let’s face it, professional carpet cleaning can be expensive, and those store-bought solutions often leave behind a chemical smell that lingers for days. But what if I told you that you could achieve professional-quality results with ingredients you probably already have in your pantry?
For centuries, people have been experimenting with natural cleaning solutions, drawing upon the power of readily available ingredients like vinegar and baking soda. Think about it – our grandmothers didn’t have access to the array of commercial cleaners we do today, yet their homes were often spotless! They relied on simple, effective DIY methods, and we can too.
This article is your ultimate guide to creating your own powerful and eco-friendly DIY carpet cleaner. I’ll share my favorite recipes, tips, and tricks for tackling everything from pet stains to everyday spills. Not only will you save money and reduce your exposure to harsh chemicals, but you’ll also gain a sense of satisfaction knowing you’re creating a healthier and cleaner home for yourself and your loved ones. So, ditch the expensive cleaners and let’s get started on making your carpets look and smell amazing, naturally!
DIY Carpet Cleaner: Revive Your Rugs with Natural Ingredients!
Hey there, fellow DIY enthusiasts! Are your carpets looking a little… lackluster? Don’t rush out to buy expensive, chemical-laden cleaners just yet! I’m going to show you how to whip up your own powerful and eco-friendly carpet cleaner using ingredients you probably already have in your pantry. This method is not only budget-friendly but also safer for your family and pets. Let’s get started!
What You’ll Need: The Arsenal of Clean
Before we dive into the cleaning process, let’s gather our supplies. This is crucial for a smooth and efficient cleaning experience. Trust me, you don’t want to be running around searching for baking soda mid-scrub!
* **Baking Soda:** This is our workhorse! Baking soda is a natural deodorizer and helps to lift dirt and grime.
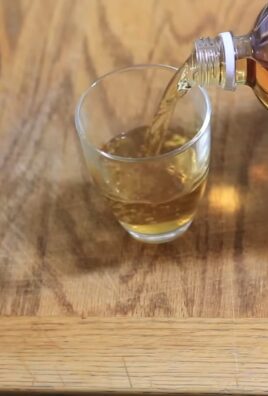
* **White Vinegar:** Vinegar acts as a disinfectant and helps to break down stains. Don’t worry about the smell; it dissipates as it dries.
* **Dish Soap (Clear, Mild):** A gentle dish soap helps to loosen stubborn stains. Avoid using anything with bleach or strong dyes. I recommend a clear, unscented variety.
* **Essential Oils (Optional):** For a fresh, clean scent, add a few drops of your favorite essential oil. Lavender, lemon, or tea tree oil are excellent choices.
* **Spray Bottle:** A sturdy spray bottle is essential for applying the cleaner evenly.
* **Vacuum Cleaner:** You’ll need a vacuum cleaner to remove loose dirt and debris before and after cleaning.
* **Scrub Brush or Sponge:** A scrub brush with stiff bristles or a durable sponge will help to work the cleaner into the carpet fibers.
* **Clean Cloths or Towels:** You’ll need these to blot up excess moisture and cleaner.
* **Bowl or Bucket:** For mixing the cleaning solution.
* **Warm Water:** To dilute the cleaning solution.
* **Rubber Gloves (Optional):** If you have sensitive skin, wearing rubber gloves is a good idea.
Mixing the Magic: Creating Your Carpet Cleaning Solution
Now that we have all our supplies, let’s create our carpet cleaning solution. I’ve experimented with different ratios, and this one seems to work best for most carpets.
1. **Combine Baking Soda and Water:** In your bowl or bucket, mix 1/2 cup of baking soda with 2 cups of warm water. Stir until the baking soda is mostly dissolved. It’s okay if there are a few small clumps.
2. **Add Vinegar:** Slowly add 1/4 cup of white vinegar to the mixture. Be prepared for a little fizzing – that’s the baking soda reacting with the vinegar.
3. **Add Dish Soap:** Add 1 tablespoon of clear, mild dish soap. Stir gently to combine. Avoid creating excessive suds.
4. **Add Essential Oils (Optional):** If you’re using essential oils, add 10-15 drops of your chosen oil to the mixture. Stir well.
5. **Transfer to Spray Bottle:** Carefully pour the cleaning solution into your spray bottle.
Prepping for Success: Preparing Your Carpet
Before you start spraying and scrubbing, it’s essential to prepare your carpet. This will ensure that the cleaning process is as effective as possible.
1. **Vacuum Thoroughly:** Vacuum the entire area you plan to clean. This will remove loose dirt, dust, and debris, allowing the cleaning solution to penetrate the carpet fibers more effectively. Pay special attention to high-traffic areas and edges.
2. **Spot Test:** Before applying the cleaner to the entire carpet, test it on a small, inconspicuous area to ensure it doesn’t discolor or damage the fibers. Apply a small amount of the solution to the test area, let it sit for a few minutes, and then blot it with a clean cloth. Check for any adverse reactions.
3. **Ventilate the Area:** Open windows and doors to provide good ventilation. This will help the carpet dry faster and prevent the buildup of odors.
The Cleaning Process: Bringing Your Carpet Back to Life
Alright, now for the fun part! Let’s get that carpet sparkling clean.
1. **Spray the Carpet:** Lightly spray the carpet with the cleaning solution, focusing on stained or high-traffic areas. Avoid oversaturating the carpet, as this can lead to mold growth. You want the carpet to be damp, not soaking wet.
2. **Let it Sit:** Allow the cleaning solution to sit on the carpet for 5-10 minutes. This will give the solution time to penetrate the fibers and break down dirt and stains.
3. **Scrub the Carpet:** Using your scrub brush or sponge, gently scrub the carpet in a circular motion. Focus on areas with visible stains or dirt. Be careful not to scrub too vigorously, as this can damage the carpet fibers.
4. **Blot with Clean Cloths:** Using clean cloths or towels, blot up the excess moisture and cleaning solution. Press firmly to absorb as much liquid as possible. Repeat this process with fresh cloths until the carpet is relatively dry.
5. **Rinse (Optional):** If you feel that the carpet is still soapy, you can rinse it with clean water. Lightly spray the carpet with water and then blot it dry with clean cloths.
6. **Allow to Dry:** Allow the carpet to air dry completely. This may take several hours or even overnight, depending on the humidity and ventilation. To speed up the drying process, you can use fans or a dehumidifier.
7. **Vacuum Again:** Once the carpet is completely dry, vacuum it thoroughly to remove any remaining residue and fluff up the fibers.
Tackling Tough Stains: A Deeper Dive
Sometimes, you’ll encounter stubborn stains that require a little extra attention. Here are some tips for dealing with common carpet stains:
* **Pet Stains:** For pet stains, blot up as much of the liquid as possible immediately. Then, saturate the area with the cleaning solution and let it sit for 15-20 minutes before scrubbing and blotting. You can also add a few drops of enzymatic cleaner to the solution for extra stain-fighting power.
* **Red Wine Stains:** Act fast! Blot up as much of the wine as possible with a clean cloth. Then, sprinkle the stain with baking soda and let it sit for several hours or overnight. Vacuum up the baking soda. If the stain persists, try using a mixture of hydrogen peroxide and water (test in an inconspicuous area first!).
* **Coffee Stains:** Blot up the coffee with a clean cloth. Then, apply the cleaning solution and let it sit for 5-10 minutes before scrubbing and blotting.
* **Grease Stains:** Sprinkle the stain with cornstarch or baking soda to absorb the grease. Let it sit for 30 minutes, then vacuum it up. Apply the cleaning solution and let it sit for 5-10 minutes before scrubbing and blotting.
Maintaining Your Clean Carpet: Prevention is Key
Once you’ve cleaned your carpet, you’ll want to keep it looking its best. Here are some tips for maintaining a clean carpet:
* **Vacuum Regularly:** Vacuum your carpet at least once a week, or more often in high-traffic areas.
* **Use Doormats:** Place doormats at all entrances to trap dirt and debris before they get tracked onto your carpet.
* **Remove Shoes:** Encourage family members and guests to remove their shoes before entering your home.
* **Clean Spills Immediately:** The sooner you clean up a spill, the easier it will be to remove the stain.
* **Professional Cleaning:** Consider having your carpets professionally cleaned once or twice a year to remove deep-seated dirt and grime.
Troubleshooting: Addressing Common Issues
Even with the best intentions, you might encounter some issues during the carpet cleaning process. Here are some common problems and how to address them:
* **Carpet is Still Dirty:** If your carpet is still dirty after cleaning, you may need to repeat the cleaning process. Make sure you’re using enough cleaning solution and scrubbing thoroughly.
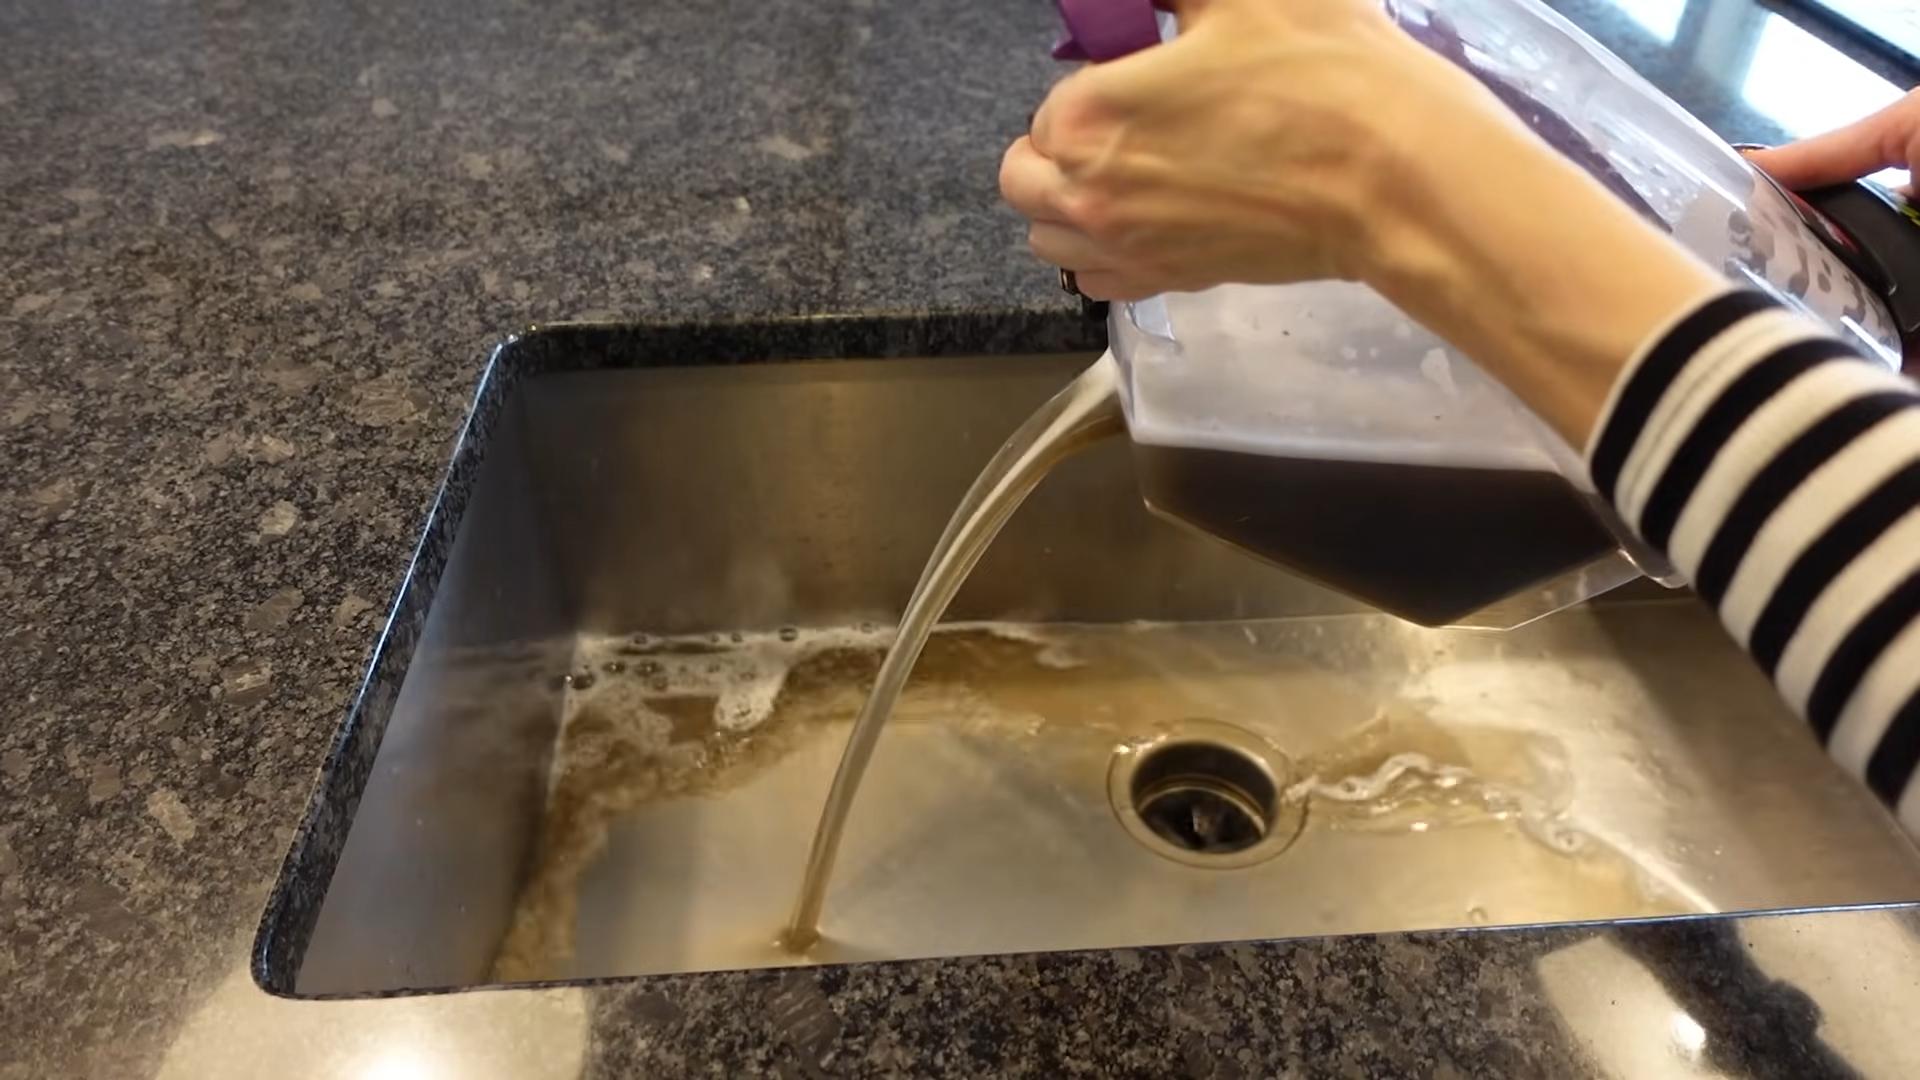
* **Carpet is Too Wet:** If your carpet is too wet, use a wet/dry vacuum to remove excess moisture. You can also use fans or a dehumidifier to speed up the drying process.
* **Carpet Has a Lingering Odor:** If your carpet has a lingering odor, sprinkle it with baking soda and let it sit for several hours or overnight. Vacuum up the baking soda. You can also use an odor-absorbing spray.
* **Carpet is Discolored:** If your carpet is discolored, it may be due to the cleaning solution or a pre-existing stain. Consult a professional carpet cleaner for advice.
Safety First: Important Precautions
While this DIY carpet cleaner is generally safe, it’s important to take some precautions:
* **Test in an Inconspicuous Area:** Always test the cleaning solution in a small, inconspicuous area before applying it to the entire carpet.
* **Avoid Over-Saturating the Carpet:** Over-saturating the carpet can lead to mold growth.
* **Ventilate the Area:** Provide
Conclusion
So, there you have it! This DIY carpet cleaner isn’t just a recipe; it’s a revolution in how you approach home cleaning. We’ve walked you through a simple, cost-effective, and environmentally friendly way to tackle those stubborn carpet stains and refresh your living spaces. Forget about harsh chemicals and expensive professional services – this method puts the power of clean right in your hands.
Why is this DIY carpet cleaner a must-try? Because it’s a game-changer. It’s not just about saving money (though that’s a definite perk!). It’s about knowing exactly what’s going onto your carpets, protecting your family and pets from potentially harmful ingredients, and contributing to a more sustainable lifestyle. Commercial carpet cleaners often contain volatile organic compounds (VOCs) that can linger in the air and cause respiratory issues. Our DIY solution avoids all of that, offering a safer and healthier alternative.
But the benefits don’t stop there. This DIY carpet cleaner is incredibly versatile. You can easily customize it to suit your specific needs and preferences. For a boost of freshness, add a few drops of your favorite essential oil, like lavender for a calming scent or lemon for an invigorating citrus burst. If you’re dealing with particularly tough stains, consider pre-treating the area with a paste of baking soda and water before applying the cleaner. For pet odors, a slightly stronger concentration of vinegar can work wonders.
Experiment with different ratios and ingredients to find the perfect formula for your carpets. Remember to always test a small, inconspicuous area first to ensure colorfastness.
We’ve shared our tried-and-true method, but we’re eager to hear about your experiences! Have you tried this DIY carpet cleaner? What variations did you use? What were your results? Share your tips, tricks, and success stories in the comments below. Let’s build a community of DIY cleaning enthusiasts and help each other create healthier, happier homes.
Don’t hesitate to adapt the recipe to your specific needs. For instance, if you have a wool carpet, you might want to reduce the amount of vinegar to prevent any potential damage. If you’re dealing with a particularly greasy stain, adding a small amount of dish soap can help break it down. The key is to experiment and find what works best for you.
We truly believe that this DIY carpet cleaner is a superior alternative to store-bought options. It’s not only effective and affordable but also empowers you to take control of your cleaning routine and create a healthier environment for yourself and your loved ones.
So, what are you waiting for? Gather your ingredients, grab your spray bottle, and get ready to transform your carpets. We’re confident that you’ll be amazed by the results. And remember, the best part about DIY is the satisfaction of knowing that you created something amazing with your own two hands.
We encourage you to try this DIY carpet cleaner and share your results with us. Let’s create a cleaner, healthier, and more sustainable world, one carpet at a time!
FAQ
What types of carpets can I use this DIY carpet cleaner on?
This DIY carpet cleaner is generally safe for most types of carpets, including synthetic fibers like nylon, polyester, and olefin. However, it’s always crucial to test a small, inconspicuous area first to ensure colorfastness, especially with delicate or natural fibers like wool or silk. For wool carpets, consider reducing the amount of vinegar in the recipe, as excessive acidity can potentially damage the fibers. If you’re unsure about your carpet type, consult the manufacturer’s instructions or a professional carpet cleaner.
How often can I use this DIY carpet cleaner?
The frequency of cleaning depends on the amount of traffic your carpets receive and the level of soiling. For high-traffic areas or homes with pets and children, you may need to clean your carpets more frequently, perhaps once a month. For less frequently used areas, cleaning every few months may suffice. Avoid over-cleaning, as excessive moisture can lead to mold growth. Always allow your carpets to dry completely after cleaning.
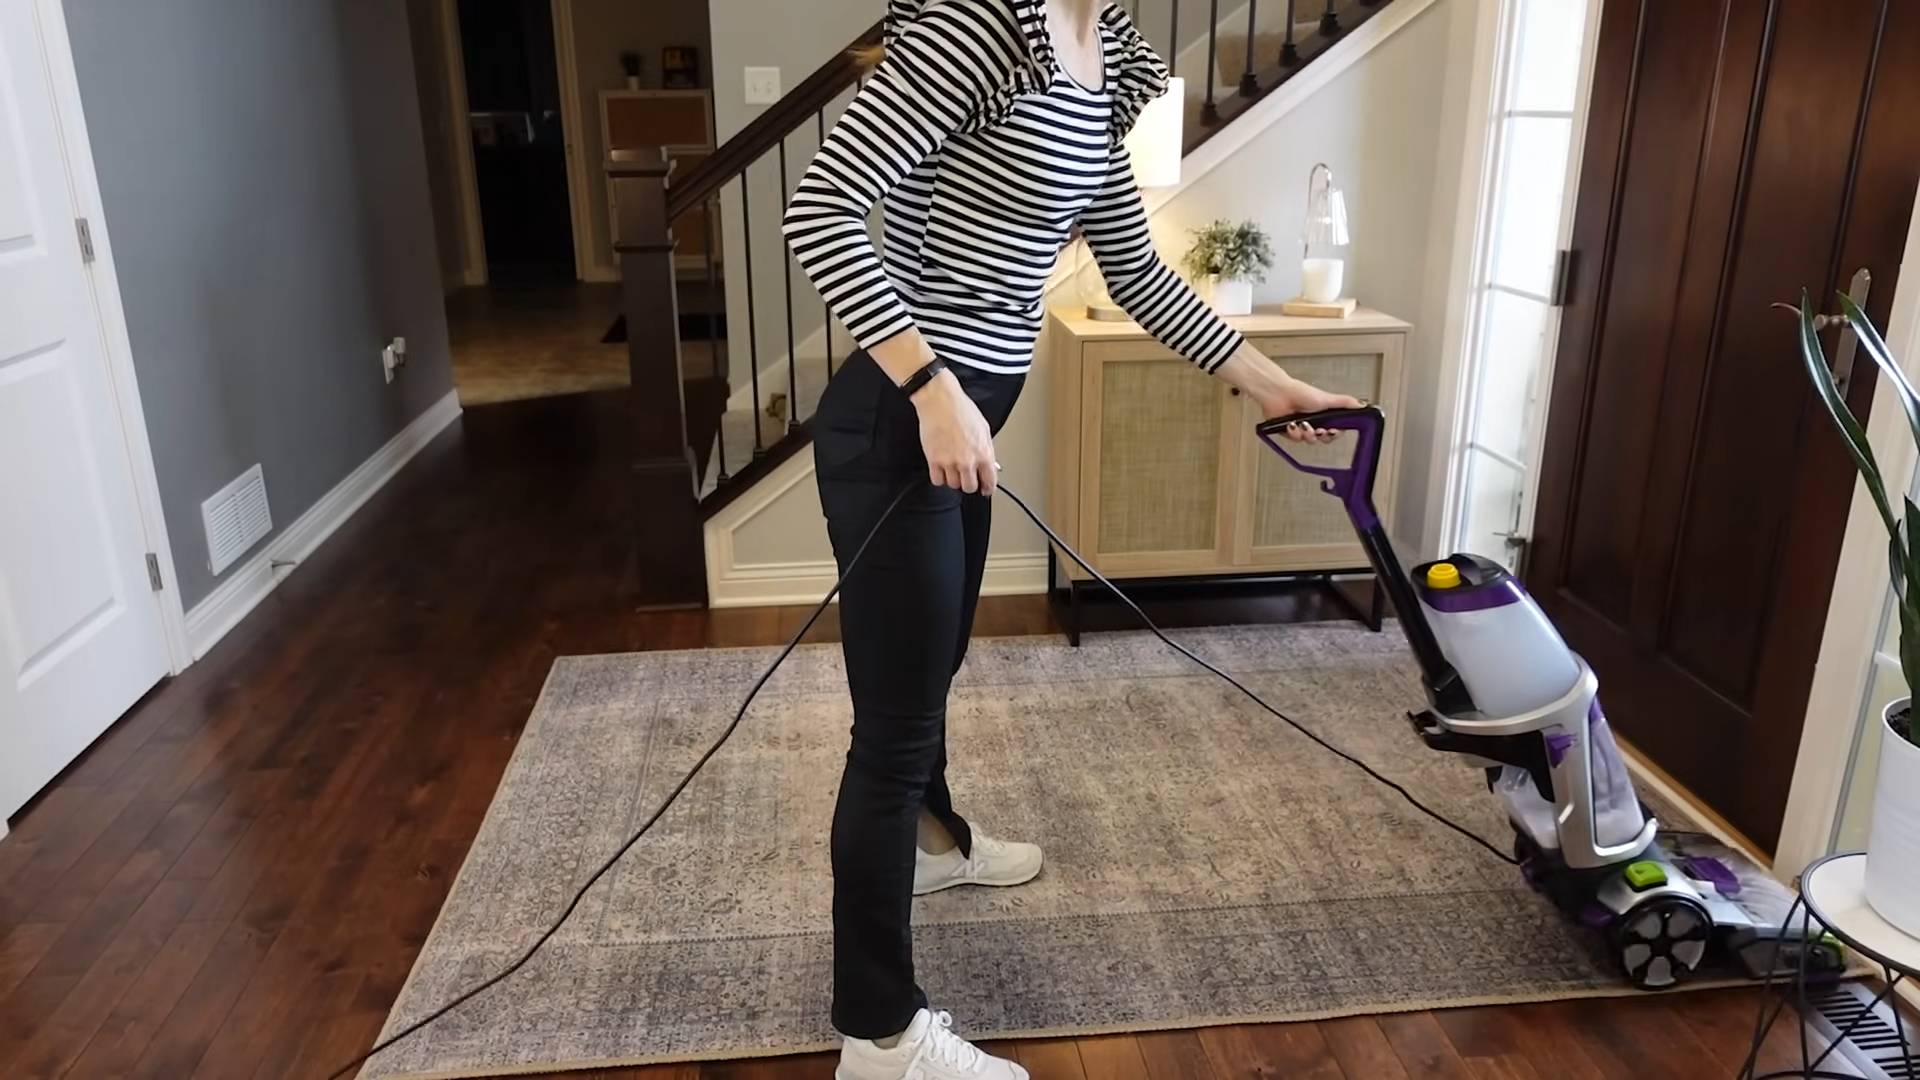
Can I use this DIY carpet cleaner in a carpet cleaning machine?
While this DIY carpet cleaner is primarily designed for spot cleaning and light overall cleaning, it can be used in some carpet cleaning machines. However, it’s essential to check your machine’s manufacturer’s instructions first. Some machines may not be compatible with homemade solutions or may require specific types of cleaners. If you decide to use it in a machine, dilute the solution further than you would for spot cleaning to prevent clogging. Also, be sure to rinse the machine thoroughly after use to remove any residue.
What if I don’t have all the ingredients listed?
The basic recipe calls for vinegar, baking soda, and water, which are the key ingredients for cleaning and deodorizing. However, you can make some substitutions if necessary. For example, if you don’t have white vinegar, you can use apple cider vinegar, although it may have a slightly stronger scent. If you don’t have baking soda, you can try using borax, but be cautious as it can be irritating to the skin and eyes. Essential oils are optional but add a pleasant fragrance and can provide additional cleaning benefits.
How do I deal with stubborn stains using this DIY carpet cleaner?
For stubborn stains, pre-treating the area is crucial. Create a paste of baking soda and water and apply it to the stain. Let it sit for at least 30 minutes, or even overnight for particularly tough stains. Then, vacuum up the dried paste before applying the DIY carpet cleaner. You can also try using a slightly stronger concentration of vinegar or adding a small amount of dish soap to the cleaner to help break down grease and grime. Gently blot the stain with a clean cloth, working from the outside in to prevent spreading. Avoid rubbing vigorously, as this can damage the carpet fibers.
How long does it take for the carpet to dry after using this DIY cleaner?
The drying time depends on several factors, including the amount of cleaner used, the humidity level, and the ventilation in the room. Generally, it takes anywhere from 2 to 6 hours for the carpet to dry completely. To speed up the drying process, you can use fans or open windows to improve air circulation. Avoid walking on the carpet until it is completely dry to prevent tracking dirt and re-soiling.
Is this DIY carpet cleaner safe for pets and children?
Yes, this DIY carpet cleaner is generally safe for pets and children, as it uses natural and non-toxic ingredients. However, it’s still important to exercise caution and keep pets and children away from the area while you’re cleaning. Avoid spraying the cleaner directly on pets or children, and ensure that the carpet is completely dry before allowing them to play on it. If you’re using essential oils, choose pet-safe options and use them sparingly, as some essential oils can be harmful to animals.
Can I use this cleaner on upholstery?
Yes, this DIY cleaner can be used on upholstery, but it’s even more important to test a small, inconspicuous area first, as upholstery fabrics can be more delicate than carpets. Use the cleaner sparingly and avoid saturating the fabric. Blot gently with a clean cloth and allow the upholstery to dry completely before using it. For delicate fabrics like silk or velvet, it’s best to consult a professional upholstery cleaner.
What essential oils are best to use in this DIY carpet cleaner?
Many essential oils can be used in this DIY carpet cleaner to add fragrance and provide additional cleaning benefits. Some popular options include lavender for its calming scent and antibacterial properties, lemon for its invigorating citrus scent and degreasing abilities, tea tree oil for its antiseptic and antifungal properties, and eucalyptus for its refreshing scent and ability to kill germs. Choose high-quality, pure essential oils and use them sparingly, typically a few drops per batch of cleaner. Always research the safety of essential oils before using them around pets and children.
How should I store the leftover DIY carpet cleaner?
Store any leftover DIY carpet cleaner in a clean, airtight spray bottle. Label the bottle clearly with the contents and date. Store it in a cool, dark place away from direct sunlight and heat. The cleaner should last for several weeks, but it’s best to use it within a month for optimal effectiveness. If you notice any changes in color, odor, or consistency, discard the cleaner.
Leave a Comment