

Whiten grout with peroxide? Absolutely! Are you tired of staring at dingy, discolored grout lines that make your otherwise sparkling clean tiles look, well, not so sparkling? I know I have been! It’s amazing how something so small can have such a big impact on the overall appearance of a room. For generations, homeowners have battled the bane of dirty grout, trying everything from harsh chemicals to endless scrubbing, often with disappointing results.
But fear not, my friend! There’s a simple, effective, and surprisingly gentle solution hiding in your medicine cabinet: hydrogen peroxide. This DIY trick isn’t just about aesthetics; clean grout also helps prevent the growth of mold and mildew, contributing to a healthier home environment. In this article, I’m going to share my tried-and-true method to whiten grout with peroxide, saving you time, money, and a whole lot of elbow grease. Get ready to transform your floors and walls with this easy-to-follow guide!
DIY Grout Whitening with Hydrogen Peroxide: A Sparkling Clean Guide
Hey there, fellow DIY enthusiasts! Tired of looking at dingy, discolored grout lines? I totally get it. It’s amazing how quickly grout can go from pristine white to a breeding ground for grime and mildew. But don’t despair! You don’t need to call in a professional or spend a fortune on harsh chemicals. I’m going to show you how to whiten your grout using a simple, effective, and relatively eco-friendly method: hydrogen peroxide.
This method is perfect for tackling mild to moderate grout discoloration. For really stubborn stains, you might need to repeat the process or try a stronger solution (which I’ll touch on later), but for most everyday grime, hydrogen peroxide is a fantastic option.
What You’ll Need
Before we dive in, let’s gather our supplies. Here’s a list of everything you’ll need to whiten your grout with hydrogen peroxide:
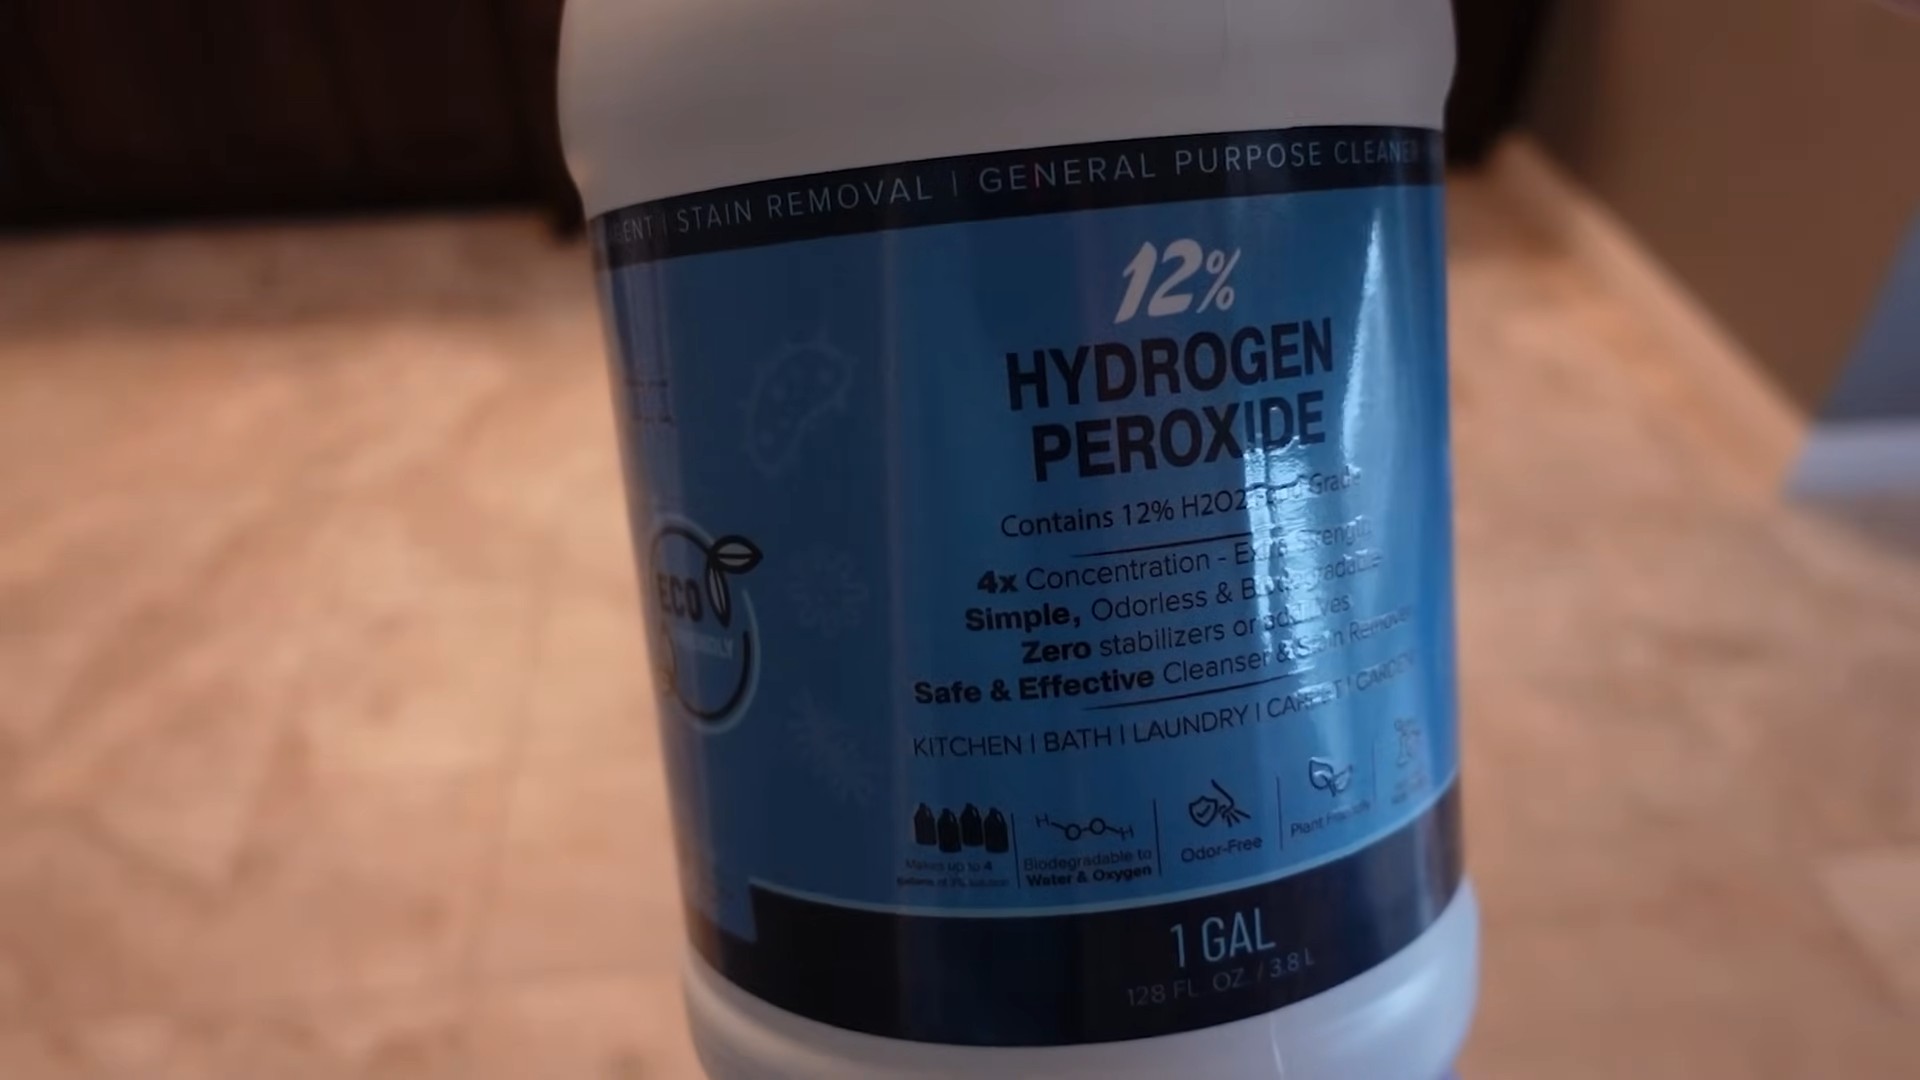
* **Hydrogen Peroxide (3%):** This is the standard concentration you’ll find at most drugstores. It’s gentle enough for most grout types but still packs a punch when it comes to whitening.
* **Baking Soda (Optional, but Recommended):** Baking soda acts as a mild abrasive and helps to create a paste that clings to the grout, giving the hydrogen peroxide more time to work its magic.
* **Spray Bottle:** For applying the hydrogen peroxide solution.
* **Small Bowl (If using baking soda):** For mixing the baking soda and hydrogen peroxide into a paste.
* **Old Toothbrush or Grout Brush:** This is your weapon of choice for scrubbing the grout lines. An old toothbrush works great for smaller areas, while a grout brush is ideal for larger surfaces.
* **Gloves:** Protect your hands from the hydrogen peroxide, especially if you have sensitive skin.
* **Eye Protection (Optional, but Recommended):** Just in case of splashes. Safety first!
* **Clean Cloth or Sponge:** For wiping away the excess solution and rinsing the grout.
* **Water:** For rinsing.
* **Ventilation:** Open a window or turn on a fan to ensure good ventilation in the area you’re working in.
Step-by-Step Instructions: Whitening Grout with Hydrogen Peroxide
Alright, let’s get down to business! Here’s the step-by-step guide to whitening your grout with hydrogen peroxide:
1. **Prepare the Area:** Before you start, sweep or vacuum the area you’ll be cleaning to remove any loose dirt or debris. This will help the hydrogen peroxide work more effectively.
2. **Choose Your Method: Spray or Paste:** You have two main options for applying the hydrogen peroxide:
* **Spray Method:** This is the simplest method. Pour the hydrogen peroxide directly into your spray bottle.
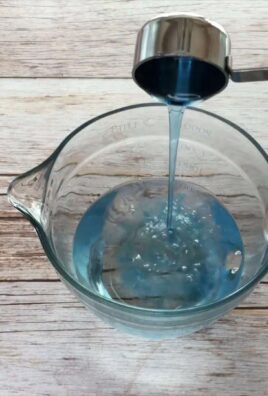
* **Paste Method (Recommended for Stubborn Stains):** In your small bowl, mix baking soda and hydrogen peroxide to form a thick paste. The consistency should be similar to toothpaste. I usually start with about 1/2 cup of baking soda and slowly add hydrogen peroxide until I get the right consistency.
3. **Apply the Hydrogen Peroxide:**
* **Spray Method:** Spray the hydrogen peroxide liberally onto the grout lines. Make sure to saturate the grout thoroughly.
* **Paste Method:** Using your fingers (with gloves on, of course!) or a small spatula, apply the baking soda and hydrogen peroxide paste directly onto the grout lines. Make sure to cover the entire surface of the grout.
4. **Let it Sit:** This is the crucial part! Give the hydrogen peroxide time to work its magic. Let it sit on the grout for at least 10-15 minutes. For heavily stained grout, you can let it sit for up to 30 minutes. The longer it sits, the better the results will be.
5. **Scrub the Grout:** After the soaking time, grab your old toothbrush or grout brush and start scrubbing! Use firm, circular motions to loosen the dirt and grime from the grout lines. You’ll likely see the solution start to turn a bit murky as it lifts the stains.
6. **Rinse Thoroughly:** Once you’ve scrubbed all the grout lines, it’s time to rinse. Use a clean cloth or sponge dampened with water to wipe away the excess solution and rinse the grout. You may need to rinse several times to remove all traces of the hydrogen peroxide and baking soda (if you used the paste method).
7. **Dry the Area:** After rinsing, use a clean, dry cloth to dry the area. This will help prevent water spots and allow you to see the full results of your cleaning.
8. **Repeat if Necessary:** If your grout is still stained after the first application, don’t worry! You can repeat the process as many times as needed to achieve the desired level of whiteness. For particularly stubborn stains, you might consider using a stronger solution (see below).
Dealing with Stubborn Stains
Sometimes, hydrogen peroxide alone isn’t enough to tackle really tough stains. If you’ve tried the above method and your grout is still looking dingy, here are a few options you can try:
* **Hydrogen Peroxide and Dish Soap:** Add a few drops of dish soap to your hydrogen peroxide solution. The dish soap will help to break down grease and grime, making it easier to remove stubborn stains.
* **Baking Soda and Vinegar:** This is a classic cleaning combination! Make a paste of baking soda and vinegar and apply it to the grout lines. Let it fizz for a few minutes, then scrub and rinse as usual. Be careful when mixing baking soda and vinegar, as it can create a strong reaction.
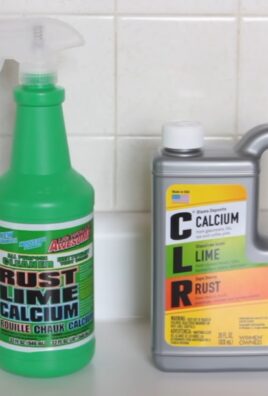
* **Commercial Grout Cleaners:** If all else fails, you can try using a commercial grout cleaner. Be sure to read the instructions carefully and test the cleaner in an inconspicuous area first to make sure it doesn’t damage your grout or tiles.
Important Considerations and Tips
* **Test in an Inconspicuous Area:** Before you start cleaning your entire grout surface, it’s always a good idea to test the hydrogen peroxide in a small, inconspicuous area to make sure it doesn’t damage your grout or tiles.
* **Grout Sealer:** After you’ve cleaned and whitened your grout, consider applying a grout sealer. This will help to protect your grout from future stains and make it easier to clean.
* **Preventative Measures:** The best way to keep your grout clean is to prevent stains from happening in the first place. Wipe up spills immediately and clean your grout regularly with a mild cleaner.
Hey there, fellow DIY enthusiasts! Tired of looking at dingy, discolored grout lines? I totally get it. It’s amazing how quickly grout can go from pristine white to a breeding ground for grime and mildew. But don’t despair! You don’t need to call in a professional or spend a fortune on harsh chemicals. I’m going to show you how to whiten your grout using a simple, effective, and relatively eco-friendly method: hydrogen peroxide.
This method is perfect for tackling mild to moderate grout discoloration. For really stubborn stains, you might need to repeat the process or try a stronger solution (which I’ll touch on later), but for most everyday grime, hydrogen peroxide is a fantastic option.
What You’ll Need
Before we dive in, let’s gather our supplies. Here’s a list of everything you’ll need to whiten your grout with hydrogen peroxide:
* **Hydrogen Peroxide (3%):** This is the standard concentration you’ll find at most drugstores. It’s gentle enough for most grout types but still packs a punch when it comes to whitening.
* **Baking Soda (Optional, but Recommended):** Baking soda acts as a mild abrasive and helps to create a paste that clings to the grout, giving the hydrogen peroxide more time to work its magic.
* **Spray Bottle:** For applying the hydrogen peroxide solution.
* **Small Bowl (If using baking soda):** For mixing the baking soda and hydrogen peroxide into a paste.
* **Old Toothbrush or Grout Brush:** This is your weapon of choice for scrubbing the grout lines. An old toothbrush works great for smaller areas, while a grout brush is ideal for larger surfaces.
* **Gloves:** Protect your hands from the hydrogen peroxide, especially if you have sensitive skin.
* **Eye Protection (Optional, but Recommended):** Just in case of splashes. Safety first!
* **Clean Cloth or Sponge:** For wiping away the excess solution and rinsing the grout.
* **Water:** For rinsing.
* **Ventilation:** Open a window or turn on a fan to ensure good ventilation in the area you’re working in.
Step-by-Step Instructions: Whitening Grout with Hydrogen Peroxide
Alright, let’s get down to business! Here’s the step-by-step guide to whitening your grout with hydrogen peroxide:
1. **Prepare the Area:** Before you start, sweep or vacuum the area you’ll be cleaning to remove any loose dirt or debris. This will help the hydrogen peroxide work more effectively.
2. **Choose Your Method: Spray or Paste:** You have two main options for applying the hydrogen peroxide:
* **Spray Method:** This is the simplest method. Pour the hydrogen peroxide directly into your spray bottle.
* **Paste Method (Recommended for Stubborn Stains):** In your small bowl, mix baking soda and hydrogen peroxide to form a thick paste. The consistency should be similar to toothpaste. I usually start with about 1/2 cup of baking soda and slowly add hydrogen peroxide until I get the right consistency.
3. **Apply the Hydrogen Peroxide:**
* **Spray Method:** Spray the hydrogen peroxide liberally onto the grout lines. Make sure to saturate the grout thoroughly.
* **Paste Method:** Using your fingers (with gloves on, of course!) or a small spatula, apply the baking soda and hydrogen peroxide paste directly onto the grout lines. Make sure to cover the entire surface of the grout.
4. **Let it Sit:** This is the crucial part! Give the hydrogen peroxide time to work its magic. Let it sit on the grout for at least 10-15 minutes. For heavily stained grout, you can let it sit for up to 30 minutes. The longer it sits, the better the results will be.
5. **Scrub the Grout:** After the soaking time, grab your old toothbrush or grout brush and start scrubbing! Use firm, circular motions to loosen the dirt and grime from the grout lines. You’ll likely see the solution start to turn a bit murky as it lifts the stains.
6. **Rinse Thoroughly:** Once you’ve scrubbed all the grout lines, it’s time to rinse. Use a clean cloth or sponge dampened with water to wipe away the excess solution and rinse the grout. You may need to rinse several times to remove all traces of the hydrogen peroxide and baking soda (if you used the paste method).
7. **Dry the Area:** After rinsing, use a clean, dry cloth to dry the area. This will help prevent water spots and allow you to see the full results of your cleaning.
8. **Repeat if Necessary:** If your grout is still stained after the first application, don’t worry! You can repeat the process as many times as needed to achieve the desired level of whiteness. For particularly stubborn stains, you might consider using a stronger solution (see below).
Dealing with Stubborn Stains
Sometimes, hydrogen peroxide alone isn’t enough to tackle really tough stains. If you’ve tried the above method and your grout is still looking dingy, here are a few options you can try:
* **Hydrogen Peroxide and Dish Soap:** Add a few drops of dish soap to your hydrogen peroxide solution. The dish soap will help to break down grease and grime, making it easier to remove stubborn stains.
* **Baking Soda and Vinegar:** This is a classic cleaning combination! Make a paste of baking soda and vinegar and apply it to the grout lines. Let it fizz for a few minutes, then scrub and rinse as usual. Be careful when mixing baking soda and vinegar, as it can create a strong reaction.
* **Commercial Grout Cleaners:** If all else fails, you can try using a commercial grout cleaner. Be sure to read the instructions carefully and test the cleaner in an inconspicuous area first to make sure it doesn’t damage your grout or tiles.
Important Considerations and Tips
* **Test in an Inconspicuous Area:** Before you start cleaning your entire grout surface, it’s always a good idea to test the hydrogen peroxide in a small, inconspicuous area to make sure it doesn’t damage your grout or tiles.
* **Grout Sealer:** After you’ve cleaned and whitened your grout, consider applying a grout sealer. This will help to protect your grout from future stains and make it easier to clean.
* **Preventative Measures:** The best way to keep your grout clean is to prevent stains from happening in the first place. Wipe up spills immediately and clean your grout regularly with a mild cleaner.
* **Colored Grout:** While this method is generally safe for white or light-colored grout, it’s not recommended for colored grout, as the hydrogen peroxide may cause fading.
* **Ventilation is Key:** Always ensure proper ventilation when working with hydrogen peroxide or any cleaning chemicals. Open a window or turn on a fan to avoid inhaling fumes.
* **Be Patient:** Whitening grout can take time and effort, especially if it’s heavily stained. Don’t get discouraged if you don’t see results immediately. Keep at it, and you’ll eventually achieve the sparkling clean grout you’ve been dreaming of!
I hope this guide has been helpful! With a little elbow grease and the power of hydrogen peroxide, you can easily transform your dingy grout into a bright and beautiful surface. Happy cleaning!
Conclusion
So, there you have it! A simple, effective, and budget-friendly way to tackle dingy, stained grout and bring back that sparkling clean look to your tiled surfaces. This DIY grout whitening trick using peroxide is more than just a cleaning hack; it’s a way to revitalize your home and boost your sense of accomplishment. Forget spending a fortune on harsh chemicals or professional cleaning services. With just a few readily available ingredients and a little elbow grease, you can achieve professional-looking results.
Why is this a must-try? Because it works! Peroxide’s natural bleaching action gently lifts stains and discoloration without damaging your grout or exposing you to harmful fumes. It’s a safer and more sustainable alternative to many commercial grout cleaners, making it a win-win for your home and the environment. Plus, the satisfaction of seeing that grime disappear before your eyes is incredibly rewarding.
Looking to customize your grout whitening experience? Consider these variations:
* For stubborn stains: Create a thicker paste by mixing the peroxide with baking soda. This will allow the mixture to cling to the grout longer, providing more contact time for the peroxide to work its magic.
* Adding a scent: A few drops of your favorite essential oil, like lemon or tea tree, can add a refreshing fragrance to your cleaning routine. Just be sure to choose an oil that’s safe for use on surfaces and won’t cause discoloration.
* Color Grout Considerations: If you have colored grout, test the peroxide mixture on an inconspicuous area first to ensure it doesn’t affect the color. Diluting the peroxide with water might be necessary for more delicate grout.
We’re confident that this DIY grout whitening method will become your go-to solution for keeping your tiled surfaces looking their best. It’s a game-changer for bathrooms, kitchens, and any other area where grout tends to accumulate dirt and grime.
Now, it’s your turn! We encourage you to try this simple yet effective DIY grout whitening trick using peroxide and see the amazing results for yourself. Don’t be afraid to experiment with the variations and find what works best for your specific needs.
Most importantly, we want to hear about your experience! Share your before-and-after photos, tips, and tricks in the comments below. Let’s create a community of sparkling clean homes and empower each other to tackle those everyday cleaning challenges with confidence. Your feedback will not only help other readers but also inspire us to continue sharing valuable DIY solutions. So, grab your peroxide, gather your supplies, and get ready to transform your grout from drab to fab! Let the whitening begin!
FAQ
What type of peroxide should I use for whitening grout?
The most commonly recommended type of peroxide for whitening grout is 3% hydrogen peroxide, which is the standard concentration available at most drugstores and supermarkets. This concentration is effective for lifting stains and discoloration without being too harsh on the grout itself. Higher concentrations of hydrogen peroxide can be more potent but also carry a greater risk of damaging the grout or causing skin irritation. Always wear gloves when handling peroxide, regardless of the concentration. If you are considering using a higher concentration, test it on a small, inconspicuous area of grout first to ensure it doesn’t cause any adverse effects.
How long should I leave the peroxide on the grout?
The ideal dwell time for peroxide on grout depends on the severity of the staining. For lightly stained grout, 10-15 minutes may be sufficient. For more heavily stained grout, you can leave the peroxide on for up to 30 minutes. However, it’s crucial to monitor the grout during this time. If you notice any signs of damage or discoloration, rinse the peroxide off immediately. Avoid leaving the peroxide on for extended periods (more than 30 minutes) as this could potentially weaken the grout over time. After the dwell time, scrub the grout with a brush and rinse thoroughly with water.
Can I use baking soda with peroxide to whiten grout?
Yes, combining baking soda with peroxide can create a more effective cleaning paste for stubborn grout stains. Baking soda acts as a mild abrasive, helping to scrub away dirt and grime, while the peroxide provides its bleaching action. To make the paste, mix equal parts baking soda and 3% hydrogen peroxide until you achieve a thick, spreadable consistency. Apply the paste to the grout lines, let it sit for 10-15 minutes, scrub with a brush, and rinse thoroughly with water. This combination is particularly useful for tackling deeply embedded stains and discoloration.
Is peroxide safe to use on all types of grout?
While peroxide is generally safe for most types of grout, it’s always a good idea to test it on an inconspicuous area first, especially if you have colored grout. Peroxide has bleaching properties, and while it’s usually gentle, it could potentially lighten or discolor colored grout. If you’re concerned about color changes, dilute the peroxide with water before applying it to the grout. For epoxy grout, which is more resistant to staining and chemicals, peroxide is generally safe to use. However, always follow the manufacturer’s recommendations for cleaning epoxy grout.
What kind of brush should I use to scrub the grout?
The best type of brush for scrubbing grout is a stiff-bristled brush with a narrow head. A toothbrush is a popular and effective option for smaller areas and tight grout lines. You can also find specialized grout brushes at most hardware stores, which are designed with angled bristles to reach into the grout lines more easily. Avoid using metal brushes or abrasive scrub pads, as these can scratch or damage the grout. When scrubbing, apply firm but gentle pressure to avoid damaging the grout or tiles.
How often should I whiten my grout with peroxide?
The frequency of grout whitening depends on several factors, including the amount of foot traffic, the level of humidity, and the type of grout you have. In general, whitening your grout every 3-6 months is a good guideline. However, if you notice stains or discoloration appearing more frequently, you may need to whiten it more often. Regular cleaning with a mild detergent and water can help prevent stains from setting in and reduce the need for frequent whitening.
What safety precautions should I take when using peroxide?
When using peroxide, it’s essential to take certain safety precautions to protect yourself and your surfaces. Always wear gloves to prevent skin irritation. Peroxide can cause temporary whitening or stinging if it comes into contact with your skin. Avoid getting peroxide in your eyes. If contact occurs, rinse immediately with plenty of water. Work in a well-ventilated area to avoid inhaling any fumes. Keep peroxide out of reach of children and pets. Store peroxide in a cool, dark place, away from direct sunlight and heat.
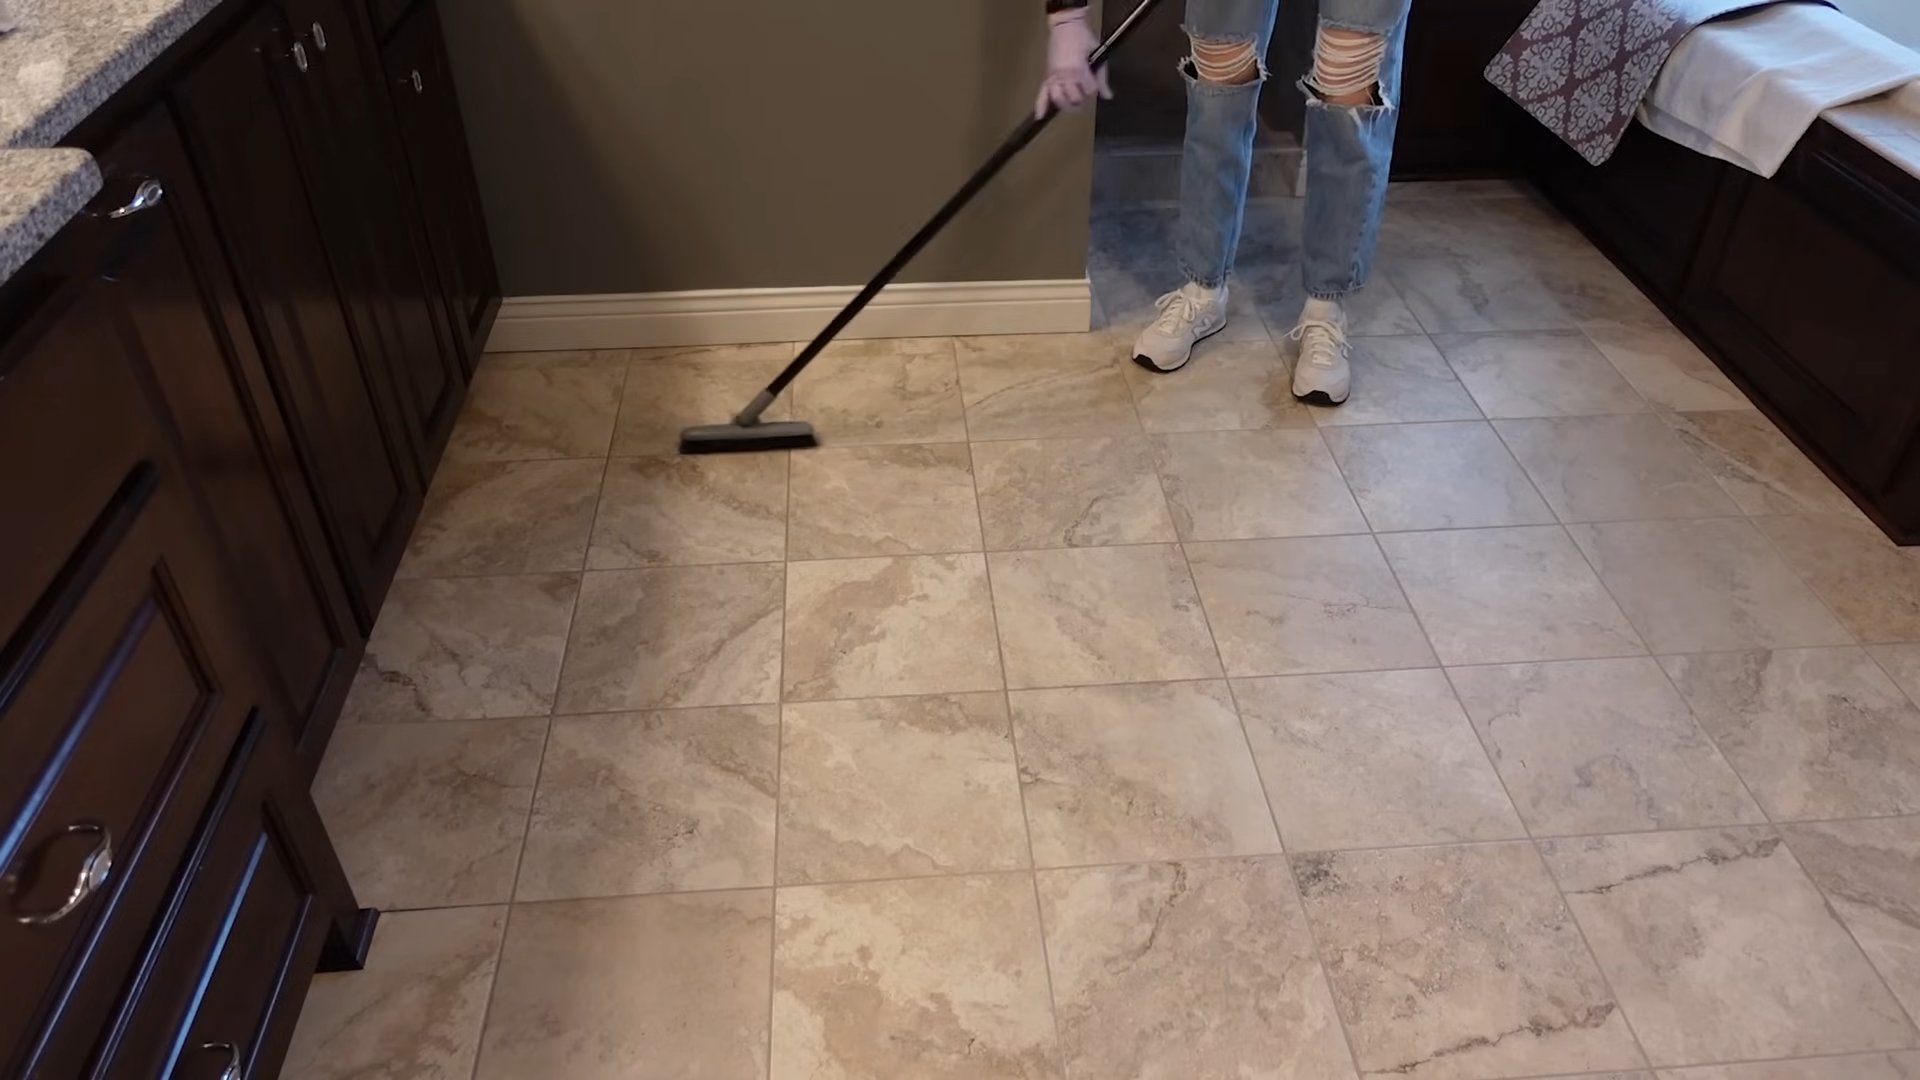
Can I use peroxide to whiten grout on floors?
Yes, you can use peroxide to whiten grout on floors. The process is the same as for walls or countertops. Apply the peroxide (or peroxide and baking soda paste) to the grout lines, let it sit for the recommended time, scrub with a brush, and rinse thoroughly with water. When working on floors, it’s helpful to work in small sections to prevent the peroxide from drying out before you have a chance to scrub it. Be sure to dry the floor thoroughly after rinsing to prevent water spots or mildew growth.
Will peroxide damage my tiles?
Peroxide is generally safe for most types of tiles, including ceramic, porcelain, and glass. However, it’s always a good idea to test it on an inconspicuous area first to ensure it doesn’t cause any discoloration or damage. Avoid using peroxide on natural stone tiles, such as marble or granite, as it can etch or damage the surface. For natural stone tiles, use a pH-neutral cleaner specifically designed for stone.
What are some alternative methods for whitening grout?
While peroxide is an effective and popular method for whitening grout, there are several alternative options you can try. These include:
* Vinegar and baking soda: Mix vinegar and baking soda to create a fizzing paste, apply to grout, scrub, and rinse.
* Commercial grout cleaners: Many commercial grout cleaners are available at hardware stores and supermarkets. Follow the manufacturer’s instructions carefully.
* Steam cleaning: Steam cleaners can effectively remove dirt and grime from grout without the use of chemicals.
* Grout pens: Grout pens are a quick and easy way to cover up stained or discolored grout lines.
* Re-grouting: If your grout is severely damaged or stained, you may need to remove the old grout and replace it with new grout.
Leave a Comment