

Growing Rutabagas and Swedes might sound like a challenge reserved for seasoned gardeners, but trust me, it’s easier than you think! Have you ever dreamt of pulling your own vibrant, earthy root vegetables straight from your backyard, ready to roast, mash, or add a unique twist to your favorite soups? This DIY guide will unlock the secrets to cultivating these often-overlooked gems, even if you’re a complete beginner.
Rutabagas and Swedes, both members of the Brassica family, have a rich history, particularly in Northern Europe where they’ve been a staple for centuries. They were often crucial during times of scarcity, providing essential nutrients and sustenance. Think of them as the unsung heroes of the vegetable world!
In today’s world, where we’re increasingly conscious of where our food comes from, growing Rutabagas and Swedes at home offers a fantastic way to connect with nature, reduce your carbon footprint, and enjoy fresh, flavorful produce. Plus, let’s be honest, there’s a certain satisfaction in nurturing a tiny seed into a hearty vegetable. I’m here to guide you through every step, from seed selection to harvest, with simple, actionable tips and tricks that will have you enjoying your own homegrown Rutabagas and Swedes in no time. Let’s get our hands dirty!
Growing Rutabagas and Swedes: A DIY Guide to Root Vegetable Success
Okay, so you want to grow your own rutabagas and swedes? Awesome! These often-overlooked root vegetables are surprisingly easy to cultivate and offer a delicious, earthy flavor to your winter meals. I’ve grown them for years, and I’m excited to share my tips and tricks with you. Let’s get started!
Understanding Rutabagas and Swedes: What’s the Difference?
Before we dive in, let’s clear up any confusion. Rutabagas and swedes are often used interchangeably, and while they’re closely related, they’re not exactly the same. Think of it like this: they’re cousins!
* **Rutabagas (Brassica napobrassica):** These are generally larger, have a rougher skin, and a yellowish flesh. They tend to be sweeter than swedes.
* **Swedes (also often called rutabagas, especially in the UK):** These are usually smaller, have smoother skin, and a more purple-tinged top. Their flavor is slightly more pungent.
For the purposes of this guide, I’ll use “rutabaga” to refer to both, but keep in mind the slight differences when choosing your varieties.
Choosing the Right Variety
Selecting the right variety is crucial for success. Consider your climate, soil type, and personal taste preferences. Here are a few popular options:
* **American Purple Top:** A classic rutabaga with a purple top and yellow flesh. It’s known for its good storage capabilities.
* **Laurentian:** A Canadian variety that’s very cold-hardy and produces large, uniform roots.
* **Joan:** A modern variety with good disease resistance and a mild flavor.
* **Marian:** A popular choice for its smooth skin and excellent storage potential.
Do some research and see which varieties are recommended for your specific region. Your local garden center or agricultural extension office can be a great resource.
Preparing Your Garden Bed
Rutabagas need well-drained, fertile soil to thrive. Here’s how to prepare your garden bed:
* **Timing:** Start preparing your bed a few weeks before you plan to sow your seeds.
* **Location:** Choose a sunny spot that receives at least 6 hours of direct sunlight per day.
* **Soil Testing:** Ideally, test your soil pH. Rutabagas prefer a pH between 6.0 and 7.0. You can purchase a soil testing kit at most garden centers.
* **Soil Amendment:** Amend the soil with plenty of organic matter, such as compost or well-rotted manure. This will improve drainage, fertility, and water retention. I usually add a generous layer (2-3 inches) and work it into the top 6-8 inches of soil.
* **Fertilizing:** Rutabagas are heavy feeders. Incorporate a balanced fertilizer into the soil before planting. Look for a fertilizer with a ratio like 10-10-10 or 5-10-10. Follow the instructions on the fertilizer package for application rates.
* **Weed Removal:** Remove any weeds or debris from the planting area. Weeds compete with rutabagas for nutrients and water.
* **Tilling/Digging:** Till or dig the soil to a depth of at least 12 inches to loosen it up and improve drainage.
Sowing the Seeds
Now for the fun part – planting!
* **Timing:** Rutabagas are best sown in mid-summer (July-August in most temperate climates) for a fall harvest. Check your seed packet for specific timing recommendations for your region.
* **Direct Sowing:** Rutabagas are typically direct-sown into the garden. They don’t transplant well.
* **Spacing:** Sow seeds about 1/4 to 1/2 inch deep and 1-2 inches apart in rows that are 18-24 inches apart.
* **Watering:** Gently water the soil after sowing. Keep the soil consistently moist until the seeds germinate.
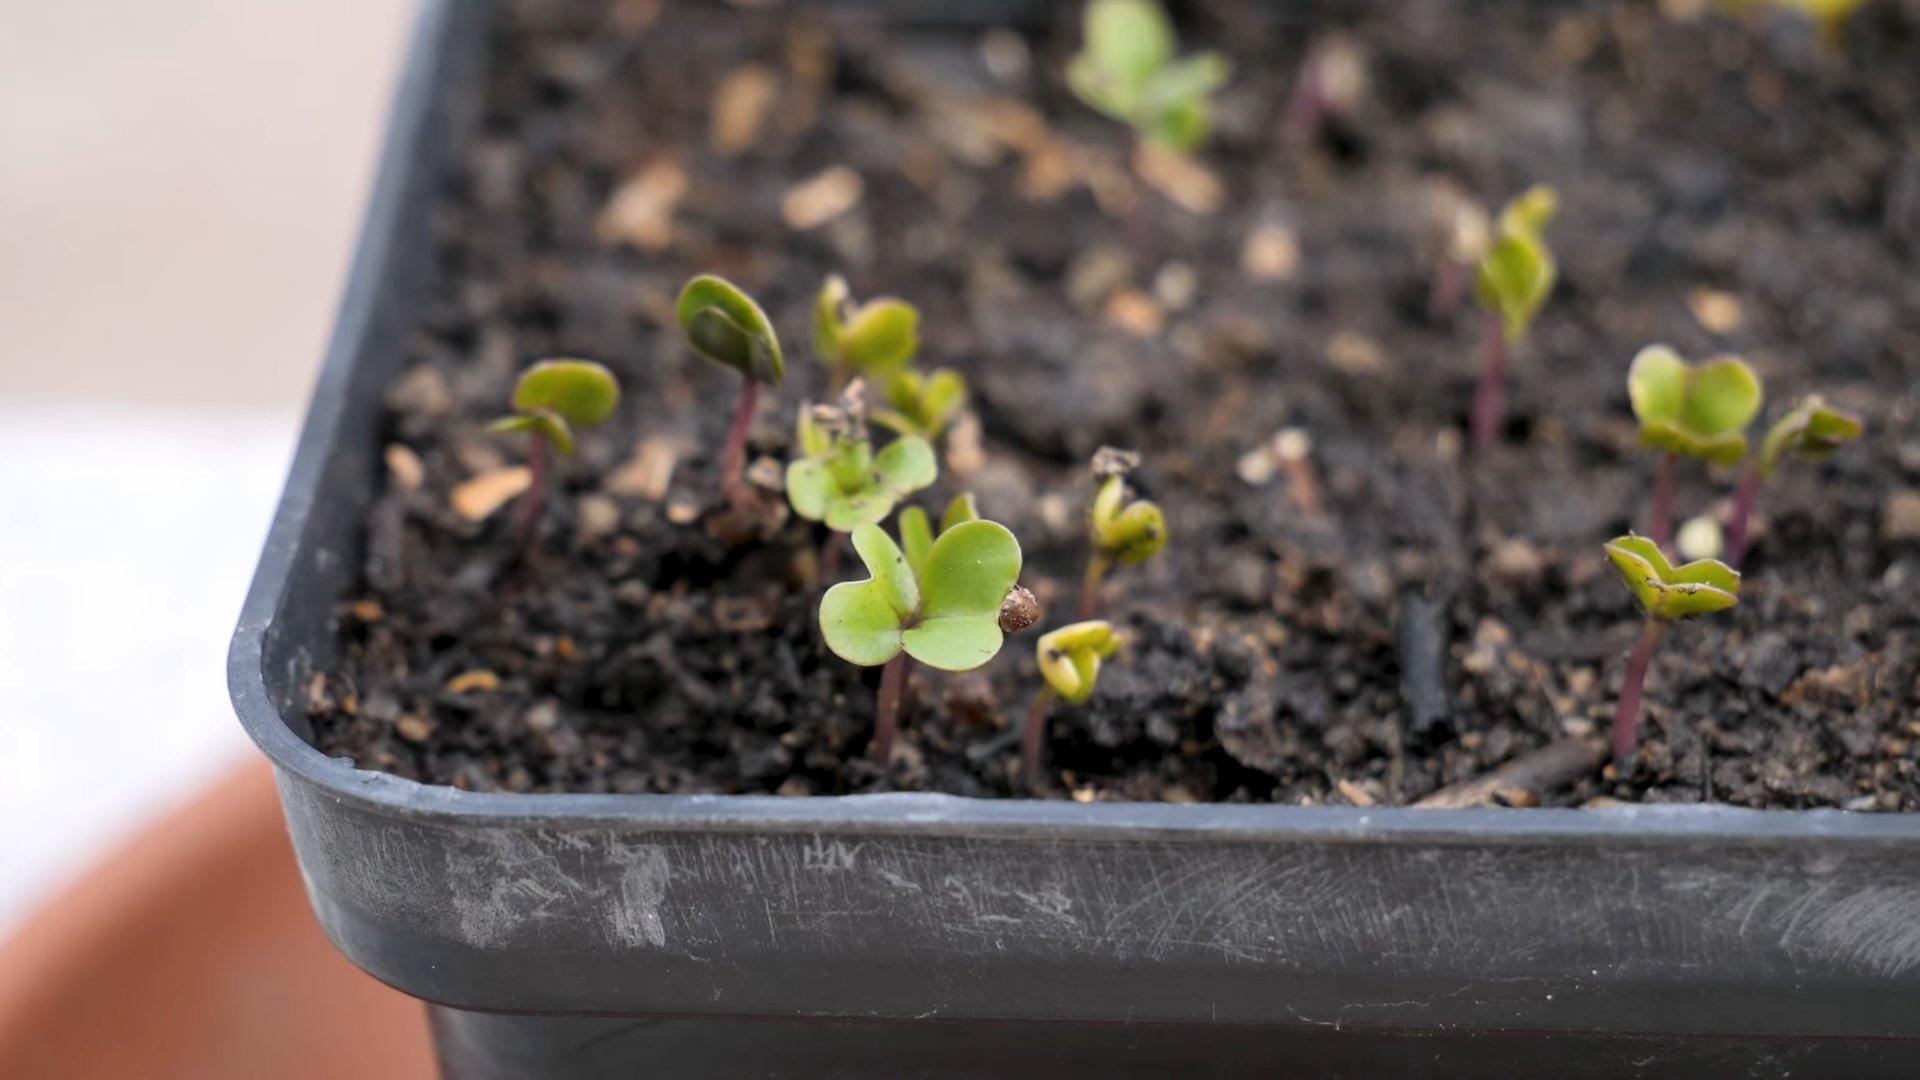
* **Thinning:** Once the seedlings emerge and have a few true leaves, thin them to 6-8 inches apart. This will give the roots enough space to develop properly. Don’t be afraid to thin aggressively!
Caring for Your Rutabagas
Consistent care is essential for a bountiful harvest.
* **Watering:** Rutabagas need consistent moisture, especially during dry periods. Water deeply and regularly, aiming for about 1 inch of water per week.
* **Weeding:** Keep the garden bed free of weeds. Weeds compete with rutabagas for nutrients and water. Hand-pull weeds carefully to avoid disturbing the roots.
* **Fertilizing:** Side-dress the plants with a nitrogen-rich fertilizer about 4-6 weeks after planting. This will encourage healthy foliage growth.
* **Pest Control:** Keep an eye out for pests like aphids, flea beetles, and cabbage root flies. Use organic pest control methods, such as insecticidal soap or neem oil, if necessary. Row covers can also help protect young plants from pests.
* **Disease Prevention:** Rutabagas can be susceptible to diseases like clubroot. Ensure good soil drainage and avoid planting rutabagas in the same spot year after year to prevent disease buildup.
Harvesting Your Rutabagas
The moment you’ve been waiting for!
* **Timing:** Rutabagas are typically ready to harvest in the fall, about 90-100 days after sowing.
* **Size:** Harvest when the roots are 4-6 inches in diameter.
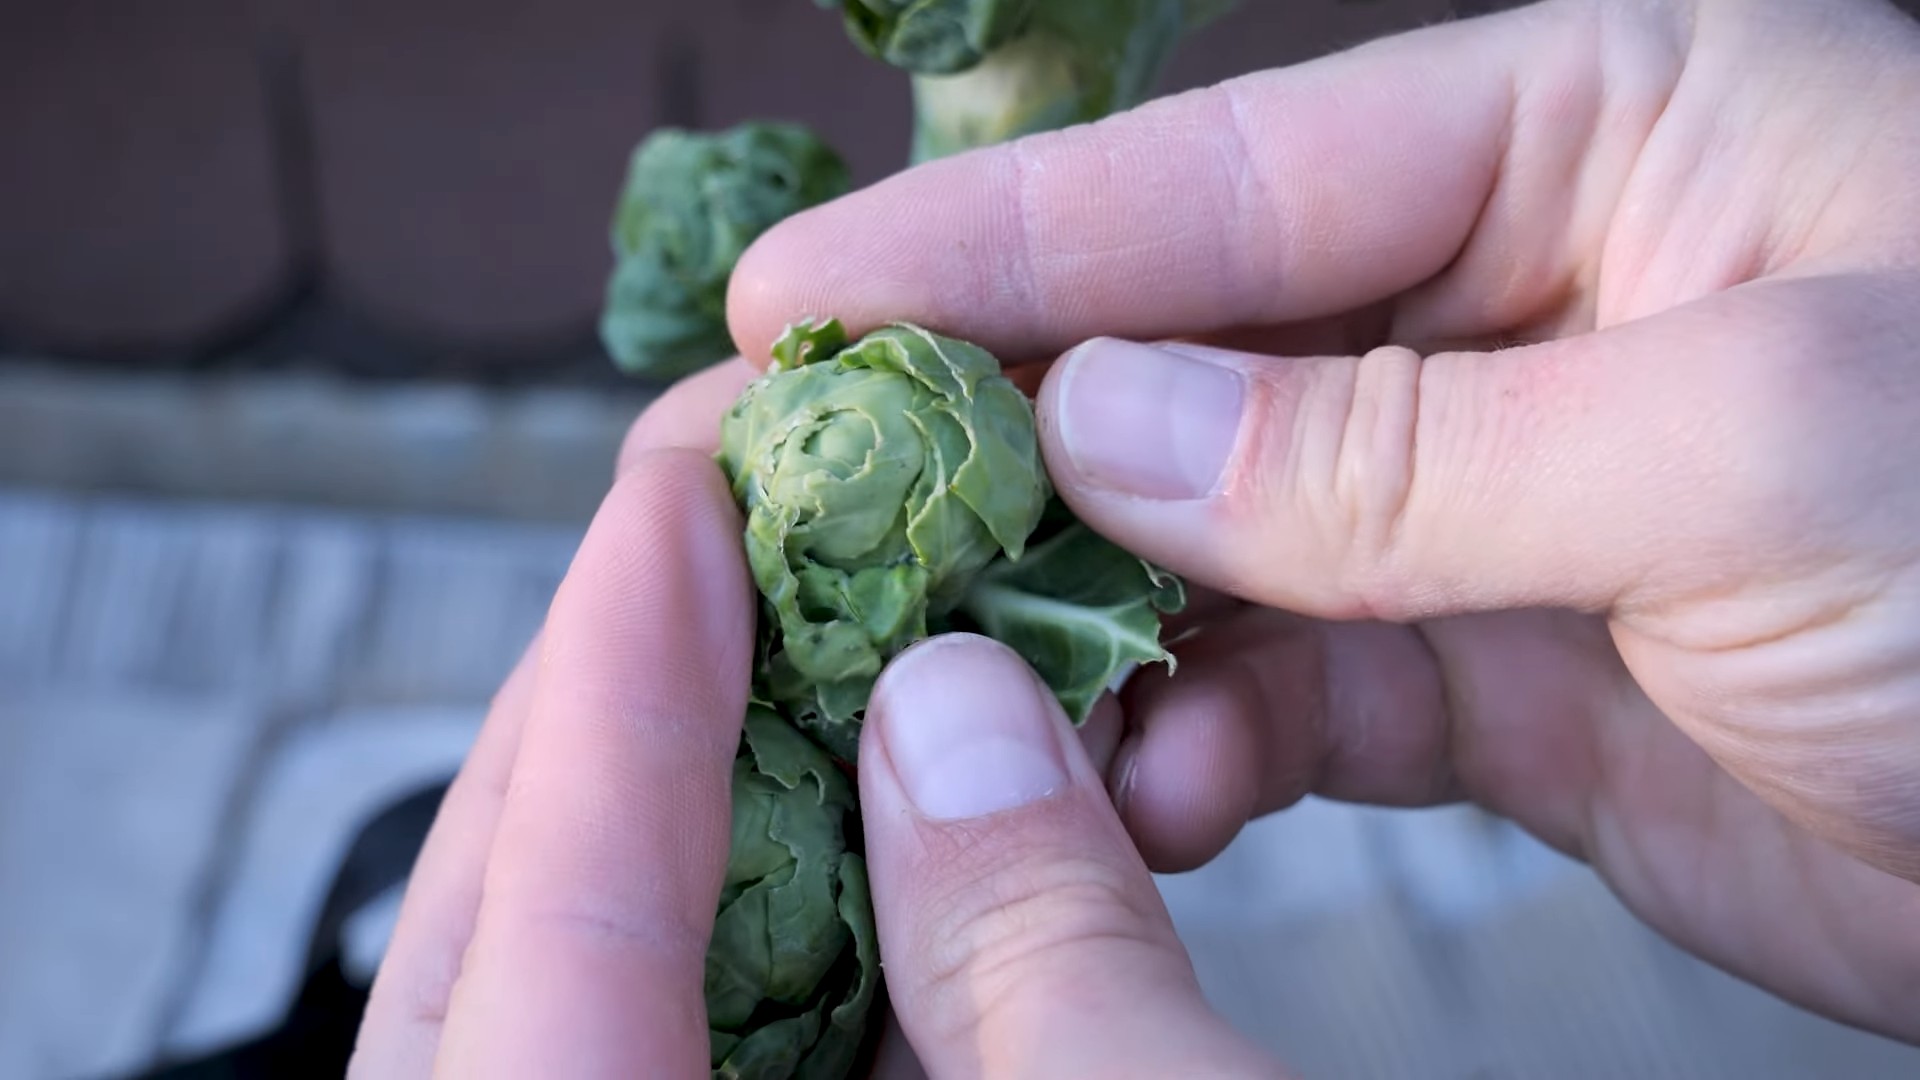
* **Method:** Loosen the soil around the roots with a garden fork and gently pull them out of the ground.
* **Storage:** Cut off the tops, leaving about 1 inch of stem. Brush off any excess soil. Store rutabagas in a cool, dark, and humid place, such as a root cellar or refrigerator. They can last for several months if stored properly.
Troubleshooting
Even with the best planning, things can sometimes go wrong. Here are a few common problems and how to address them:
* **Poor Germination:** This could be due to old seeds, dry soil, or cold temperatures. Make sure your seeds are fresh, keep the soil consistently moist, and wait for warmer weather before sowing.
* **Slow Growth:** This could be due to poor soil fertility, lack of sunlight, or competition from weeds. Amend the soil with compost, ensure the plants are getting enough sunlight, and keep the garden bed weed-free.
* **Pest Infestations:** Monitor your plants regularly for pests and take action promptly. Use organic pest control methods to minimize harm to beneficial insects.
* **Disease Problems:** Choose disease-resistant varieties and practice good garden hygiene to prevent disease buildup.
Enjoying Your Harvest
Now that you’ve harvested your rutabagas, it’s time to enjoy them! They can be roasted, mashed, boiled, or added to soups and stews. They’re also delicious grated raw in salads.
Here are a few of my favorite ways to prepare rutabagas:
* **Roasted Rutabaga:** Toss cubed rutabagas with olive oil, salt, pepper, and herbs like rosemary or thyme. Roast at 400°F (200°C) for 30-40 minutes, or until tender and slightly caramelized.
* **Mashed Rutabaga:** Boil peeled and cubed rutabagas until tender. Drain and mash with butter, milk, salt, and pepper.
* **Rutabaga and Potato Soup:** Add cubed rutabagas and potatoes to your favorite soup recipe. They add a delicious, earthy flavor.
Extra Tips for Rutabaga Success
Here are a few extra tips that I’ve learned over the years:
* **Succession Planting:** Sow seeds every few weeks to extend your harvest season.
* **Companion Planting:** Plant rutabagas with companion plants like onions, garlic, and rosemary to deter pests.
* **Soil Improvement:** Rotate your crops each year to improve soil health and prevent disease buildup.
* **Don’t Overwater:** While rutabagas need consistent moisture, avoid overwatering, which can lead to root rot.
* **Enjoy the Greens:** Don’t throw away the rutabaga greens! They’re edible and can be cooked like spinach or kale.
Growing rutabagas is a rewarding experience. With a little planning and care, you can enjoy a bountiful harvest of these delicious and nutritious root vegetables. Happy gardening!
Conclusion
So, there you have it! Mastering the art of growing rutabagas and swedes doesn’t have to be a daunting task. With a little patience, the right techniques, and a willingness to experiment, you can cultivate these delicious and nutritious root vegetables right in your own backyard. We’ve covered everything from seed selection and soil preparation to planting, watering, and pest control. Remember, the key to success lies in understanding the specific needs of these crops and adapting your approach accordingly.
Why is this DIY approach a must-try? Because store-bought rutabagas and swedes simply can’t compare to the flavor and freshness of homegrown produce. You have complete control over the growing process, ensuring that your vegetables are free from harmful chemicals and pesticides. Plus, there’s an undeniable satisfaction that comes from nurturing a plant from seed to harvest. Imagine the pride you’ll feel when you serve a roasted rutabaga dish made with vegetables you grew yourself!
But the benefits extend beyond just taste and satisfaction. Growing your own food is a sustainable practice that reduces your carbon footprint and promotes a healthier lifestyle. You’ll be contributing to a more resilient food system and enjoying the numerous health benefits of consuming fresh, locally grown produce.
Now, let’s talk about variations. While we’ve focused on the traditional methods, there’s plenty of room for experimentation. Consider trying different varieties of rutabagas and swedes to discover your favorites. Some popular options include ‘American Purple Top’ rutabaga, known for its sweet flavor, and ‘Marian’ swede, prized for its smooth texture.
You can also explore different planting techniques. For example, some gardeners prefer to start their seeds indoors to get a head start on the growing season, while others opt for direct sowing. Experiment with different methods to see what works best for your climate and growing conditions.
Don’t be afraid to get creative with your pest control strategies. Companion planting, using natural repellents, and hand-picking pests are all effective ways to protect your crops without resorting to harmful chemicals.
And finally, consider the many ways you can enjoy your homegrown rutabagas and swedes. From roasting and mashing to adding them to soups and stews, these versatile vegetables can be incorporated into a wide range of dishes. You can even pickle them for a tangy and flavorful condiment.
We wholeheartedly encourage you to give this DIY trick a try. Growing rutabagas and swedes is a rewarding experience that will connect you with nature and provide you with a bounty of delicious and nutritious food. Don’t be discouraged by initial setbacks. Gardening is a learning process, and every season brings new opportunities to improve your skills.
So, grab your seeds, prepare your soil, and get ready to embark on a gardening adventure. We’re confident that you’ll be amazed by the results. And most importantly, don’t forget to share your experience with us! We’d love to hear about your successes, challenges, and favorite recipes. Share your photos and stories on social media using [Your Hashtag] or leave a comment below. Let’s build a community of passionate gardeners who are dedicated to growing their own food and sharing their knowledge with others. Happy gardening!
Frequently Asked Questions (FAQ)
What is the best time to plant rutabagas and swedes?
The ideal planting time for rutabagas and swedes depends on your climate. Generally, they are cool-season crops that thrive in temperatures between 60°F and 70°F (15°C and 21°C). In most regions, the best time to plant is in late spring or early summer for a fall harvest. This allows the roots to mature during the cooler months. In areas with mild winters, you can also plant in late summer or early fall for a winter harvest. Check your local frost dates to determine the optimal planting time for your region. Aim to plant about 90-100 days before the first expected frost.
How much space do rutabagas and swedes need?
Rutabagas and swedes require adequate spacing to allow their roots to develop properly. As a general guideline, space plants about 6-8 inches apart in rows that are 18-24 inches apart. This spacing allows for sufficient airflow and sunlight penetration, which are essential for healthy growth. If you are growing multiple rows, ensure there is enough space between them for easy access and cultivation. Overcrowding can lead to smaller roots and increased susceptibility to pests and diseases.
What kind of soil is best for growing rutabagas and swedes?
Rutabagas and swedes prefer well-drained, fertile soil with a pH between 6.0 and 7.0. Amend the soil with compost or other organic matter to improve its structure and fertility. Avoid heavy clay soils, as they can restrict root growth. If your soil is compacted, consider adding sand or other drainage materials to improve its texture. Before planting, conduct a soil test to determine its nutrient levels and pH. Adjust the soil accordingly to ensure optimal growing conditions.
How often should I water rutabagas and swedes?
Rutabagas and swedes require consistent moisture, especially during the early stages of growth. Water deeply and regularly, aiming to keep the soil consistently moist but not waterlogged. The frequency of watering will depend on your climate and soil type. In general, water about once or twice a week, or more often during hot, dry weather. Use a soaker hose or drip irrigation to deliver water directly to the roots, minimizing water loss through evaporation. Avoid overhead watering, as it can promote fungal diseases.
What are some common pests and diseases that affect rutabagas and swedes?
Rutabagas and swedes are susceptible to several pests and diseases, including aphids, flea beetles, cabbage root maggots, and clubroot. Aphids can be controlled with insecticidal soap or neem oil. Flea beetles can be deterred by covering plants with row covers. Cabbage root maggots can be prevented by using root collars or applying beneficial nematodes to the soil. Clubroot is a soilborne disease that can be prevented by practicing crop rotation and maintaining a soil pH above 7.0. Regularly inspect your plants for signs of pests and diseases, and take action promptly to prevent them from spreading.
How do I know when rutabagas and swedes are ready to harvest?
Rutabagas and swedes are typically ready to harvest in the fall, about 90-100 days after planting. The roots should be firm and well-formed, with a diameter of 3-5 inches. You can harvest them as needed, or store them in a cool, dry place for later use. To harvest, loosen the soil around the roots with a garden fork and gently pull them out of the ground. Cut off the tops, leaving about an inch of stem attached. Store the roots in a root cellar or refrigerator for several months.
Can I grow rutabagas and swedes in containers?
Yes, you can grow rutabagas and swedes in containers, but you’ll need to choose a large container that is at least 12 inches deep and wide. Use a well-draining potting mix and provide adequate sunlight and water. Container-grown plants may require more frequent watering and fertilization than those grown in the ground. Choose smaller varieties of rutabagas and swedes that are better suited for container gardening.
Are rutabaga and swede leaves edible?
Yes, both rutabaga and swede leaves are edible and nutritious. They can be cooked like spinach or kale and added to salads, soups, and stir-fries. Harvest the leaves while they are young and tender, as they can become bitter as they mature. Be sure to wash the leaves thoroughly before eating them.
How do I store rutabagas and swedes after harvesting?
To store rutabagas and swedes, cut off the tops, leaving about an inch of stem attached. Brush off any excess soil and store the roots in a cool, dry place, such as a root cellar or refrigerator. The ideal storage temperature is between 32°F and 40°F (0°C and 4°C) with high humidity. You can store the roots in perforated plastic bags or containers to prevent them from drying out. Properly stored rutabagas and swedes can last for several months.
What are some ways to cook with rutabagas and swedes?
Rutabagas and swedes are versatile vegetables that can be cooked in a variety of ways. They can be roasted, mashed, boiled, steamed, or added to soups and stews. They have a slightly sweet and earthy flavor that pairs well with other root vegetables, herbs, and spices. Try roasting them with olive oil, salt, and pepper, or mashing them with butter and cream. They can also be used to make fries, chips, or gratins. Experiment with different recipes to discover your favorite ways to enjoy these delicious vegetables.

Leave a Comment