

Clorox bathroom cleaning tips – who knew such a simple phrase could unlock a world of sparkling clean possibilities? Let’s face it, the bathroom is often the most dreaded room to clean. It’s a battleground of soap scum, mildew, and, well, let’s just say things we’d rather not think about! But fear not, fellow cleaning enthusiasts, because I’m here to share some game-changing DIY tricks that will transform your bathroom cleaning routine from a chore into a breeze.
For generations, people have sought effective and affordable ways to keep their bathrooms fresh and hygienic. From ancient Roman bathhouses meticulously maintained by slaves to our modern-day quest for the perfect cleaning product, the desire for a clean bathroom is deeply ingrained in our history. Now, with the power of DIY and a little help from Clorox, we can achieve that sparkling clean without breaking the bank or spending hours scrubbing.
Why do you need these Clorox bathroom cleaning tips? Because life is too short to spend it battling bathroom grime! These DIY hacks will not only save you time and money but also empower you to create a healthier and more pleasant environment for yourself and your family. I’m going to show you how to harness the power of Clorox in unexpected ways, tackling even the toughest bathroom cleaning challenges with ease. Get ready to say goodbye to stubborn stains and hello to a bathroom that shines!
DIY Bathroom Cleaning Power with Clorox: My Secret Weapon!
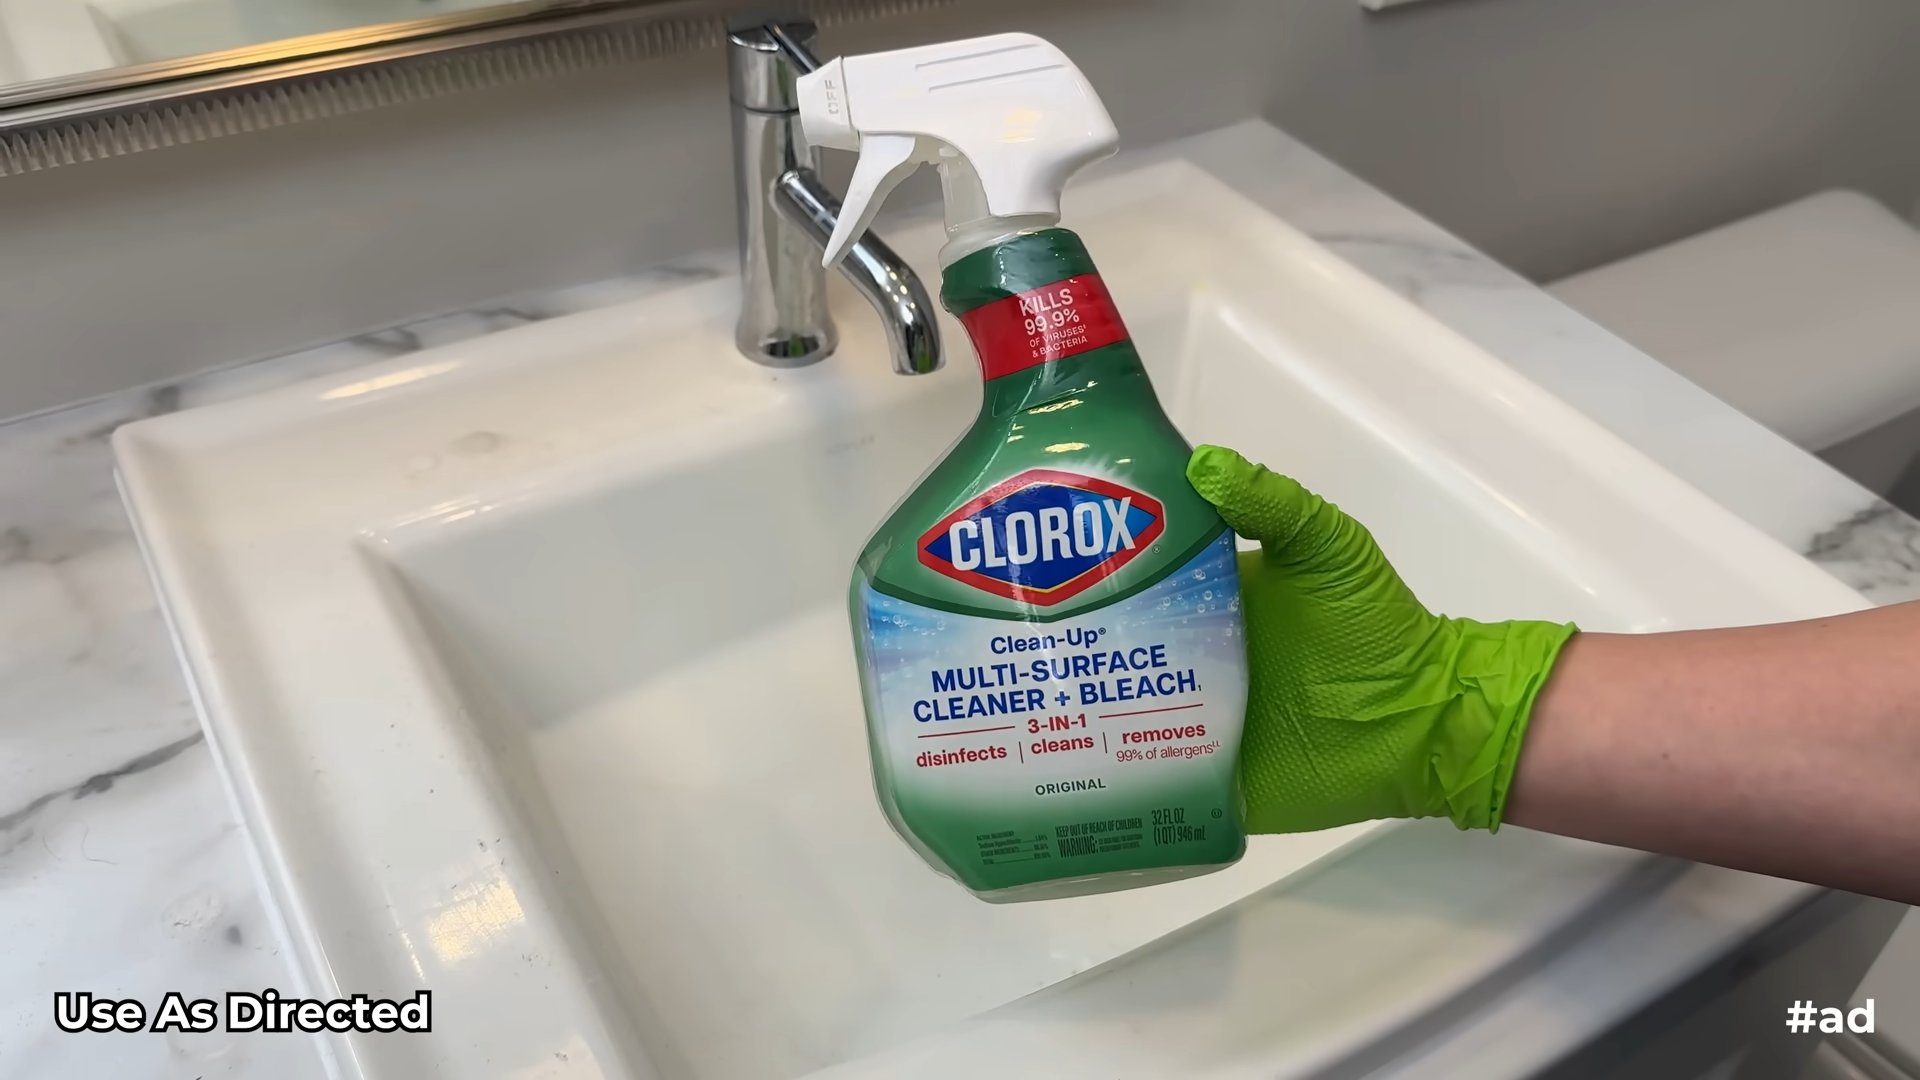
Hey everyone! I’m so excited to share my go-to bathroom cleaning hack that uses Clorox bleach to achieve sparkling results. I know, I know, bleach can be intimidating, but trust me, when used correctly and with proper ventilation, it’s a game-changer for tackling stubborn stains, mildew, and grime in the bathroom. This isn’t just about a quick wipe-down; it’s about deep cleaning and disinfecting, leaving your bathroom feeling fresh and hygienic.
Safety First!
Before we dive in, let’s talk safety. Bleach is a powerful chemical, so it’s crucial to protect yourself and your surfaces.
* Ventilation is Key: Open windows and turn on the exhaust fan. We want fresh air circulating to avoid inhaling fumes.
* Protective Gear: Wear rubber gloves to protect your skin. I also recommend wearing old clothes that you don’t mind getting bleach on, just in case. Eye protection, like safety glasses, is also a good idea, especially when spraying.
* Dilution is Important: Never use bleach undiluted, except in specific cases like toilet bowl cleaning (which we’ll cover). Always follow the dilution instructions on the Clorox bottle.
* No Mixing!: Never, ever mix bleach with ammonia or other cleaning products. This can create dangerous and potentially deadly fumes. Seriously, this is non-negotiable.
* Surface Testing: Before applying bleach to any surface, test it in an inconspicuous area to ensure it doesn’t discolor or damage the material.
What You’ll Need: My Arsenal of Cleaning Supplies
Here’s a list of everything you’ll need to conquer your bathroom cleaning mission:
* Clorox Bleach (Regular, unscented is best)
* Spray Bottles (at least two: one for diluted bleach solution, one for plain water)
* Rubber Gloves
* Eye Protection (Safety Glasses)
* Old Clothes
* Cleaning Rags or Microfiber Cloths (lots of them!)
* Scrub Brush (a stiff-bristled brush is great for grout)
* Toilet Bowl Brush
* Sponge
* Squeegee (for shower doors and walls)
* Empty Bucket
* Measuring Cup or Spoons
* Optional: Baking Soda, White Vinegar (for extra cleaning power)
Cleaning the Shower and Tub: Banishing Soap Scum and Mildew
This is where the magic happens! Soap scum and mildew are no match for my bleach-powered cleaning routine.
1. Pre-Rinse: Start by rinsing the shower and tub with warm water to loosen any loose dirt and debris.
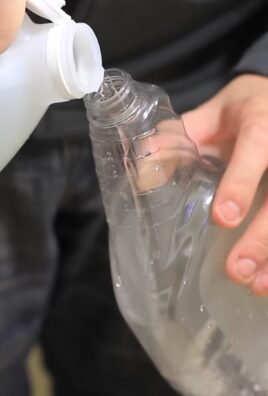
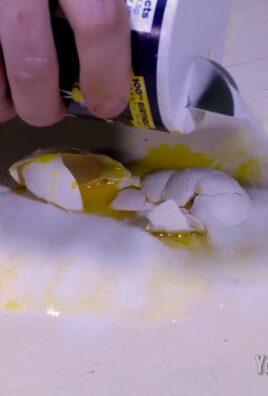
2. Prepare the Bleach Solution: In a spray bottle, mix 1 part Clorox bleach with 10 parts water. For example, if you’re using a 32-ounce spray bottle, add about 3 ounces of bleach and fill the rest with water.
3. Spray and Wait: Spray the bleach solution liberally onto the shower walls, tub, and shower door. Focus on areas with soap scum, mildew, or stains. Let it sit for 5-10 minutes. Don’t let it dry completely.
4. Scrub-a-dub-dub: Using a scrub brush or sponge, scrub the surfaces thoroughly. Pay extra attention to grout lines, corners, and areas with stubborn stains.
5. Rinse, Rinse, Rinse: Rinse the shower and tub thoroughly with warm water. Make sure to remove all traces of the bleach solution.
6. Squeegee Time: Use a squeegee to remove excess water from the shower door and walls. This will help prevent water spots and mildew growth.
7. Dry It Up: Wipe down the surfaces with a clean, dry microfiber cloth.
Tackling Stubborn Grout:
If your grout is particularly stained or mildewed, you can create a paste of baking soda and bleach. Apply the paste to the grout lines, let it sit for 10-15 minutes, and then scrub with a grout brush. Rinse thoroughly.
Cleaning the Toilet: Disinfecting and Deodorizing
The toilet is a breeding ground for germs, so it’s essential to disinfect it regularly.
1. Flush First: Flush the toilet to remove any waste.
2. Pour in the Bleach: Pour about 1 cup of undiluted Clorox bleach directly into the toilet bowl.
3. Let it Sit: Let the bleach sit for at least 10-15 minutes to disinfect. For heavily soiled toilets, you can let it sit longer, even overnight.
4. Scrub-a-dub-dub (Again!): Use a toilet bowl brush to scrub the entire bowl, including under the rim.
5. Flush Away: Flush the toilet several times to rinse away all traces of the bleach.
6. Exterior Cleaning: For the exterior of the toilet, use the same diluted bleach solution (1 part bleach to 10 parts water) that you used for the shower. Spray the solution onto a cleaning rag and wipe down the toilet seat, lid, tank, and base.
7. Rinse and Dry: Rinse the exterior of the toilet with a clean, damp cloth and dry with a microfiber cloth.
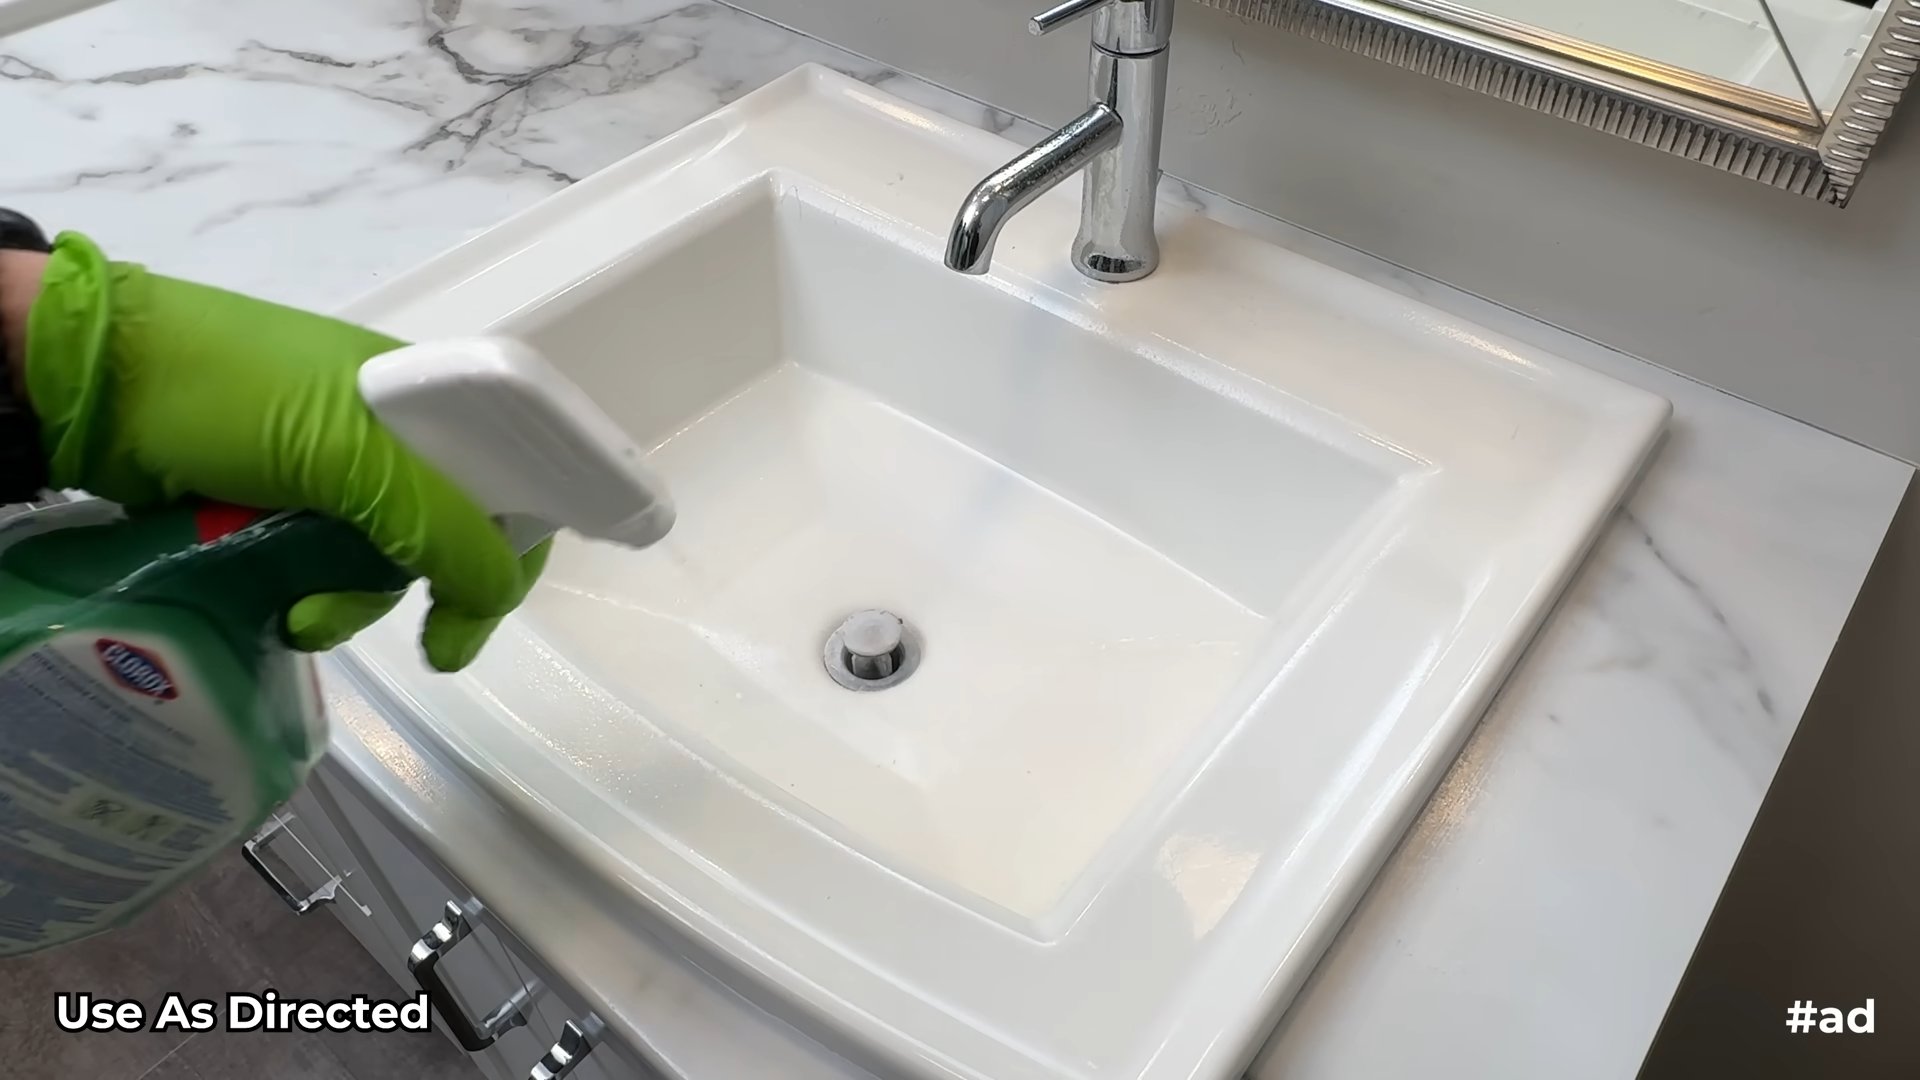
Cleaning the Sink and Countertop: Sparkling Surfaces
The sink and countertop are often overlooked, but they can harbor bacteria and germs.
1. Clear the Clutter: Remove all items from the sink and countertop.
2. Prepare the Bleach Solution: Use the same diluted bleach solution (1 part bleach to 10 parts water) that you used for the shower and toilet exterior.
3. Spray and Wipe: Spray the bleach solution onto the sink and countertop. Let it sit for a few minutes to disinfect.
4. Scrub if Needed: If there are any stubborn stains or grime, scrub gently with a sponge or cleaning rag.
5. Rinse Thoroughly: Rinse the sink and countertop thoroughly with clean water.
6. Dry It Up: Wipe down the surfaces with a clean, dry microfiber cloth.
Dealing with Stains:
For stubborn stains on the sink or countertop, you can create a paste of baking soda and bleach. Apply the paste to the stain, let it sit for 10-15 minutes, and then scrub gently. Rinse thoroughly.
Cleaning the Floor: A Final Sweep
The bathroom floor can accumulate dirt, dust, and spills, so it’s important to clean it regularly.
1. Sweep or Vacuum: Start by sweeping or vacuuming the floor to remove any loose dirt and debris.
2. Prepare the Bleach Solution: In a bucket, mix 1/2 cup of Clorox bleach with 1 gallon of water.
3. Mop the Floor: Dip a mop into the bleach solution and wring out the excess. Mop the floor thoroughly, making sure to cover all areas.
4. Rinse (Optional): If you’re concerned about bleach residue, you can rinse the floor with clean water after mopping.
5. Let it Air Dry: Allow the floor to air dry completely.
Important Note:
Be careful when mopping with bleach, as it can discolor or damage certain types of flooring. Always test the solution in an inconspicuous area first. Avoid using bleach on natural stone floors like marble or granite, as it can etch the surface.
Cleaning Mirrors and Fixtures: Adding the Finishing Touches
To complete your bathroom cleaning, don’t forget the mirrors and fixtures!
1. Mirrors: For mirrors, I prefer to use a glass cleaner instead of bleach, as bleach can streak. Spray the glass cleaner onto the mirror and wipe it down with a clean microfiber cloth.
2. Fixtures: For faucets, showerheads, and other fixtures, you can use the diluted bleach solution (1 part bleach to 10 parts water). Spray the solution onto a cleaning rag and wipe down the fixtures. Rinse with a clean, damp cloth and dry with a microfiber cloth.
Removing Hard Water Stains:
If your fixtures have hard water stains, you can soak a cloth in white vinegar and wrap it around the fixture. Let it sit for 30 minutes to an hour, and then scrub with a non-abrasive sponge. Rinse thoroughly and dry.
Maintaining Your Sparkling Bathroom: Tips and Tricks
Now that your bathroom is sparkling clean, here are a few tips to help you maintain its cleanliness:
* Wipe Down Surfaces Regularly: Wipe down the shower walls, tub, sink, and countertop after each use to prevent soap scum and mildew buildup.
* Ventilate the Bathroom: Always turn on the exhaust fan or open a window after showering to reduce moisture and prevent mildew growth.
* Clean the Toilet Regularly: Clean the toilet bowl at least once a week to prevent stains and odors.
* Wash Bath Mats
Conclusion
So, there you have it! Ditching the expensive, chemical-laden bathroom cleaners and embracing this simple, yet incredibly effective, DIY Clorox bathroom cleaning trick is a game-changer for your home and your wallet. We’ve shown you how to harness the power of diluted Clorox bleach to achieve a sparkling clean bathroom without breaking the bank or exposing yourself to harsh chemicals found in many commercial products.
This isn’t just about saving money; it’s about creating a healthier and more sustainable cleaning routine. Think about it: fewer plastic bottles ending up in landfills, less exposure to potentially harmful ingredients, and a bathroom that shines like new. It’s a win-win-win!
But the beauty of this DIY approach lies in its adaptability. While the basic formula of diluted Clorox bleach and water is a powerhouse on its own, you can customize it to suit your specific needs and preferences.
Here are a few variations to consider:
* For extra stubborn stains: Pre-treat heavily soiled areas with a paste made from baking soda and water before applying the Clorox solution. Let it sit for a few minutes to loosen the grime.
* For a fresh scent: Add a few drops of your favorite essential oil (like lemon, eucalyptus, or tea tree) to the diluted Clorox solution. Be sure to use essential oils that are safe for cleaning and won’t react negatively with the bleach. Always test in an inconspicuous area first.
* For grout cleaning: Use an old toothbrush to scrub the Clorox solution into grout lines. The bleach will help to remove mold and mildew, leaving your grout looking bright and clean.
* For showerheads: Soak your showerhead in a bag filled with the Clorox solution to remove mineral buildup and restore optimal water flow.
Remember to always prioritize safety when working with bleach. Wear gloves and eye protection, and ensure proper ventilation in the bathroom. Never mix bleach with ammonia or other cleaning products, as this can create dangerous fumes.
We’re confident that once you try this DIY Clorox bathroom cleaning trick, you’ll be amazed by the results. It’s effective, affordable, and customizable – everything you could want in a cleaning solution.
Now, it’s your turn! We encourage you to give this method a try and see the difference it makes in your bathroom. Don’t forget to share your experiences with us in the comments below. We’d love to hear your tips, variations, and success stories. Let’s create a community of clean, healthy, and happy homes!
Frequently Asked Questions (FAQs)
Q: Is it safe to use Clorox bleach for cleaning my bathroom?
A: Yes, when used properly and diluted according to the instructions, Clorox bleach is a safe and effective disinfectant for cleaning bathrooms. Always dilute the bleach with water as recommended (typically a ratio of 1 part bleach to 9 parts water) and ensure proper ventilation in the bathroom. Avoid prolonged exposure to the fumes and wear gloves and eye protection to prevent skin and eye irritation. Never mix bleach with ammonia or other cleaning products, as this can create dangerous fumes. If you have any respiratory issues, consult with your doctor before using bleach.
Q: What surfaces can I safely clean with diluted Clorox bleach?
A: Diluted Clorox bleach is generally safe for use on non-porous surfaces such as:
* Tile: Ceramic and porcelain tiles are highly resistant to bleach.
* Grout: Bleach is effective at removing mold and mildew from grout lines.
* Shower doors: Glass and plastic shower doors can be cleaned with diluted bleach.
* Toilets: The toilet bowl and exterior surfaces can be disinfected with bleach.
* Sinks: Porcelain and stainless steel sinks are generally safe.
* Bathtubs: Acrylic and porcelain tubs can be cleaned with bleach.
Always test the solution in an inconspicuous area first to ensure it doesn’t damage or discolor the surface. Avoid using bleach on porous surfaces like natural stone (marble, granite), wood, or painted surfaces, as it can cause damage or discoloration.
Q: How do I properly dilute Clorox bleach for bathroom cleaning?
A: The recommended dilution ratio for general bathroom cleaning is 1 part Clorox bleach to 9 parts water. For example, you can mix 1/2 cup of bleach with 4 1/2 cups of water in a spray bottle or bucket. Always add the bleach to the water, not the other way around, to prevent splashing. Use cold water for dilution, as hot water can cause the bleach to break down and lose its effectiveness.
Q: Can I use Clorox bleach to remove mold and mildew in my bathroom?
A: Yes, Clorox bleach is very effective at killing mold and mildew. To remove mold and mildew, spray the affected area with the diluted bleach solution and let it sit for 10-15 minutes. Then, scrub the area with a brush or sponge and rinse thoroughly with water. For stubborn mold or mildew, you may need to repeat the process. Ensure proper ventilation in the bathroom while cleaning to avoid inhaling the fumes.
Q: How often should I clean my bathroom with Clorox bleach?
A: The frequency of cleaning depends on how often the bathroom is used and how quickly it gets dirty. For general cleaning, once a week is usually sufficient. However, if you have a lot of traffic in your bathroom or if you notice mold or mildew growth, you may need to clean it more frequently. Spot clean as needed to address spills or stains.
Q: What safety precautions should I take when using Clorox bleach?
A: Always follow these safety precautions when using Clorox bleach:
* Wear gloves: Protect your skin from irritation by wearing rubber or disposable gloves.
* Wear eye protection: Prevent bleach from splashing into your eyes by wearing safety glasses or goggles.
* Ensure proper ventilation: Open windows or turn on the exhaust fan to ventilate the bathroom.
* Never mix with ammonia or other cleaning products: Mixing bleach with ammonia or other cleaning products can create dangerous and potentially deadly fumes.
* Keep out of reach of children and pets: Store Clorox bleach in a safe place where children and pets cannot access it.
* Rinse thoroughly: After cleaning with bleach, rinse the surfaces thoroughly with water to remove any residue.
Q: Can I use Clorox bleach on colored grout?
A: While Clorox bleach is effective at cleaning grout, it can potentially fade or discolor colored grout. It’s best to test the diluted bleach solution in an inconspicuous area of the grout first to see if it causes any discoloration. If you’re concerned about fading, you can try using a grout cleaner specifically designed for colored grout.
Q: What are some alternatives to Clorox bleach for bathroom cleaning?
A: If you prefer not to use bleach, there are several alternative cleaning solutions you can try:
* Vinegar: White vinegar is a natural disinfectant and can be used to clean many bathroom surfaces.
* Baking soda: Baking soda is a mild abrasive that can be used to scrub away stains and grime.
* Hydrogen peroxide: Hydrogen peroxide is a disinfectant that can be used to kill bacteria and viruses.
* Commercial bathroom cleaners: There are many commercially available bathroom cleaners that are formulated to be safe and effective.
Remember to always follow the instructions on the product label and test in an inconspicuous area first.
Q: How do I get rid of the bleach smell after cleaning?
A: To get rid of the bleach smell after cleaning, ventilate the bathroom by opening windows or turning on the exhaust fan. You can also place a bowl of vinegar or baking soda in the bathroom to absorb the odor. The smell should dissipate within a few hours.
Leave a Comment