

Cleaning Tips and Tricks – who doesn’t need them? Let’s be honest, keeping a home sparkling clean can feel like a never-ending battle. You conquer one mess, and another pops up right behind it! But what if I told you there are simple, effective ways to streamline your cleaning routine and reclaim your precious free time? This isn’t just about scrubbing harder; it’s about working smarter.
For centuries, cultures around the globe have developed ingenious methods for maintaining clean and healthy living spaces. From ancient Egyptians using natron (a natural salt mixture) for cleaning to the Victorian era’s obsession with meticulous dusting, the pursuit of cleanliness is deeply ingrained in human history. These traditions, passed down through generations, often hold the key to simple yet powerful cleaning solutions.
In today’s fast-paced world, we’re constantly bombarded with expensive cleaning products promising miraculous results. But the truth is, many of the most effective cleaning tips and tricks involve using everyday household items you probably already have! Why spend a fortune on harsh chemicals when you can achieve the same (or even better!) results with vinegar, baking soda, or lemon juice?
This article is your ultimate guide to unlocking the secrets of a sparkling clean home without breaking the bank or sacrificing your sanity. I’m going to share my favorite DIY cleaning hacks, time-saving strategies, and eco-friendly solutions that will transform your cleaning routine from a chore into a breeze. Get ready to discover how simple changes can make a huge difference in the cleanliness and overall well-being of your home!
DIY Cleaning Power: Transform Your Home with These Hacks!
Okay, let’s dive into some seriously effective DIY cleaning hacks that will leave your home sparkling without breaking the bank. I’m all about saving money and using what I already have, so these tips are perfect for anyone who wants a cleaner home without harsh chemicals or expensive products.
Cleaning Your Microwave Like a Pro
Microwaves are notorious for splatters and stuck-on food. But fear not! This method is super easy and uses just a few simple ingredients.
What you’ll need:
* 1 cup of water
* 1 tablespoon of white vinegar or lemon juice
* Microwave-safe bowl
* Clean sponge or cloth
Step-by-step instructions:
1. Combine water and vinegar (or lemon juice): In your microwave-safe bowl, mix the water and vinegar (or lemon juice). The vinegar or lemon juice helps to loosen the grime and deodorize the microwave.
2. Microwave the mixture: Place the bowl in the microwave and heat it on high for 5-7 minutes. You want the mixture to boil and create steam inside the microwave. This steam is key to loosening the stuck-on food.
3. Let it sit: After microwaving, don’t open the door immediately! Let the bowl sit inside the microwave for another 3-5 minutes. This allows the steam to continue working its magic.
4. Wipe it clean: Carefully remove the bowl (it will be hot!). Use your clean sponge or cloth to wipe down the inside of the microwave. You’ll be amazed at how easily the grime comes off. For stubborn spots, you might need a little extra elbow grease.
5. Dry it off: Once you’ve wiped everything clean, use a dry cloth to dry the inside of the microwave. This will prevent water spots and leave it looking sparkling.
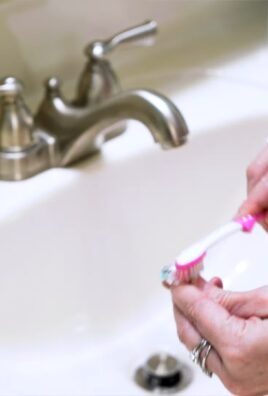
Reviving Your Grout: A DIY Grout Cleaner
Grimey grout can make your entire bathroom or kitchen look dirty. This DIY grout cleaner is a game-changer!
What you’ll need:
* Baking soda
* White vinegar
* Old toothbrush or grout brush
* Spray bottle
* Water
Step-by-step instructions:
1. Make a baking soda paste: In a small bowl, mix baking soda with a little water to create a thick paste. The consistency should be similar to toothpaste.
2. Apply the paste to the grout: Using your fingers or a small spoon, apply the baking soda paste generously to the grout lines. Make sure to cover all the dirty areas.
3. Spray with vinegar: Fill a spray bottle with white vinegar. Spray the vinegar directly onto the baking soda paste. You’ll see it fizz – that’s the chemical reaction working to lift the dirt.
4. Let it sit: Allow the mixture to sit on the grout for about 10-15 minutes. This gives the vinegar and baking soda time to break down the grime.
5. Scrub the grout: Using an old toothbrush or a grout brush, scrub the grout lines thoroughly. Focus on areas with heavy staining.
6. Rinse with water: Rinse the grout with clean water. You can use a spray bottle, a damp sponge, or even a showerhead to rinse away the baking soda and vinegar residue.
7. Dry the grout: Use a clean towel or cloth to dry the grout. This will prevent water spots and help you see the results of your cleaning efforts. For really stubborn stains, you might need to repeat the process.
Unclogging Drains Naturally
Chemical drain cleaners can be harsh and damaging to your pipes. This natural method is much gentler and just as effective.
What you’ll need:
* 1 cup of baking soda
* 2 cups of white vinegar
* Boiling water
* Plunger (optional)
Step-by-step instructions:
1. Pour baking soda down the drain: Carefully pour one cup of baking soda down the clogged drain. Try to get as much of it into the drain as possible.
2. Pour vinegar down the drain: Next, pour two cups of white vinegar down the drain, following the baking soda. You’ll hear a fizzing sound – this is the chemical reaction that will help to break down the clog.
3. Let it fizz: Allow the baking soda and vinegar mixture to fizz and work its magic for about 30 minutes. Don’t run any water during this time.
4. Flush with boiling water: After 30 minutes, carefully pour a pot of boiling water down the drain. The hot water will help to flush away the loosened debris.
5. Repeat if necessary: If the drain is still clogged, repeat the process. Sometimes, it takes a couple of tries to completely clear a stubborn clog.
6. Use a plunger (optional): If the baking soda and vinegar method doesn’t completely clear the clog, you can try using a plunger. Make sure there’s enough water in the sink or tub to cover the cup of the plunger. Plunge vigorously for several minutes.
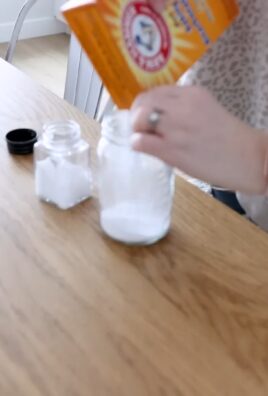
Making Your Own All-Purpose Cleaner
Why buy expensive all-purpose cleaners when you can easily make your own with just a few ingredients? This recipe is safe, effective, and smells great!
What you’ll need:
* Spray bottle
* 1/4 cup white vinegar
* 1 tablespoon baking soda
* Water
* 10-15 drops of essential oil (optional, for fragrance) – lavender, lemon, or tea tree are great choices
Step-by-step instructions:
1. Combine ingredients in a spray bottle: In your spray bottle, combine the white vinegar and baking soda. Be careful, as the mixture will fizz.
2. Add water: Slowly add water to the spray bottle, leaving some space at the top.
3. Add essential oils (optional): If you’re using essential oils, add 10-15 drops to the spray bottle.
4. Shake well: Close the spray bottle tightly and shake well to combine all the ingredients.
5. Use as needed: Spray the cleaner onto surfaces and wipe clean with a cloth or sponge. This cleaner is great for countertops, sinks, and other surfaces. Avoid using it on marble or granite, as the vinegar can damage these materials.
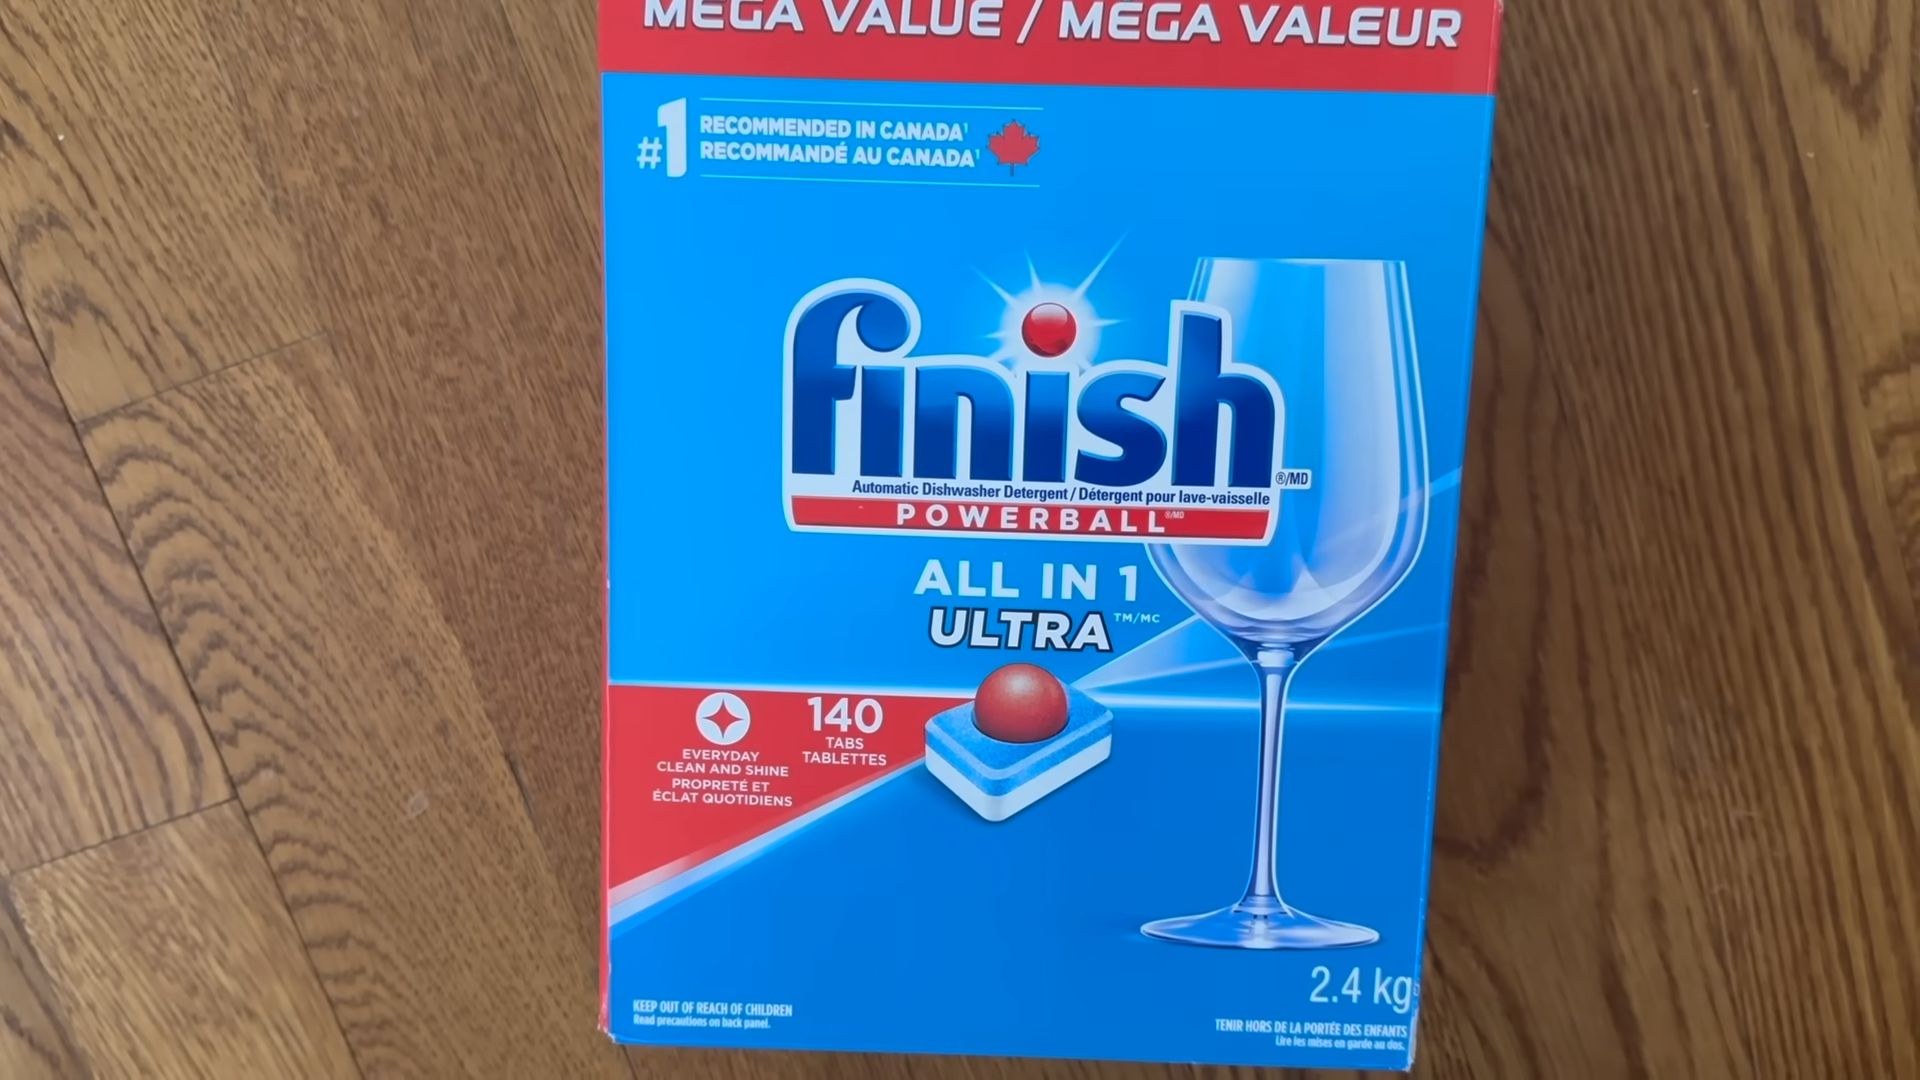
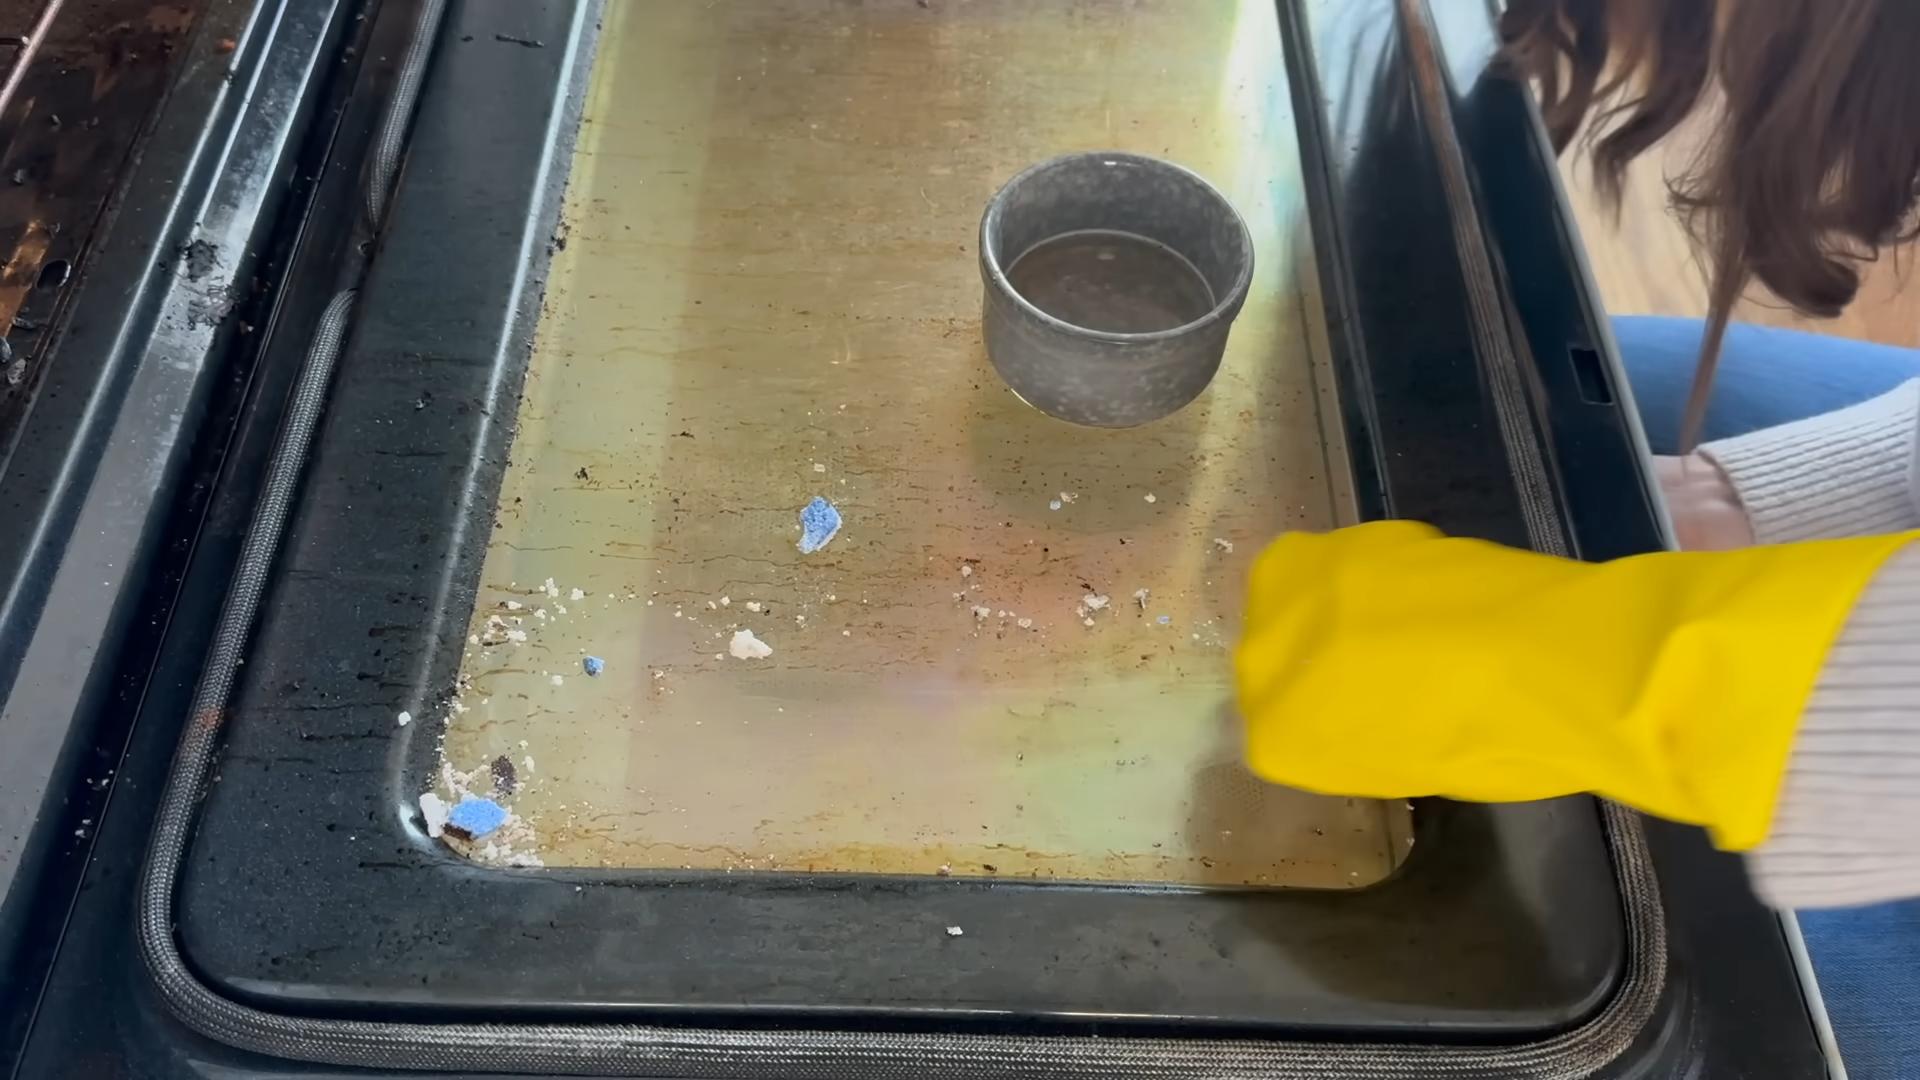
Cleaning Your Oven Without Harsh Chemicals
Oven cleaning is often dreaded, but it doesn’t have to be a chore. This natural method uses baking soda and water to loosen baked-on grime.
What you’ll need:
* Baking soda
* Water
* Spray bottle
* Sponge or cloth
* Scraper (optional)
Step-by-step instructions:
1. Remove oven racks: Remove the oven racks and set them aside. You can clean them separately in the sink with soapy water.
2. Make a baking soda paste: In a bowl, mix baking soda with enough water to create a thick paste.
3. Coat the oven: Spread the baking soda paste all over the inside of the oven, avoiding the heating elements. Make sure to coat all the dirty areas, especially those with baked-on grime.
4. Let it sit overnight: Allow the baking soda paste to sit in the oven overnight (or for at least 12 hours). This gives the baking soda time to loosen the grime.
5. Wipe it clean: The next day, use a damp sponge or cloth to wipe away the baking soda paste. You may need to use a scraper to remove stubborn spots.
6. Rinse with water: Rinse the oven with clean water to remove any remaining baking soda residue.
7. Dry the oven: Use a clean towel or cloth to dry the inside of the oven.
8. Clean the racks: Wash the oven racks with soapy water, rinse them thoroughly, and dry them before placing them back in the oven.
Freshening Your Mattress
Mattresses can harbor dust mites and odors. This simple trick will freshen your mattress and help you sleep better.
What you’ll need:
* Baking soda
* Essential oil (optional, for fragrance) – lavender or eucalyptus are great choices
* Sifter or strainer
* Vacuum cleaner with upholstery attachment
Step-by-step instructions:
1. Strip the bed: Remove all bedding, including sheets, blankets, and pillows.
2. Mix baking soda and essential oil (optional): In a bowl, mix baking soda with a few drops of essential oil (if using). The essential oil will add a pleasant fragrance to your mattress.
3. Sprinkle baking soda on the mattress: Using a sifter or strainer, sprinkle the baking soda evenly over the entire surface of the mattress.
4. Let it sit: Allow the baking soda to sit on
Conclusion
So, there you have it! This simple yet incredibly effective DIY cleaning trick is a game-changer for anyone looking to maintain a sparkling clean home without breaking the bank or relying on harsh chemicals. We’ve walked you through the process, highlighting its ease, affordability, and eco-friendliness. But why is this particular method a must-try?
Firstly, its versatility is unmatched. Whether you’re tackling stubborn grime in your oven, soap scum in your bathroom, or lingering odors in your refrigerator, this DIY solution rises to the occasion. It’s a true all-purpose cleaner that simplifies your cleaning routine and declutters your cleaning cabinet.
Secondly, the ingredients are likely already in your pantry! No need for special trips to the store or expensive cleaning products. This DIY approach empowers you to create a powerful cleaning solution with items you already have on hand, saving you time and money.
Thirdly, and perhaps most importantly, it’s a safer alternative to many commercial cleaners. You control the ingredients, eliminating the risk of exposure to harmful chemicals and fumes. This is especially crucial for households with children, pets, or individuals with sensitivities.
But the beauty of this DIY cleaning trick lies not only in its effectiveness but also in its adaptability. Feel free to experiment with variations to suit your specific needs and preferences. For instance, if you’re dealing with particularly stubborn stains, consider adding a few drops of essential oils like tea tree or lemon for their antibacterial and degreasing properties. For a more abrasive scrub, you can incorporate a small amount of baking soda into the mixture. If you prefer a scented cleaner, lavender or eucalyptus essential oils can provide a pleasant and refreshing aroma.
Don’t be afraid to get creative and tailor the recipe to your liking! The possibilities are endless.
We’re confident that once you try this DIY cleaning trick, you’ll be amazed by the results. It’s a simple, effective, and sustainable way to keep your home clean and healthy. So, ditch the harsh chemicals and embrace the power of natural cleaning.
We encourage you to give this DIY cleaning trick a try and share your experience with us! Let us know what variations you’ve experimented with and what cleaning challenges you’ve conquered. Your feedback is invaluable and helps us refine and improve our cleaning tips and tricks. Share your before-and-after photos, your favorite essential oil combinations, and any other insights you’ve gained along the way. Together, we can create a community of eco-conscious cleaners who are passionate about maintaining a healthy and sparkling home.
So, what are you waiting for? Grab your ingredients, roll up your sleeves, and get ready to experience the magic of this DIY cleaning trick. You won’t be disappointed!
Frequently Asked Questions (FAQ)
What exactly makes this DIY cleaning trick so effective?
The effectiveness of this DIY cleaning trick stems from the synergistic action of its ingredients. For example, vinegar is a natural disinfectant and degreaser, effectively cutting through grease and grime. Baking soda acts as a mild abrasive, helping to scrub away stubborn stains without scratching surfaces. The combination of these ingredients creates a powerful cleaning solution that is both effective and gentle. Furthermore, the absence of harsh chemicals ensures that you’re not introducing harmful substances into your home environment. The simplicity of the ingredients also allows for easy customization. You can adjust the ratios or add other natural ingredients like essential oils to target specific cleaning needs. The key is understanding the properties of each ingredient and how they work together to achieve a clean and healthy home.
Can I use this DIY cleaner on all surfaces? Are there any surfaces I should avoid?
While this DIY cleaner is generally safe for most surfaces, there are a few exceptions to keep in mind. Avoid using it on natural stone surfaces like marble or granite, as the acidity of the vinegar can etch and damage these materials over time. Similarly, it’s best to avoid using it on waxed wood furniture, as it can strip away the wax finish. For delicate surfaces like electronics screens, use a very diluted solution and apply it with a soft cloth, being careful not to oversaturate the area. Always test the cleaner on an inconspicuous area first to ensure it doesn’t cause any discoloration or damage. For surfaces that are known to be sensitive to acidic cleaners, consider using a baking soda paste instead, as it is a gentler alternative. When in doubt, consult the manufacturer’s instructions for the specific surface you’re cleaning.
How long does the DIY cleaning solution last? Should I make a fresh batch each time?
The shelf life of your DIY cleaning solution depends on the ingredients you use. A basic solution of vinegar and water can last for several weeks or even months when stored in a sealed container. However, if you add fresh ingredients like lemon peels or herbs, the solution may only last for a week or two before it starts to spoil. It’s always best to make a fresh batch every few weeks to ensure optimal effectiveness and prevent the growth of bacteria or mold. Store the solution in a cool, dark place to prolong its shelf life. If you notice any changes in color, odor, or consistency, it’s best to discard the solution and make a new batch. Making a fresh batch each time also allows you to customize the solution to your specific cleaning needs, ensuring that you’re using the most effective ingredients for the task at hand.
What essential oils are best to add to this DIY cleaner, and what are their benefits?
Adding essential oils to your DIY cleaner not only enhances its cleaning power but also provides a pleasant aroma and additional benefits. Some of the best essential oils to use include:
* **Tea Tree Oil:** Known for its antibacterial, antifungal, and antiviral properties, tea tree oil is excellent for disinfecting surfaces and fighting mold and mildew.
* **Lemon Oil:** A powerful degreaser and disinfectant, lemon oil leaves a fresh, citrusy scent and helps to remove stubborn stains.
* **Lavender Oil:** With its calming and relaxing aroma, lavender oil also possesses antibacterial and antiseptic properties, making it ideal for cleaning bedrooms and bathrooms.
* **Eucalyptus Oil:** Known for its decongestant and antiseptic properties, eucalyptus oil is great for cleaning bathrooms and kitchens, leaving a refreshing and invigorating scent.
* **Peppermint Oil:** Peppermint oil has antibacterial and antifungal properties and can help to repel insects. It also leaves a refreshing and invigorating scent.
When adding essential oils, start with a few drops and adjust the amount to your preference. Be sure to use pure, therapeutic-grade essential oils for the best results.
Can I use this DIY cleaning trick to clean my oven? If so, how?
Yes, this DIY cleaning trick can be very effective for cleaning your oven. Here’s how:
1. **Prepare the Oven:** Remove oven racks and any loose debris.
2. **Make a Paste:** Mix baking soda with water to create a thick paste.
3. **Apply the Paste:** Spread the paste evenly over the interior surfaces of the oven, avoiding the heating elements.
4. **Let it Sit:** Allow the paste to sit overnight or for at least 12 hours.
5. **Scrub and Wipe:** Use a damp sponge or cloth to scrub away the loosened grime. You may need to use a scraper for stubborn areas.
6. **Rinse:** Rinse the oven thoroughly with clean water to remove any remaining baking soda residue.
7. **Vinegar Spray (Optional):** For extra cleaning power, spray the oven with a solution of equal parts vinegar and water after rinsing. This will help to neutralize any remaining baking soda and further loosen any remaining grime.
8. **Wipe Dry:** Wipe the oven dry with a clean cloth.
For oven racks, soak them in a solution of hot water and dish soap or vinegar and baking soda before scrubbing them clean. This DIY method is a safe and effective way to clean your oven without harsh chemicals.

Leave a Comment