

Dollar Tree cleaner comparison: Ever feel like you’re throwing money down the drain with expensive cleaning products? I know I have! We all want a sparkling clean home, but the cost of keeping it that way can really add up. That’s why I decided to dive deep into the world of Dollar Tree cleaners and see if these budget-friendly options could actually deliver.
For generations, resourceful homemakers have sought out affordable ways to maintain their homes. From using vinegar and baking soda (a practice rooted in early American ingenuity) to repurposing old materials, the spirit of DIY cleaning is alive and well. Today, with rising costs and a growing awareness of harsh chemicals, finding effective and inexpensive cleaning solutions is more important than ever.
This article isn’t just about saving a few bucks; it’s about empowering you to take control of your cleaning routine without breaking the bank. I’ve personally tested a range of Dollar Tree cleaners, putting them head-to-head in real-world scenarios. Get ready to discover which products are surprisingly effective, which ones fall short, and how to maximize your cleaning power with these budget-friendly finds. By the end of this Dollar Tree cleaner comparison, you’ll have the knowledge to create a sparkling clean home without emptying your wallet!
Dollar Tree Cleaning Power: Can You Really Clean Your Whole House for $10?
Hey everyone! I’m always on the lookout for budget-friendly ways to keep my house sparkling. And let’s be honest, cleaning supplies can get expensive! So, I decided to put Dollar Tree cleaning products to the ultimate test. Can you *really* clean your entire house using only products from the Dollar Tree? I’m going to walk you through my experience, sharing which products surprised me, which ones fell flat, and how I used them to tackle different areas of my home. Get ready to save some serious cash!
The Dollar Tree Cleaning Haul: What I Bought
Before we dive into the cleaning frenzy, let’s take a look at what I picked up. I tried to cover all the bases, grabbing products for the kitchen, bathroom, floors, and general cleaning. Here’s the list:
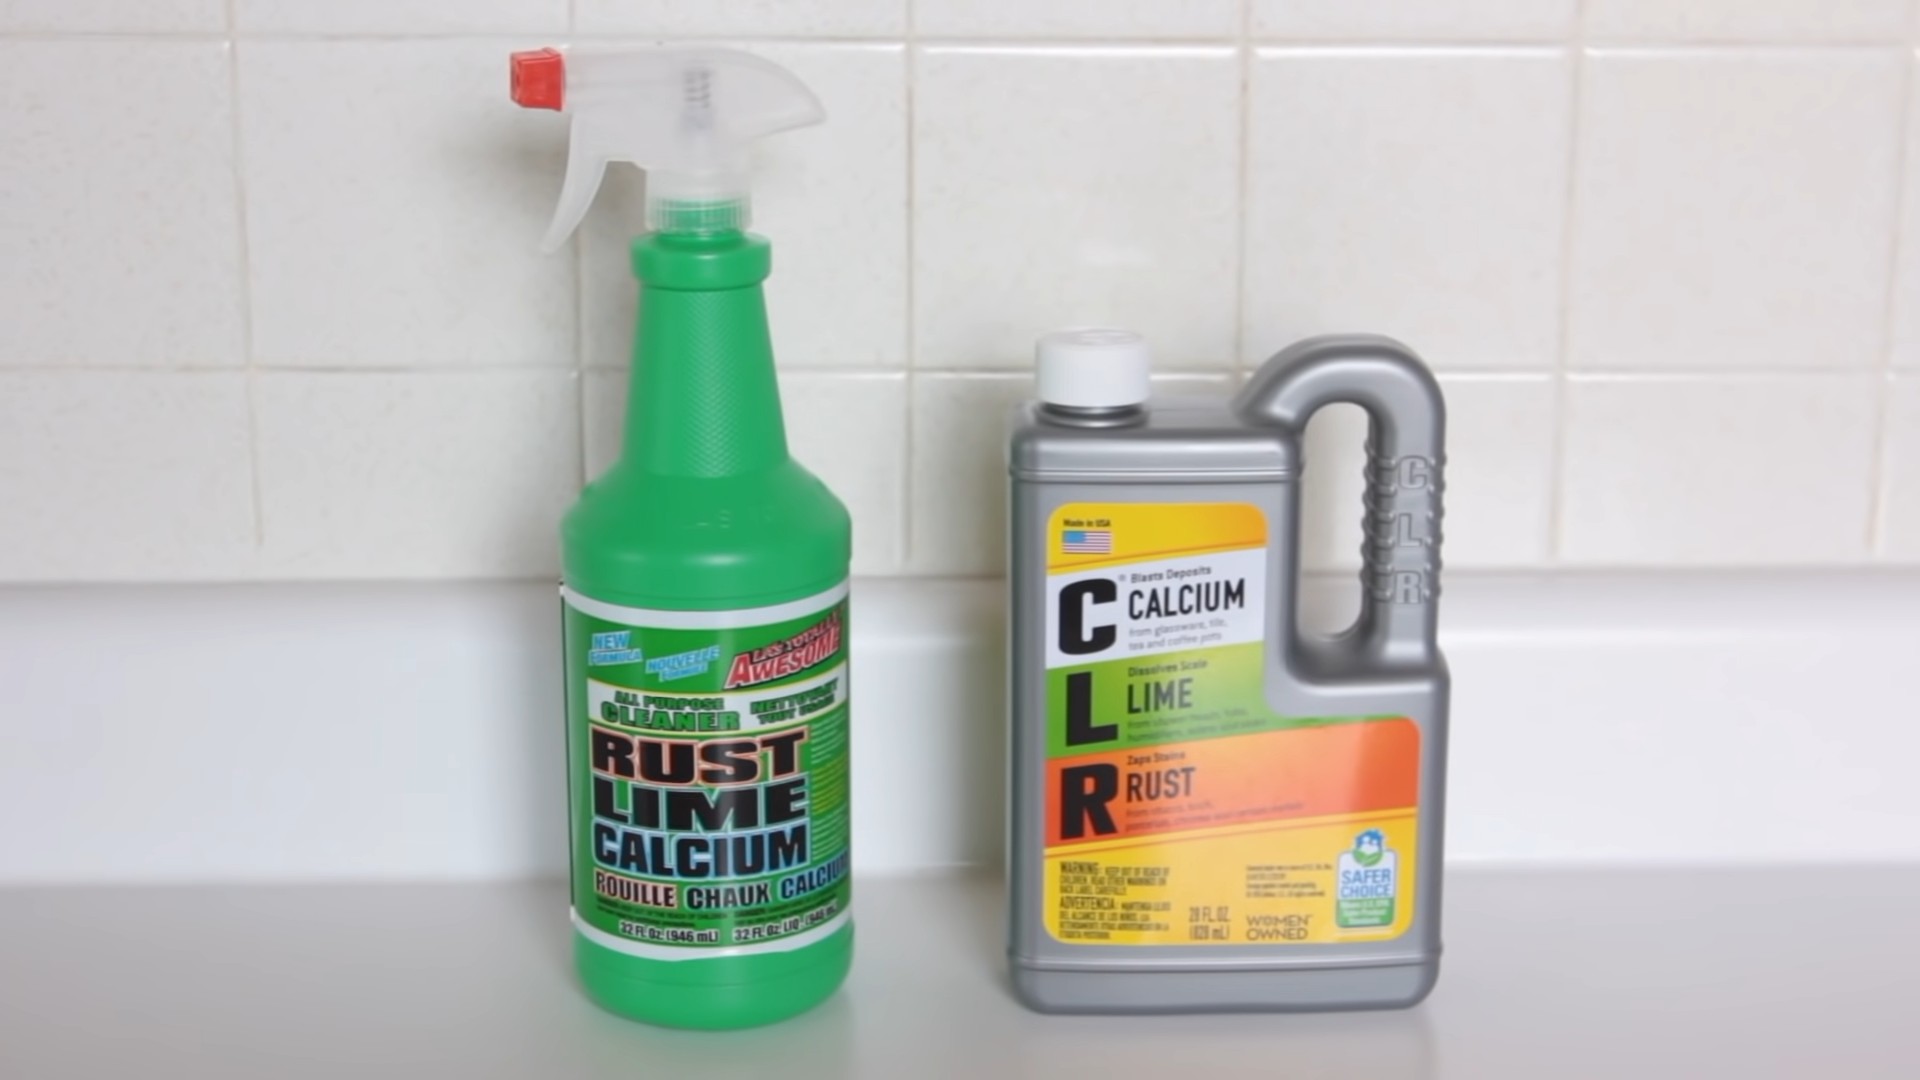
* Awesome All-Purpose Cleaner (Spray Bottle)
* LA’s Totally Awesome Oxygen Orange Cleaner
* LA’s Totally Awesome Laundry Detergent
* LA’s Totally Awesome Dish Soap
* LA’s Totally Awesome Toilet Bowl Cleaner
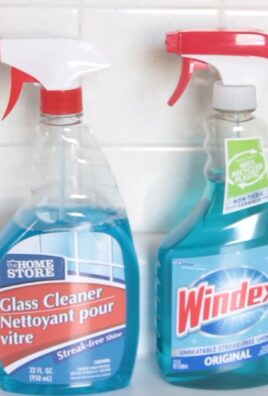
* LA’s Totally Awesome Glass Cleaner
* Pine-Sol Multi-Surface Cleaner (Dollar Tree often carries name brands!)
* Sponges (Multi-pack)
* Microfiber Cloths (Multi-pack)
* Scrub Brush
* Spray Bottles (Empty, for diluting concentrates)
* Baking Soda
* White Vinegar
Important Note: Always read and follow the instructions on the product labels! Safety first, friends!
Kitchen Cleaning: The Heart of the Home
The kitchen is usually the dirtiest room in my house, so this was the first area I wanted to tackle.
Cleaning the Countertops and Sink
1. Awesome All-Purpose Cleaner: I started with the Awesome All-Purpose Cleaner. I sprayed it liberally on my countertops and let it sit for a minute or two. Then, I wiped it down with a damp microfiber cloth. I was pleasantly surprised! It cut through grease and grime pretty effectively.
2. LA’s Totally Awesome Oxygen Orange Cleaner: For tougher stains on the countertops (like dried-on food), I used the Oxygen Orange Cleaner. This stuff has a strong citrus scent, which I personally liked. I sprayed it on, let it sit for a bit longer, and then scrubbed with a sponge. It worked well on most stains, but a few stubborn ones needed a little extra elbow grease.
3. Dish Soap: For the sink, I used the LA’s Totally Awesome Dish Soap. It lathered up nicely and cleaned the sink without leaving any residue. I also used it to wash my dishes, and it performed just as well as more expensive brands.
Tackling the Oven and Stovetop
This is where things got a little more challenging.
1. Baking Soda Paste: For the oven, I made a paste of baking soda and water. I spread it all over the inside of the oven, avoiding the heating elements. I let it sit overnight.
2. Vinegar Spray: The next day, I sprayed the baking soda paste with white vinegar. This creates a fizzy reaction that helps to loosen the grime.
3. Scrubbing Time: After letting the vinegar sit for a few minutes, I scrubbed the oven with a scrub brush. It took some effort, but the baking soda and vinegar combo did a decent job of removing baked-on food. It wasn’t perfect, but it was a significant improvement.
4. Stovetop Cleaning: For the stovetop, I used a combination of the Awesome All-Purpose Cleaner and the Oxygen Orange Cleaner. I sprayed them on, let them sit, and then scrubbed with a sponge. The Oxygen Orange Cleaner was particularly helpful for removing grease splatters.
Cleaning the Microwave
1. Vinegar Steam: I filled a microwave-safe bowl with equal parts water and white vinegar. I microwaved it for 5 minutes, allowing the steam to loosen the grime inside.
2. Wipe Down: After microwaving, I carefully removed the bowl (it will be hot!) and wiped down the inside of the microwave with a damp cloth. The steam made it super easy to remove splatters and food residue.
Bathroom Blitz: Time to Sanitize
The bathroom needs to be sparkling clean, so I was eager to see how the Dollar Tree products would perform.
Cleaning the Toilet
1. Toilet Bowl Cleaner: I used the LA’s Totally Awesome Toilet Bowl Cleaner. I squirted it under the rim of the toilet bowl and let it sit for about 10 minutes.
2. Scrub and Flush: Then, I scrubbed the bowl with a toilet brush and flushed. It did a good job of removing stains and leaving the toilet bowl clean.
Cleaning the Shower and Tub
1. Awesome All-Purpose Cleaner: I sprayed the Awesome All-Purpose Cleaner on the shower walls and tub. I let it sit for a few minutes to loosen soap scum and mildew.
2. Scrubbing: I scrubbed with a sponge and rinsed with water. It worked well on light soap scum, but for tougher stains, I needed something stronger.
3. Baking Soda Paste (Again!): For stubborn soap scum and mildew, I made another baking soda paste. I applied it to the affected areas, let it sit for a while, and then scrubbed. This was more effective than the all-purpose cleaner for those tough spots.
Cleaning the Sink and Mirror
1. Glass Cleaner: I used the LA’s Totally Awesome Glass Cleaner on the mirror and the sink faucet. It did a great job of removing streaks and leaving a sparkling shine.
2. All-Purpose Cleaner: I used the Awesome All-Purpose Cleaner on the sink basin. It cleaned away toothpaste splatters and other grime effectively.
Floor Cleaning: From Grimy to Gleaming
I have tile floors throughout my house, so I needed a good floor cleaner.
1. Pine-Sol Multi-Surface Cleaner: I chose the Pine-Sol because I know and trust the brand. I diluted it according to the instructions on the bottle and mopped the floors.
2. Mop and Rinse: The Pine-Sol cleaned the floors well and left a fresh scent. I rinsed the mop frequently to avoid spreading dirt around.
Laundry Day: Can Dollar Tree Detergent Handle the Load?
I was a little skeptical about the Dollar Tree laundry detergent, but I decided to give it a try.
1. LA’s Totally Awesome Laundry Detergent: I used the LA’s Totally Awesome Laundry Detergent for a regular load of laundry. I followed the instructions on the bottle and used the recommended amount of detergent.
2. Wash and Dry: The clothes came out clean and smelled fresh. I was surprised at how well the detergent performed, especially considering the price.
Window Cleaning: Seeing Clearly
1. Glass Cleaner: I used the LA’s Totally Awesome Glass Cleaner on my windows. I sprayed it on and wiped it off with a clean microfiber cloth.
2. Streak-Free Shine: The glass cleaner left the windows sparkling and streak-free. I was very happy with the results.
The Verdict: Did It Work?
So, can you clean your whole house with Dollar Tree cleaning products? The answer is a resounding… mostly yes!
The Winners:
* Awesome All-Purpose Cleaner: This was a surprisingly effective all-around cleaner. I used it on countertops, sinks, and even as a pre-treatment for stains.
* LA’s Totally Awesome Oxygen Orange Cleaner: This was great for tackling grease and stubborn stains. The citrus scent was a bonus.
* LA’s Totally Awesome Glass Cleaner: This left my windows and mirrors sparkling clean.
* Pine-Sol Multi-Surface Cleaner: A reliable floor cleaner that left a fresh scent.
* LA’s Totally Awesome Laundry Detergent: Surprisingly effective for everyday laundry.
* Baking Soda and Vinegar: These are cleaning staples that you can find at the Dollar Tree (or probably already have at home!).
The Could-Be-Betters:
* LA’s Totally Awesome Toilet Bowl Cleaner: It worked okay, but I’ve used better toilet bowl cleaners. It required a bit more scrubbing.
Overall:
I was impressed with the cleaning power of many of the Dollar Tree products. While some required a little more elbow grease than more expensive brands, they definitely got the job done. For anyone on a tight budget, Dollar Tree cleaning products are a great option. Just remember to read the labels, follow the instructions, and don’t be afraid to experiment to find what works best for you! And always, always test in an inconspicuous area first! Happy cleaning!
Conclusion
So, there you have it! Unlocking the cleaning power of Dollar Tree products isn’t just about saving money; it’s about resourcefulness, creativity, and taking control of your cleaning routine. We’ve explored how to effectively compare Dollar Tree cleaners and maximize their potential, proving that you don’t need to break the bank to achieve a sparkling clean home.
This isn’t just a one-size-fits-all solution, though. Feel free to experiment with different combinations and ratios to find what works best for your specific needs and surfaces. For instance, if you’re tackling particularly stubborn grime in the bathroom, consider adding a bit more of the LA’s Totally Awesome cleaner to your mixture. Or, if you prefer a more natural scent, infuse your DIY cleaner with a few drops of your favorite essential oil, like lemon or lavender. Remember to always test your cleaner on an inconspicuous area first to ensure it doesn’t damage the surface.
The beauty of this approach is its adaptability. You can tailor your cleaning solutions to address specific challenges, from tackling greasy stovetops to refreshing musty carpets. Think about adding a splash of white vinegar to your all-purpose cleaner for extra disinfecting power, or using baking soda as a gentle abrasive for scrubbing sinks and tubs. The possibilities are truly endless!
Beyond the cost savings and customization, making your own cleaning solutions from Dollar Tree finds is also a step towards a more sustainable lifestyle. By reducing your reliance on commercially produced cleaners, you’re minimizing your exposure to harsh chemicals and decreasing plastic waste. It’s a win-win for your wallet and the environment.
We understand that venturing into the world of DIY cleaning can seem daunting at first, but we encourage you to take the plunge. Start with a simple recipe, like the all-purpose cleaner, and gradually experiment with other combinations as you become more comfortable. The satisfaction of creating your own effective and affordable cleaning solutions is truly rewarding.
Don’t just take our word for it, though. We want to hear about your experiences! Try out these Dollar Tree cleaner comparisons and share your results in the comments below. Let us know what combinations worked best for you, what challenges you encountered, and any tips or tricks you discovered along the way. Your feedback will not only help other readers but also contribute to a growing community of resourceful and savvy cleaners.
So, grab your Dollar Tree shopping list, gather your supplies, and get ready to transform your cleaning routine. With a little creativity and experimentation, you can unlock the hidden potential of these budget-friendly products and achieve a sparkling clean home without breaking the bank. We’re confident that you’ll be amazed by the results! Remember to always prioritize safety when handling cleaning products, and never mix bleach with ammonia or other chemicals. Happy cleaning!
Frequently Asked Questions (FAQ)
What are the best Dollar Tree cleaners to use for DIY solutions?
The “best” Dollar Tree cleaners really depend on what you’re trying to clean. However, some consistently perform well in DIY solutions. LA’s Totally Awesome All-Purpose Cleaner is a powerhouse for degreasing and general cleaning. Pine-Sol (or a similar pine-scented cleaner) is great for disinfecting and leaving a fresh scent. Bleach is essential for sanitizing and whitening (use with caution and never mix with ammonia). For dish soap, look for a concentrated formula that cuts through grease effectively. Finally, consider grabbing some white vinegar and baking soda from the Dollar Tree as well, as these are versatile and natural cleaning agents that can be used in a variety of DIY recipes.
Are DIY Dollar Tree cleaners as effective as commercial cleaners?
This is a common question! The effectiveness of DIY Dollar Tree cleaners can be comparable to commercial cleaners, especially when formulated correctly. The key is understanding the properties of each ingredient and how they work together. For example, LA’s Totally Awesome is a strong degreaser, so it can be just as effective as a commercial degreaser when used appropriately. However, it’s important to note that some commercial cleaners contain proprietary ingredients that may offer specific benefits. The advantage of DIY is that you control the ingredients and can tailor the solution to your specific needs. Always test your DIY cleaner on a small, inconspicuous area first to ensure it doesn’t damage the surface.
Is it safe to mix different Dollar Tree cleaners?
Safety is paramount when mixing any cleaning products, including those from the Dollar Tree. Never mix bleach with ammonia or any cleaner containing ammonia. This combination creates toxic fumes that can be deadly. Similarly, avoid mixing bleach with vinegar, as this creates chlorine gas, which is also harmful. When in doubt, err on the side of caution and avoid mixing cleaners. If you’re unsure about the compatibility of two cleaners, it’s best to use them separately, rinsing the surface thoroughly between applications. Always wear gloves and eye protection when handling cleaning products, and ensure adequate ventilation.
Can I use Dollar Tree cleaners on all surfaces?
No, not all Dollar Tree cleaners are suitable for all surfaces. Some cleaners may be too harsh for delicate materials like wood, marble, or granite. Always read the labels carefully and test the cleaner on a small, inconspicuous area before applying it to the entire surface. For example, bleach can damage certain fabrics and surfaces, so it’s important to dilute it properly and use it only on bleach-safe materials. Similarly, abrasive cleaners can scratch delicate surfaces, so it’s best to avoid using them on polished or easily damaged materials. When in doubt, opt for a milder cleaner or consult the manufacturer’s instructions for the surface you’re cleaning.
How can I make my DIY Dollar Tree cleaner smell better?
Adding essential oils is a great way to enhance the scent of your DIY Dollar Tree cleaner. Lemon, lavender, tea tree, and eucalyptus are popular choices for their pleasant aromas and potential antibacterial properties. Simply add a few drops of your favorite essential oil to your cleaning solution. You can also infuse your cleaner with citrus peels or herbs for a natural fragrance. Another option is to use scented vinegar, which can be easily made by steeping citrus peels or herbs in white vinegar for a few weeks. Just be sure to strain the vinegar before using it in your cleaning solution.
Where can I find recipes for DIY Dollar Tree cleaners?
There are many resources available online for DIY Dollar Tree cleaner recipes. A simple search on Google or YouTube will yield a wealth of information. You can also find recipes on blogs and websites dedicated to DIY cleaning and frugal living. When searching for recipes, be sure to look for reputable sources that provide clear instructions and safety precautions. It’s also a good idea to read reviews and comments from other users to get an idea of the recipe’s effectiveness and any potential issues. Remember to always prioritize safety and use common sense when following any DIY recipe.
How do I store my DIY Dollar Tree cleaner?
Store your DIY Dollar Tree cleaner in a clean, labeled spray bottle or container. Be sure to label the container clearly with the name of the cleaner and the date it was made. This will help you avoid confusion and ensure that you’re using the cleaner correctly. Store the cleaner in a cool, dry place away from direct sunlight and heat. Keep it out of reach of children and pets. It’s also a good idea to discard any unused cleaner after a few months, as the ingredients may degrade over time.
What if my DIY Dollar Tree cleaner doesn’t work as expected?
If your DIY Dollar Tree cleaner isn’t working as expected, don’t be discouraged! There are several things you can try to troubleshoot the issue. First, double-check the recipe to ensure that you’ve used the correct ingredients and ratios. Next, consider the type of surface you’re cleaning and whether the cleaner is appropriate for that surface. If the cleaner is too weak, try increasing the concentration of the active ingredients. If it’s too harsh, try diluting it with water. You can also try adding other ingredients, such as baking soda or vinegar, to boost its cleaning power. Finally, remember that some stains and messes may require multiple applications or a longer soaking time.


Leave a Comment