

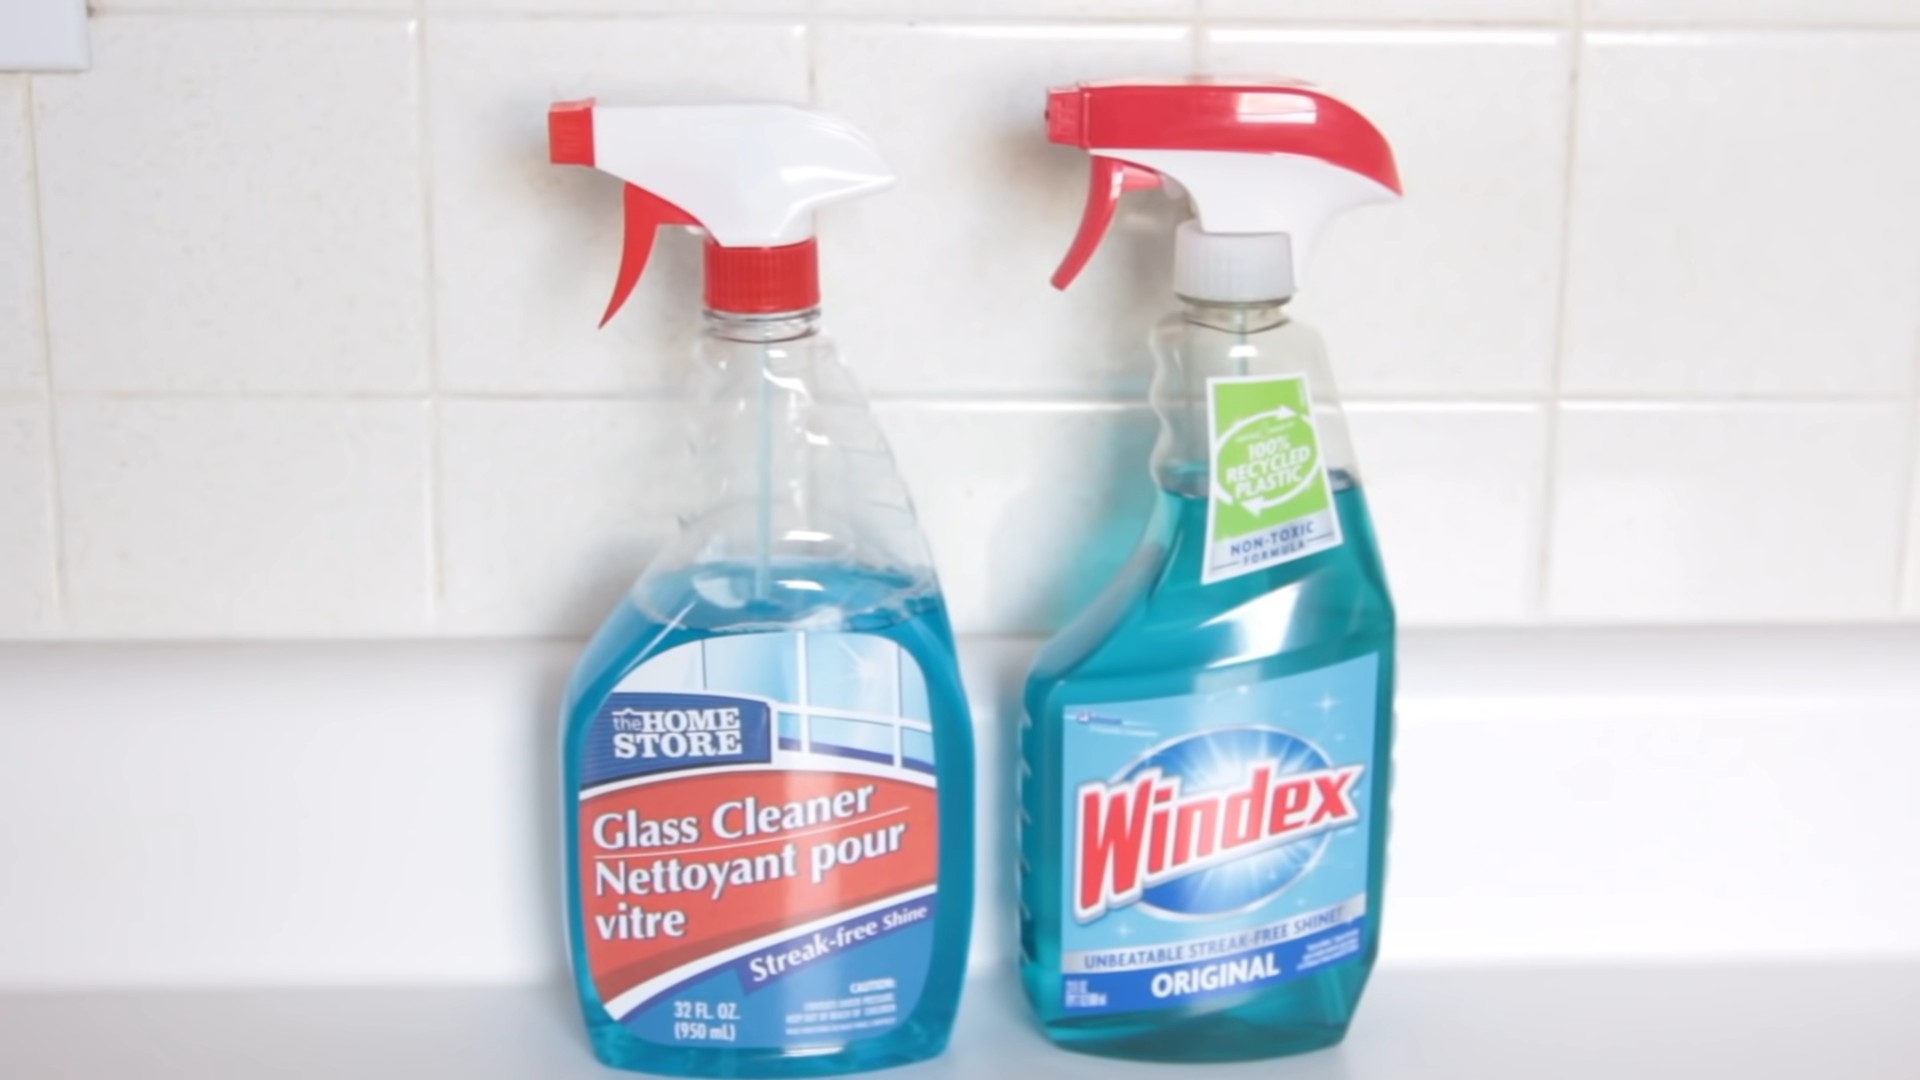
Glass cleaner cleaning hacks are about to become your new best friend! Are you tired of streaks, smudges, and that lingering film on your windows and mirrors? I know I was! For generations, keeping glass surfaces sparkling has been a constant battle. From ancient civilizations using natural abrasives to the modern-day reliance on chemical solutions, the quest for crystal-clear glass has been ongoing. But what if I told you that the secret to achieving a professional-level shine is already sitting in your cleaning cabinet?
This isn’t just another article about how to spray and wipe. We’re diving deep into the world of glass cleaner cleaning hacks, uncovering unexpected uses and clever techniques that will transform your cleaning routine. Think beyond windows and mirrors – we’re talking shower doors, stainless steel appliances, even your car’s windshield!
Why do you need these hacks? Because life’s too short to spend hours scrubbing! These DIY tricks will save you time, money, and a whole lot of elbow grease. Plus, many of these hacks utilize readily available household items, making them eco-friendly and budget-conscious. Get ready to unlock the full potential of your glass cleaner and say goodbye to frustrating streaks forever!
Unlock the Sparkling Secrets: Glass Cleaner Hacks You Need to Know!
Hey there, fellow DIY enthusiasts! I’m always on the lookout for clever ways to make life easier and more efficient, and let me tell you, glass cleaner is a true unsung hero around the house. Forget just windows – this stuff can do so much more! I’m going to share some of my favorite glass cleaner hacks that will leave your home sparkling and save you time and money. Get ready to be amazed!
Hack #1: The Ultimate Chrome Polisher
Chrome fixtures can be a real pain to keep shiny. Water spots, fingerprints, and general grime seem to cling to them like magnets. But fear not! Glass cleaner is your secret weapon.
Why it works: Glass cleaner is formulated to cut through grease and leave a streak-free shine, making it perfect for chrome.
What you’ll need:
* Glass cleaner
* Microfiber cloth
Step-by-step instructions:
1. Spray it on: Lightly spray the glass cleaner directly onto the chrome surface. Don’t overdo it – a little goes a long way.
2. Wipe it down: Using a clean microfiber cloth, wipe the chrome surface in a circular motion. Apply gentle pressure to remove any stubborn spots.
3. Buff to a shine: Flip the microfiber cloth to a clean, dry section and buff the chrome until it shines. You’ll be amazed at the difference!
4. Repeat if necessary: For heavily soiled chrome, you may need to repeat the process.
Hack #2: Revive Your Stainless Steel Appliances
Stainless steel appliances are beautiful, but they’re also notorious for showing fingerprints and smudges. Glass cleaner to the rescue!
Why it works: Glass cleaner effectively removes fingerprints and smudges without leaving streaks, making it ideal for stainless steel.
What you’ll need:
* Glass cleaner
* Microfiber cloth
Step-by-step instructions:
1. Spray sparingly: Lightly spray the glass cleaner onto a microfiber cloth. Avoid spraying directly onto the appliance, as this can cause drips.
2. Wipe with the grain: Wipe the stainless steel surface in the direction of the grain. This will help prevent streaks.
3. Buff dry: Use a clean, dry section of the microfiber cloth to buff the surface until it’s dry and shiny.
4. Admire your work: Step back and admire your fingerprint-free, gleaming stainless steel appliances!
Hack #3: Sparkling Shower Doors (Goodbye Soap Scum!)
Soap scum on shower doors is a common problem, but glass cleaner can help you tackle it with ease.
Why it works: The ammonia in some glass cleaners helps to break down soap scum and hard water stains.
What you’ll need:
* Glass cleaner
* Spray bottle (if your glass cleaner doesn’t have one)
* Scrub brush or sponge
* Squeegee
Step-by-step instructions:
1. Spray liberally: Generously spray the glass cleaner onto the shower doors, focusing on areas with heavy soap scum buildup.
2. Let it sit: Allow the glass cleaner to sit on the shower doors for 5-10 minutes to allow it to penetrate the soap scum.
3. Scrub gently: Using a scrub brush or sponge, gently scrub the shower doors to loosen the soap scum.
4. Rinse thoroughly: Rinse the shower doors thoroughly with water to remove all traces of glass cleaner and soap scum.
5. Squeegee dry: Use a squeegee to remove excess water from the shower doors. This will help prevent water spots.
6. Wipe down edges: Use a clean cloth to wipe down the edges of the shower doors.
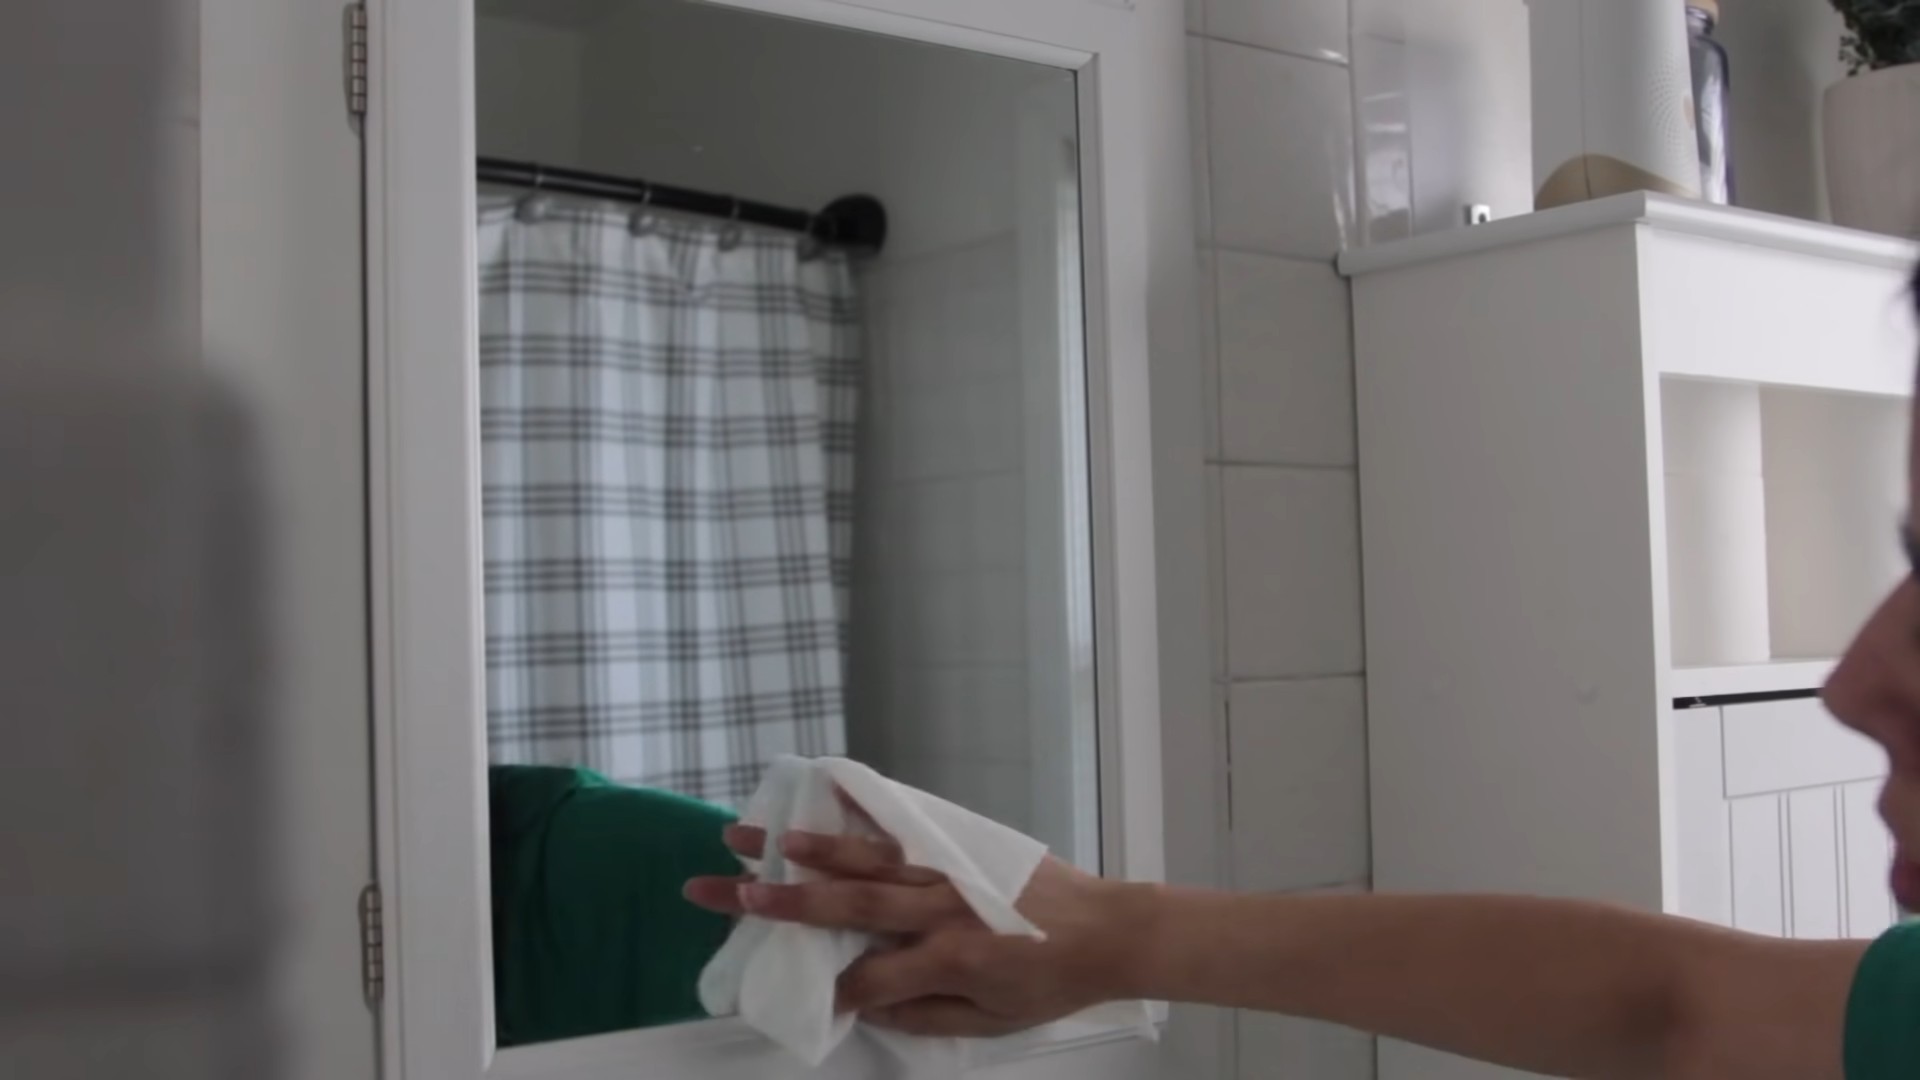
Hack #4: Clean Your Computer and TV Screens Safely
Dust and fingerprints on your computer and TV screens can be distracting. But using the wrong cleaner can damage them. Glass cleaner (used carefully!) can be a safe and effective solution.
Important Note: Always check your device’s manufacturer instructions before using any cleaning product on the screen. Some screens have special coatings that can be damaged by certain chemicals.
Why it works: When used sparingly and correctly, glass cleaner can safely remove dust and fingerprints from screens without leaving streaks.
What you’ll need:
* Glass cleaner (ammonia-free is preferred)
* Microfiber cloth (specifically designed for screens)
Step-by-step instructions:
1. Power down: Turn off your computer or TV and unplug it from the power outlet. This is crucial for safety.
2. Spray onto the cloth: Never spray glass cleaner directly onto the screen. Instead, lightly spray a microfiber cloth specifically designed for screens. Make sure the cloth is damp, not soaking wet.
3. Wipe gently: Gently wipe the screen in a circular motion, applying minimal pressure. Avoid pressing too hard, as this can damage the screen.
4. Dry with a clean cloth: Use a clean, dry microfiber cloth to buff the screen until it’s dry and streak-free.
5. Power up: Once the screen is completely dry, you can plug in and turn on your device.
Hack #5: Give Your Car Windows a Crystal-Clear Finish
Dirty car windows can be a safety hazard, especially at night. Glass cleaner can help you achieve a crystal-clear finish.
Why it works: Glass cleaner effectively removes dirt, grime, and bug splatters from car windows, improving visibility.
What you’ll need:
* Glass cleaner
* Microfiber cloths (at least two)
Step-by-step instructions:
1. Park in the shade: Avoid cleaning your car windows in direct sunlight, as this can cause the glass cleaner to dry too quickly and leave streaks.
2. Spray the windows: Spray the glass cleaner onto the car windows, both inside and out.
3. Wipe thoroughly: Using a clean microfiber cloth, wipe the windows thoroughly to remove dirt and grime.
4. Buff to a shine: Use a second clean, dry microfiber cloth to buff the windows until they’re streak-free.
5. Don’t forget the mirrors: Repeat the process on your car’s mirrors.
Hack #6: Clean Your Eyeglasses and Sunglasses
Smudged eyeglasses and sunglasses can be annoying. Glass cleaner can help you keep them clean and clear.
Important Note: Use only ammonia-free glass cleaner on eyeglasses and sunglasses, as ammonia can damage the lenses.
Why it works: Ammonia-free glass cleaner gently removes smudges and fingerprints without damaging the lenses.
What you’ll need:
* Ammonia-free glass cleaner
* Microfiber cloth (specifically for eyeglasses)
Step-by-step instructions:
1. Rinse with water: Rinse your eyeglasses or sunglasses with lukewarm water to remove any loose dirt or debris.
2. Spray lightly: Lightly spray the lenses with ammonia-free glass cleaner.
3. Wipe gently: Using a clean microfiber cloth specifically designed for eyeglasses, gently wipe the lenses to remove smudges and fingerprints.
4. Dry thoroughly: Dry the lenses thoroughly with the microfiber cloth.
Hack #7: Remove Sticky Residue
Sticky residue from stickers, tape, or labels can be a real pain to remove. Glass cleaner can help you dissolve the adhesive.
Why it works: The solvents in glass cleaner can help to break down the adhesive, making it easier to remove.
What you’ll need:
* Glass cleaner
* Clean cloth or paper towel
* Plastic scraper (optional)
Step-by-step instructions:
1. Spray the residue: Spray the sticky residue with glass cleaner.
2. Let it soak: Allow the glass cleaner to soak for a few minutes to soften the adhesive.
3. Wipe or scrape: Wipe away the residue with a clean cloth or paper towel. For stubborn residue, you can use a plastic scraper to gently lift it away.
4. Repeat if necessary: You may need to repeat the process for heavily soiled areas.
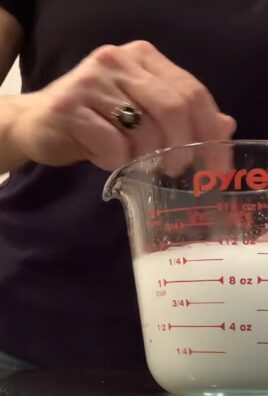
Hack #8: Shine Up Your Jewelry
Want to give your jewelry a quick shine without harsh chemicals? Glass cleaner can do the trick!
Important Note: Do not use this method on delicate or porous stones like pearls or opals.
Why it works: Glass cleaner can help remove dirt and grime from jewelry, restoring its shine.
What you’ll need:
* Glass cleaner
* Soft-bristled toothbrush
* Clean cloth
Step-by-step instructions:
1. Spray lightly: Lightly spray the jewelry with glass cleaner.
2. Gently scrub: Use a soft-bristled toothbrush to gently scrub the
Conclusion
So, there you have it! This simple yet incredibly effective DIY glass cleaner cleaning hack is more than just a way to save money; it’s a gateway to sparkling, streak-free surfaces throughout your home. We’ve explored how readily available ingredients can be combined to create a powerful cleaning solution that rivals, and in many cases surpasses, store-bought alternatives. The benefits extend beyond cost savings, encompassing environmental consciousness and the satisfaction of crafting a personalized cleaning product.
Why is this a must-try? Because it works! You’ll be amazed at how easily this homemade glass cleaner cuts through grime, fingerprints, and water spots, leaving your windows, mirrors, and glass surfaces gleaming. Forget about those frustrating streaks that seem to linger no matter how hard you scrub. This DIY solution delivers a professional-quality finish without the harsh chemicals and overpowering scents often associated with commercial cleaners.
But the beauty of this hack lies in its adaptability. Feel free to experiment with different essential oils to create a custom scent that invigorates your cleaning routine. A few drops of lemon essential oil can add an extra boost of cleaning power and a refreshing citrus aroma. Lavender essential oil can create a calming and relaxing atmosphere while you clean. Tea tree oil offers antibacterial properties, making it a great addition for cleaning surfaces in bathrooms and kitchens.
For those with particularly stubborn grime, consider adding a tablespoon of white vinegar to the mixture. Vinegar is a natural degreaser and can help to break down tough stains. However, be mindful of using vinegar on certain surfaces, such as marble or granite, as it can potentially damage them. Always test the solution on an inconspicuous area first to ensure compatibility.
Another variation involves using distilled water instead of tap water. Distilled water is free of minerals and impurities, which can sometimes contribute to streaks. This is especially helpful if you live in an area with hard water.
We wholeheartedly encourage you to give this DIY glass cleaner cleaning hack a try. It’s a simple, affordable, and effective way to achieve sparkling clean glass surfaces. Once you experience the results, you’ll wonder why you ever relied on store-bought cleaners.
Don’t just take our word for it! We’re eager to hear about your experiences. Share your results, variations, and tips in the comments below. Let’s create a community of DIY cleaning enthusiasts who are passionate about achieving a sparkling clean home without breaking the bank or harming the environment. Your feedback will not only inspire others but also help us refine and improve this already fantastic cleaning hack. So, grab your ingredients, mix up a batch, and prepare to be amazed by the power of homemade glass cleaner! Let us know how this **glass cleaner cleaning hack** worked for you!
Frequently Asked Questions (FAQ)
What are the basic ingredients needed for this DIY glass cleaner?
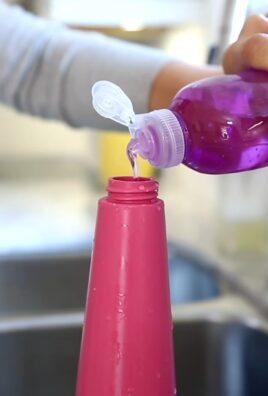
The basic ingredients are typically white vinegar, water (distilled is preferred), and a few drops of dish soap. Some recipes also include rubbing alcohol for added cleaning power and faster drying. Essential oils can be added for fragrance and additional cleaning benefits. The exact ratios may vary depending on the specific recipe you choose.
Why is distilled water recommended over tap water?
Distilled water is free of minerals and impurities that can be found in tap water. These minerals can sometimes leave streaks or spots on glass surfaces, especially in areas with hard water. Using distilled water helps to ensure a streak-free finish. If you don’t have distilled water, you can try boiling tap water and letting it cool completely before using it.
Can I use this DIY glass cleaner on all types of glass surfaces?
Generally, yes, this DIY glass cleaner is safe for most glass surfaces, including windows, mirrors, glass tables, and shower doors. However, it’s always a good idea to test the solution on an inconspicuous area first, especially if you’re unsure about the surface material. Avoid using vinegar-based cleaners on delicate surfaces like marble or granite, as they can potentially cause damage.
How do I store the homemade glass cleaner?
Store the glass cleaner in a clean, labeled spray bottle. A dark-colored bottle is preferable if you’re using essential oils, as it helps to protect them from light degradation. Keep the bottle out of reach of children and pets. The shelf life of the cleaner is typically several months, but it’s best to use it within a few weeks for optimal effectiveness.
What essential oils are best to use in this DIY glass cleaner?
Several essential oils can be added to enhance the cleaning power and fragrance of your DIY glass cleaner. Lemon essential oil is a popular choice for its degreasing properties and refreshing scent. Lavender essential oil offers a calming aroma and antibacterial benefits. Tea tree oil is another excellent option for its antibacterial and antifungal properties. Other suitable essential oils include eucalyptus, peppermint, and orange. Use only a few drops of essential oil per batch of cleaner to avoid overpowering the scent.
How do I prevent streaks when using this DIY glass cleaner?
To minimize streaks, use a clean microfiber cloth to wipe the glass surface. Avoid using paper towels, as they can sometimes leave lint behind. Spray the cleaner sparingly and wipe in a circular motion, then buff dry with a clean, dry microfiber cloth. If you’re cleaning windows on a sunny day, try to do it in the early morning or late afternoon when the sun isn’t directly shining on the glass, as this can cause the cleaner to dry too quickly and leave streaks.
Can I use this glass cleaner on my car windows?
Yes, this DIY glass cleaner can be used on car windows. However, be careful not to get the cleaner on the car’s paint, as the vinegar can potentially damage the finish over time. It’s best to spray the cleaner directly onto a microfiber cloth and then wipe the windows.
Is this DIY glass cleaner safe for pets and children?
While the ingredients in this DIY glass cleaner are generally considered safe, it’s still important to keep it out of reach of children and pets. Avoid spraying the cleaner directly in their faces or allowing them to ingest it. If you’re concerned about potential sensitivities, you can use a milder recipe with fewer ingredients or opt for a commercially available natural glass cleaner.
What if I don’t have white vinegar? Can I use something else?
White vinegar is the most commonly used ingredient in DIY glass cleaners due to its acidity and cleaning properties. However, if you don’t have white vinegar, you can try using apple cider vinegar as a substitute. Keep in mind that apple cider vinegar has a stronger scent than white vinegar, so you may want to use a smaller amount or add more essential oils to mask the odor.
How often should I clean my windows and mirrors?
The frequency of cleaning depends on several factors, such as the location of your home, the weather conditions, and your personal preferences. Generally, it’s a good idea to clean your windows and mirrors at least once a month to maintain their clarity and prevent the buildup of dirt and grime. You may need to clean them more frequently if you live in a dusty area or have pets that tend to smudge the glass.
Leave a Comment