

No Streak Glass Cleaner DIY: Are you tired of battling stubborn streaks and smudges every time you clean your windows and mirrors? I know I was! For years, I struggled with commercial glass cleaners that promised sparkling results but consistently left me disappointed. It felt like a never-ending cycle of spraying, wiping, and still seeing those annoying streaks glaring back at me.
The quest for truly clean, streak-free glass has been a long one. Historically, people relied on simple, natural ingredients like vinegar and water – a testament to the power of effective, eco-friendly solutions. Think about it, our grandmothers probably had this figured out long ago! But in our modern world, we’ve become accustomed to complex formulas and harsh chemicals, often overlooking the simple solutions right in our own pantries.
That’s why I’m so excited to share this no streak glass cleaner DIY recipe with you. It’s incredibly easy to make, uses ingredients you likely already have, and, most importantly, it actually works! Imagine finally achieving that crystal-clear shine without the frustration of streaks. This DIY trick will not only save you money but also reduce your exposure to harsh chemicals, making your home a healthier and happier place. So, ditch the store-bought cleaners and let’s get started on creating your own amazing, streak-free glass cleaner!
DIY Streak-Free Glass Cleaner: Say Goodbye to Smudges!
Hey there, fellow DIY enthusiasts! Are you tired of battling streaks every time you clean your windows and mirrors? I know I was! Store-bought glass cleaners can be expensive and often leave behind a frustrating film. That’s why I decided to create my own streak-free glass cleaner, and let me tell you, it’s a game-changer! It’s super easy, incredibly affordable, and uses ingredients you probably already have in your pantry. Get ready to say goodbye to smudges and hello to sparkling clean glass!
What You’ll Need: The Essential Supplies
Before we dive in, let’s gather our supplies. This is a pretty straightforward project, so the list is short and sweet.
* Spray Bottle: A clean, empty spray bottle is a must. I prefer a 16-ounce bottle, but any size will work as long as you adjust the ingredient amounts accordingly. Make sure it’s thoroughly cleaned to avoid contaminating your cleaner.
* Distilled Water: This is key to avoiding streaks! Tap water contains minerals that can leave residue on your glass. Distilled water ensures a spotless finish.
* White Vinegar: The star of the show! White vinegar is a natural cleaner and degreaser. Its acidity helps to dissolve grime and cut through grease, leaving your glass sparkling.
* Rubbing Alcohol (Isopropyl Alcohol): This helps the cleaner evaporate quickly, preventing streaks. I use 70% isopropyl alcohol, but 91% works even better.
* Essential Oil (Optional): While not essential for cleaning, a few drops of your favorite essential oil can add a pleasant scent to your cleaner. Lemon, lavender, or tea tree oil are great choices.
* Measuring Cups and Spoons: For accurate measurements, grab your measuring cups and spoons.
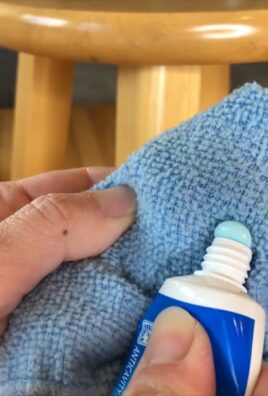
* Microfiber Cloths: These are the best for streak-free cleaning. They’re super absorbent and won’t leave behind lint.
The Magic Formula: Getting the Ratios Right
The secret to a truly streak-free glass cleaner lies in the perfect balance of ingredients. Here’s the recipe I’ve perfected over time:
* 2 cups (16 ounces) distilled water
* 1/4 cup white vinegar
* 1/4 cup rubbing alcohol (70% or 91% isopropyl alcohol)
* 5-10 drops essential oil (optional)
Step-by-Step Instructions: Creating Your Streak-Free Solution
Now for the fun part! Let’s mix up our glass cleaner.
1. Prepare Your Spray Bottle: Make sure your spray bottle is clean and dry. Any residue inside could affect the performance of your cleaner.
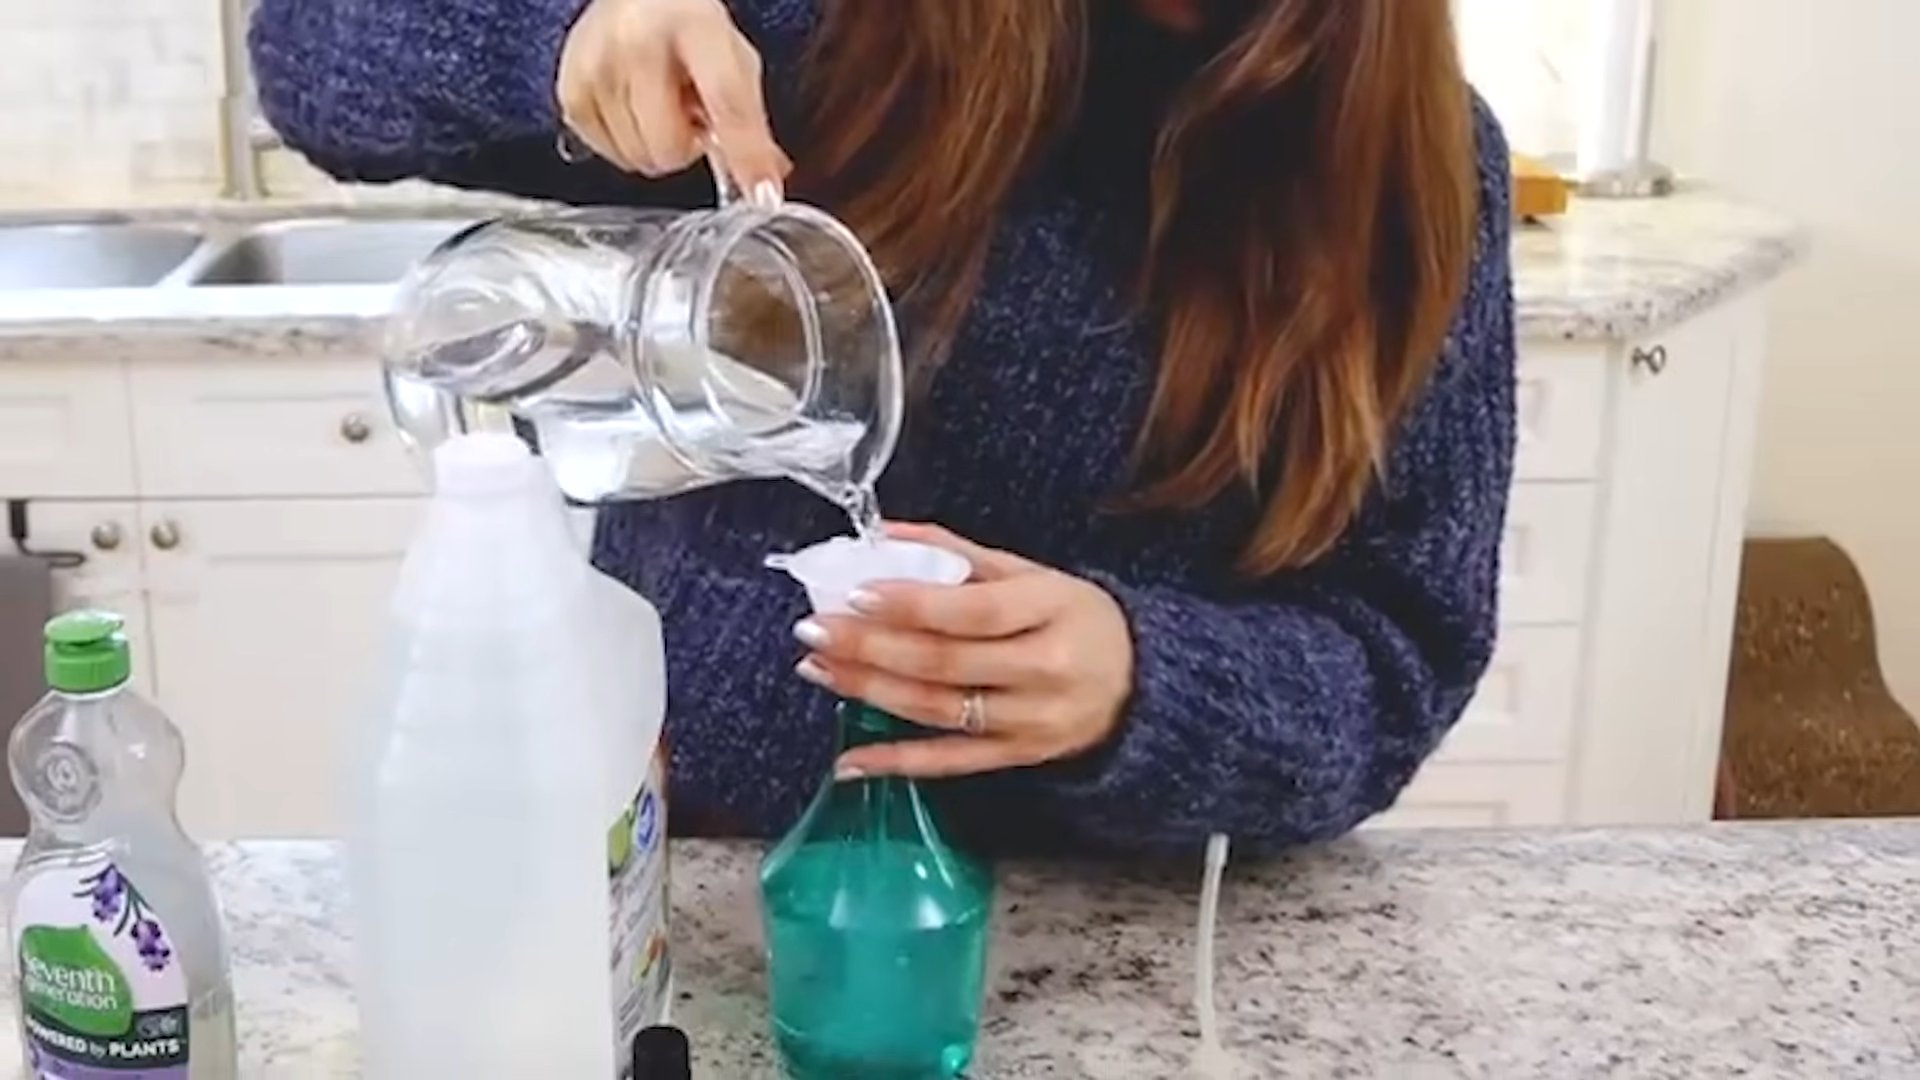
2. Add Distilled Water: Pour 2 cups of distilled water into the spray bottle.
3. Pour in the White Vinegar: Carefully add 1/4 cup of white vinegar to the bottle. The vinegar smell might be a little strong at first, but it will dissipate quickly.
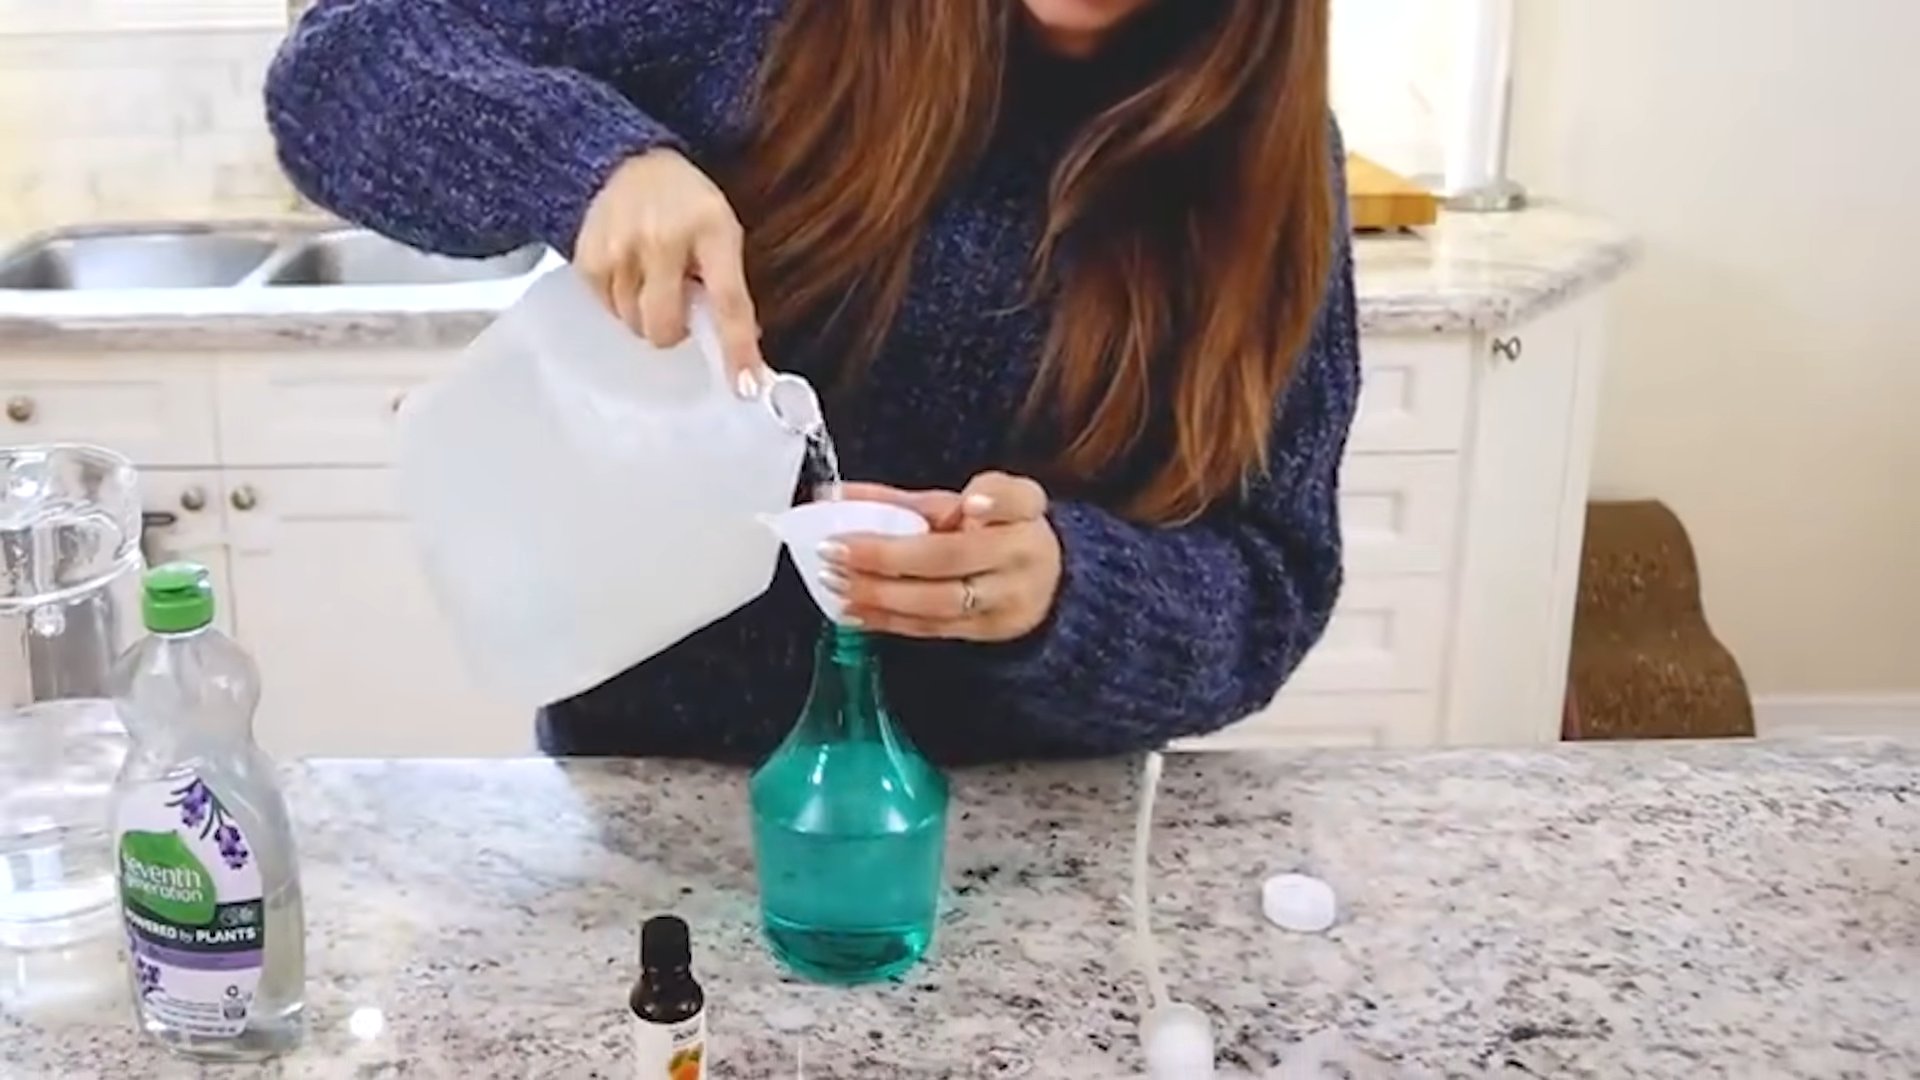
4. Incorporate the Rubbing Alcohol: Now, pour in 1/4 cup of rubbing alcohol. This will help the cleaner dry quickly and prevent streaks.
5. Add Essential Oil (Optional): If you’re using essential oil, add 5-10 drops to the mixture. Be careful not to add too much, as it could leave a residue.
6. Secure the Lid and Shake Well: Tightly screw the spray nozzle onto the bottle and shake the mixture vigorously to ensure all the ingredients are thoroughly combined.
Cleaning Like a Pro: Application Tips and Tricks
Okay, you’ve got your homemade glass cleaner ready to go. Now, let’s talk about how to use it for the best results.
1. Prepare the Surface: Before you start spraying, give your windows or mirrors a quick wipe with a dry microfiber cloth to remove any loose dust or debris. This will prevent you from just spreading the dirt around.
2. Spray Sparingly: Less is more! Lightly mist the surface with your glass cleaner. Avoid oversaturating the area, as this can actually lead to streaks.
3. Wipe with a Clean Microfiber Cloth: Immediately wipe the sprayed surface with a clean, dry microfiber cloth. Use a circular motion to spread the cleaner evenly, then switch to a straight, overlapping motion to remove any remaining residue.
4. Flip and Buff: Flip your microfiber cloth to a clean, dry section and buff the surface to a sparkling shine. This final step is crucial for eliminating any lingering streaks.
5. Tackle Stubborn Spots: For stubborn spots or grime, spray the area again and let the cleaner sit for a minute or two before wiping. You might need to repeat the process a few times for particularly dirty areas.
Troubleshooting: Addressing Common Issues
Even with the best recipe and technique, you might encounter a few challenges along the way. Here are some common issues and how to fix them:
* Streaks: If you’re still seeing streaks, try using a different microfiber cloth or ensuring you’re not using too much cleaner. Also, make sure your microfiber cloths are clean and free of any detergent residue. Sometimes, washing them with just water and a little bit of vinegar can help.
* Smell: The vinegar smell can be a bit strong at first, but it should dissipate quickly. If you’re sensitive to smells, consider adding more essential oil or opening a window for ventilation.
* Residue: If you’re noticing a residue, you might be using too much essential oil or your water might not be truly distilled. Try reducing the amount of essential oil or switching to a different brand of distilled water.
* Cloudiness: Cloudiness can sometimes occur if the ingredients aren’t properly mixed or if the rubbing alcohol is old. Make sure you shake the bottle well before each use and use fresh rubbing alcohol.
Beyond Windows and Mirrors: Other Uses for Your DIY Cleaner
The beauty of this DIY glass cleaner is that it’s not just for windows and mirrors! You can use it on a variety of surfaces around your home, including:
* Glass Tabletops: Keep your glass tabletops sparkling clean with a quick spray and wipe.
* Shower Doors: Prevent soap scum buildup on your shower doors by spraying them down after each use.
* Car Windows: This cleaner works great on car windows too! Just be sure to avoid spraying it on any painted surfaces.
* Stainless Steel Appliances: Use it to remove fingerprints and smudges from your stainless steel appliances.
* Electronics Screens: Lightly mist a microfiber cloth with the cleaner and gently wipe your computer, phone, or TV screens. Be careful not to spray directly onto the screen.
Safety First: Important Precautions
While this DIY glass cleaner is made with natural ingredients, it’s still important to take a few precautions:
* Keep Out of Reach of Children: Store the cleaner in a safe place where children and pets cannot access it.
* Avoid Contact with Eyes: If the cleaner gets in your eyes, rinse them thoroughly with water.
* Test on a Small Area First: Before using the cleaner on a new surface, test it on a small, inconspicuous area to ensure it doesn’t cause any damage or discoloration.
* Don’t Mix with Other Cleaners: Never mix this cleaner with other cleaning products, as this could create harmful fumes.
Why DIY? The Benefits of Making Your Own Glass Cleaner
Besides saving money and reducing waste, there are several other benefits to making your own glass cleaner:
* Control Over Ingredients: You know exactly what’s going into your cleaner, so you can avoid harsh chemicals and allergens.
* Customizable Scent: You can choose your favorite essential oils to create a custom scent that you love.
* Environmentally Friendly: By using natural ingredients and reusing a spray bottle, you’re reducing your environmental impact.
* Satisfaction: There’s something incredibly satisfying about making your own cleaning products and knowing that you’re creating a healthier and more sustainable home.
Storing Your Homemade Cleaner: Keeping it Fresh
To keep your homemade glass cleaner fresh and effective, store it in a cool, dark place away from direct sunlight. The cleaner should last for several months, but if you notice any changes in color or smell, it’s best to discard it and make a fresh batch.
Microfiber Cloth Care: Keeping Them Clean and Effective
Your microfiber cloths are essential for achieving streak-free results, so it’s important to take good care of them. Here are a few tips:
* Wash Regularly: Wash your microfiber cloths after each use or when they become visibly dirty.
* Use Mild Detergent: Use a mild, fragrance-free detergent when washing your microfiber cloths. Avoid using fabric softener, as it can leave a residue that reduces their absorbency.
* Air Dry: Air dry your microfiber cloths or tumble dry them on low heat. Avoid using dryer sheets, as they can also leave a residue.
*
Conclusion
So, there you have it! Ditching the store-bought glass cleaner and embracing this No Streak Glass Cleaner DIY recipe is more than just a cost-effective choice; it’s a step towards a cleaner home, a healthier environment, and a surprisingly satisfying DIY experience. You’re not just cleaning your windows; you’re crafting a solution tailored to your needs, free from harsh chemicals and unnecessary additives.
Why is this a must-try? Because it works! The combination of simple ingredients – water, white vinegar, rubbing alcohol, and your choice of essential oil – creates a powerful cleaning solution that cuts through grime, grease, and fingerprints, leaving behind a sparkling, streak-free shine. Forget those frustrating streaks that seem to multiply with every wipe. This DIY cleaner delivers professional-quality results without the professional price tag.
But the benefits extend beyond just clean windows. You’re also reducing your exposure to potentially harmful chemicals found in commercial cleaners. Many store-bought options contain ingredients that can irritate your skin, eyes, and respiratory system. By making your own cleaner, you have complete control over what goes into it, ensuring a safer and healthier environment for you and your family.
And let’s not forget the satisfaction of creating something yourself. There’s a certain pride that comes with knowing you’ve crafted a product that’s both effective and eco-friendly. Plus, it’s incredibly easy! The recipe is simple to follow, requiring only a few minutes of your time and readily available ingredients.
Looking for variations? Absolutely! Feel free to experiment with different essential oils to find your favorite scent. Lavender, lemon, tea tree, and eucalyptus are all popular choices that not only smell great but also offer additional cleaning and disinfecting properties. You can also adjust the ratio of ingredients to suit your specific needs. If you have particularly stubborn grime, try increasing the amount of vinegar or rubbing alcohol. For lighter cleaning, you can dilute the solution with more water.
Consider using distilled water for even better results, especially if you live in an area with hard water. Hard water can leave mineral deposits on your glass, which can contribute to streaks. Distilled water is free of these minerals, ensuring a cleaner, streak-free finish.
Another tip is to use a microfiber cloth for wiping. Microfiber cloths are designed to trap dirt and grime without leaving behind lint or streaks. They’re also reusable and washable, making them a more sustainable option than paper towels.
Don’t be afraid to experiment and find what works best for you. This No Streak Glass Cleaner DIY recipe is a starting point, a foundation upon which you can build your own personalized cleaning solution.
So, what are you waiting for? Gather your ingredients, mix up a batch of this amazing cleaner, and experience the difference for yourself. We’re confident that you’ll be amazed by the results.
And most importantly, we want to hear about your experience! Share your tips, tricks, and variations in the comments below. Let us know what essential oils you used, what challenges you faced, and what successes you achieved. Your feedback will help other readers discover the joy of DIY cleaning and create their own sparkling, streak-free homes. Let’s build a community of DIY enthusiasts who are passionate about clean living and sustainable practices. Share your photos on social media using #NoStreakGlassCleanerDIY and let’s inspire others to join the movement!
Frequently Asked Questions (FAQ)
What makes this DIY glass cleaner better than store-bought options?
This DIY glass cleaner offers several advantages over store-bought options. First, it’s significantly more cost-effective. The ingredients are inexpensive and readily available, saving you money in the long run. Second, it’s free from harsh chemicals and unnecessary additives that can be harmful to your health and the environment. You have complete control over the ingredients, ensuring a safer and healthier cleaning solution. Third, it’s customizable. You can adjust the ratio of ingredients and add your favorite essential oils to create a personalized cleaning experience. Finally, it’s incredibly effective, delivering professional-quality results without the professional price tag. The combination of vinegar, rubbing alcohol, and water effectively cuts through grime, grease, and fingerprints, leaving behind a sparkling, streak-free shine.
Can I use this cleaner on all types of glass surfaces?
Yes, this DIY glass cleaner is generally safe to use on most types of glass surfaces, including windows, mirrors, glass tables, and shower doors. However, it’s always a good idea to test it on a small, inconspicuous area first, especially if you’re unsure about the surface’s composition or finish. Avoid using it on delicate or antique glass surfaces without consulting a professional. Also, be cautious when using it on tinted windows, as some tints may be sensitive to vinegar.
What if I don’t have rubbing alcohol? Can I substitute it with something else?
Rubbing alcohol (isopropyl alcohol) is a key ingredient in this recipe because it helps the cleaner evaporate quickly, preventing streaks. While it’s difficult to find a perfect substitute, you can try using vodka (the higher the proof, the better) as an alternative. Vodka also contains alcohol and will help with evaporation. However, it may not be as effective as rubbing alcohol in cutting through grease and grime. If you don’t have either rubbing alcohol or vodka, you can try increasing the amount of vinegar in the recipe, but be aware that this may leave a stronger vinegar smell.
How do I get rid of the vinegar smell?
The vinegar smell is a common concern when using DIY glass cleaners. Fortunately, it dissipates quickly after the cleaner dries. To minimize the smell, you can add a few drops of your favorite essential oil to the recipe. Lemon, lavender, and eucalyptus are all popular choices that not only smell great but also help to mask the vinegar scent. You can also open windows and ventilate the area while cleaning to help the smell dissipate faster.
My cleaner is still leaving streaks. What am I doing wrong?
Streaks can be frustrating, but there are several factors that can contribute to them. First, make sure you’re using a clean microfiber cloth. Dirty or linty cloths can leave streaks behind. Second, avoid using too much cleaner. A light mist is all you need. Over-saturating the surface can lead to streaks. Third, try wiping in a different direction. If you’re wiping horizontally, try wiping vertically instead. Finally, make sure your glass surface is clean before applying the cleaner. If there’s a lot of dirt or grime, pre-clean the surface with soapy water before using the DIY glass cleaner. Hard water can also cause streaks, so using distilled water in your recipe can help.
How long will this DIY glass cleaner last?
This DIY glass cleaner doesn’t contain any preservatives, so it’s best to use it within a few months. Store it in a cool, dark place to prevent the ingredients from degrading. You’ll know it’s time to make a fresh batch if the cleaner starts to look cloudy or develop an unusual odor.
Can I use this cleaner on my car windows?
Yes, this DIY glass cleaner is safe to use on your car windows. However, be careful not to get the cleaner on your car’s paint, as the
So, there you have it! Ditching the store-bought glass cleaner and embracing this No Streak Glass Cleaner DIY recipe is more than just a cost-effective choice; it’s a step towards a cleaner home, a healthier environment, and a surprisingly satisfying DIY experience. You’re not just cleaning your windows; you’re crafting a solution tailored to your needs, free from harsh chemicals and unnecessary additives.
Why is this a must-try? Because it works! The combination of simple ingredients – water, white vinegar, rubbing alcohol, and your choice of essential oil – creates a powerful cleaning solution that cuts through grime, grease, and fingerprints, leaving behind a sparkling, streak-free shine. Forget those frustrating streaks that seem to multiply with every wipe. This DIY cleaner delivers professional-quality results without the professional price tag.
But the benefits extend beyond just clean windows. You’re also reducing your exposure to potentially harmful chemicals found in commercial cleaners. Many store-bought options contain ingredients that can irritate your skin, eyes, and respiratory system. By making your own cleaner, you have complete control over what goes into it, ensuring a safer and healthier environment for you and your family.
And let’s not forget the satisfaction of creating something yourself. There’s a certain pride that comes with knowing you’ve crafted a product that’s both effective and eco-friendly. Plus, it’s incredibly easy! The recipe is simple to follow, requiring only a few minutes of your time and readily available ingredients.
Looking for variations? Absolutely! Feel free to experiment with different essential oils to find your favorite scent. Lavender, lemon, tea tree, and eucalyptus are all popular choices that not only smell great but also offer additional cleaning and disinfecting properties. You can also adjust the ratio of ingredients to suit your specific needs. If you have particularly stubborn grime, try increasing the amount of vinegar or rubbing alcohol. For lighter cleaning, you can dilute the solution with more water.
Consider using distilled water for even better results, especially if you live in an area with hard water. Hard water can leave mineral deposits on your glass, which can contribute to streaks. Distilled water is free of these minerals, ensuring a cleaner, streak-free finish.
Another tip is to use a microfiber cloth for wiping. Microfiber cloths are designed to trap dirt and grime without leaving behind lint or streaks. They’re also reusable and washable, making them a more sustainable option than paper towels.
Don’t be afraid to experiment and find what works best for you. This No Streak Glass Cleaner DIY recipe is a starting point, a foundation upon which you can build your own personalized cleaning solution.
So, what are you waiting for? Gather your ingredients, mix up a batch of this amazing cleaner, and experience the difference for yourself. We’re confident that you’ll be amazed by the results.
And most importantly, we want to hear about your experience! Share your tips, tricks, and variations in the comments below. Let us know what essential oils you used, what challenges you faced, and what successes you achieved. Your feedback will help other readers discover the joy of DIY cleaning and create their own sparkling, streak-free homes. Let’s build a community of DIY enthusiasts who are passionate about clean living and sustainable practices. Share your photos on social media using #NoStreakGlassCleanerDIY and let’s inspire others to join the movement!
Frequently Asked Questions (FAQ)
What makes this DIY glass cleaner better than store-bought options?
This DIY glass cleaner offers several advantages over store-bought options. First, it’s significantly more cost-effective. The ingredients are inexpensive and readily available, saving you money in the long run. Second, it’s free from harsh chemicals and unnecessary additives that can be harmful to your health and the environment. You have complete control over the ingredients, ensuring a safer and healthier cleaning solution. Third, it’s customizable. You can adjust the ratio of ingredients and add your favorite essential oils to create a personalized cleaning experience. Finally, it’s incredibly effective, delivering professional-quality results without the professional price tag. The combination of vinegar, rubbing alcohol, and water effectively cuts through grime, grease, and fingerprints, leaving behind a sparkling, streak-free shine.
Can I use this cleaner on all types of glass surfaces?
Yes, this DIY glass cleaner is generally safe to use on most types of glass surfaces, including windows, mirrors, glass tables, and shower doors. However, it’s always a good idea to test it on a small, inconspicuous area first, especially if you’re unsure about the surface’s composition or finish. Avoid using it on delicate or antique glass surfaces without consulting a professional. Also, be cautious when using it on tinted windows, as some tints may be sensitive to vinegar.
What if I don’t have rubbing alcohol? Can I substitute it with something else?
Rubbing alcohol (isopropyl alcohol) is a key ingredient in this recipe because it helps the cleaner evaporate quickly, preventing streaks. While it’s difficult to find a perfect substitute, you can try using vodka (the higher the proof, the better) as an alternative. Vodka also contains alcohol and will help with evaporation. However, it may not be as effective as rubbing alcohol in cutting through grease and grime. If you don’t have either rubbing alcohol or vodka, you can try increasing the amount of vinegar in the recipe, but be aware that this may leave a stronger vinegar smell.
How do I get rid of the vinegar smell?
The vinegar smell is a common concern when using DIY glass cleaners. Fortunately, it dissipates quickly after the cleaner dries. To minimize the smell, you can add a few drops of your favorite essential oil to the recipe. Lemon, lavender, and eucalyptus are all popular choices that not only smell great but also help to mask the vinegar scent. You can also open windows and ventilate the area while cleaning to help the smell dissipate faster.
My cleaner is still leaving streaks. What am I doing wrong?
Streaks can be frustrating, but there are several factors that can contribute to them. First, make sure you’re using a clean microfiber cloth. Dirty or linty cloths can leave streaks behind. Second, avoid using too much cleaner. A light mist is all you need. Over-saturating the surface can lead to streaks. Third, try wiping in a different direction. If you’re wiping horizontally, try wiping vertically instead. Finally, make sure your glass surface is clean before applying the cleaner. If there’s a lot of dirt or grime, pre-clean the surface with soapy water before using the DIY glass cleaner. Hard water can also cause streaks, so using distilled water in your recipe can help.
How long will this DIY glass cleaner last?
This DIY glass cleaner doesn’t contain any preservatives, so it’s best to use it within a few months. Store it in a cool, dark place to prevent the ingredients from degrading. You’ll know it’s time to make a fresh batch if the cleaner starts to look cloudy or develop an unusual odor.
Can I use this cleaner on my car windows?
Yes, this DIY glass cleaner is safe to use on your car windows. However, be careful not to get the cleaner on your car’s paint, as the vinegar can potentially damage the finish over time. It’s best to spray the cleaner directly onto a microfiber cloth and then wipe the windows, rather than spraying the cleaner directly onto the windows. Also, avoid using it on tinted car windows without consulting a professional, as some tints may be sensitive to vinegar.
Is it safe to use essential oils around pets and children?
While essential oils can add a pleasant scent and additional cleaning properties to your DIY glass cleaner, it’s important to use them safely around pets and children. Some essential oils can be toxic to pets, so it’s best to research the safety of each oil before using it. When using essential oils around children, use them in moderation and avoid direct contact with their skin or eyes. If you’re concerned about the safety of essential oils, you can simply omit them from the recipe.
Leave a Comment